Making soy milk — Part 3 (Is it worth it?)

Three blogs posts out of making soy milk — I guess I’m really milking this topic!

Health effects
I was “carrageenan-free” for four weeks (somewhat ironically, I broke my carrageenan fast not with soy milk, but with heavy cream).  Aaaaannnnnnddd . . . for better or worse (better = I guess it’s okay for me to consume some carrageenan; worse = less incentive to keep making soy milk), I have seen no difference whatsoever.  Not terribly surprising, given that I wasn’t having any [known] GI problems going into this.

Could regular, low-level consumption of carrageenan have a negative, long-term (and as yet unseen) impact on my health?  Sure, but the reality is that we all consume, or are otherwise exposed to, many things that could fit in the “unknown long-term effects” category.  Life is one big long-term unknown.  So unless more research comes out, health concerns about carrageenan will not be a major motivating factor in continuing to make my own soy milk.

Saving money???

Let’s start with some cost comparisons:

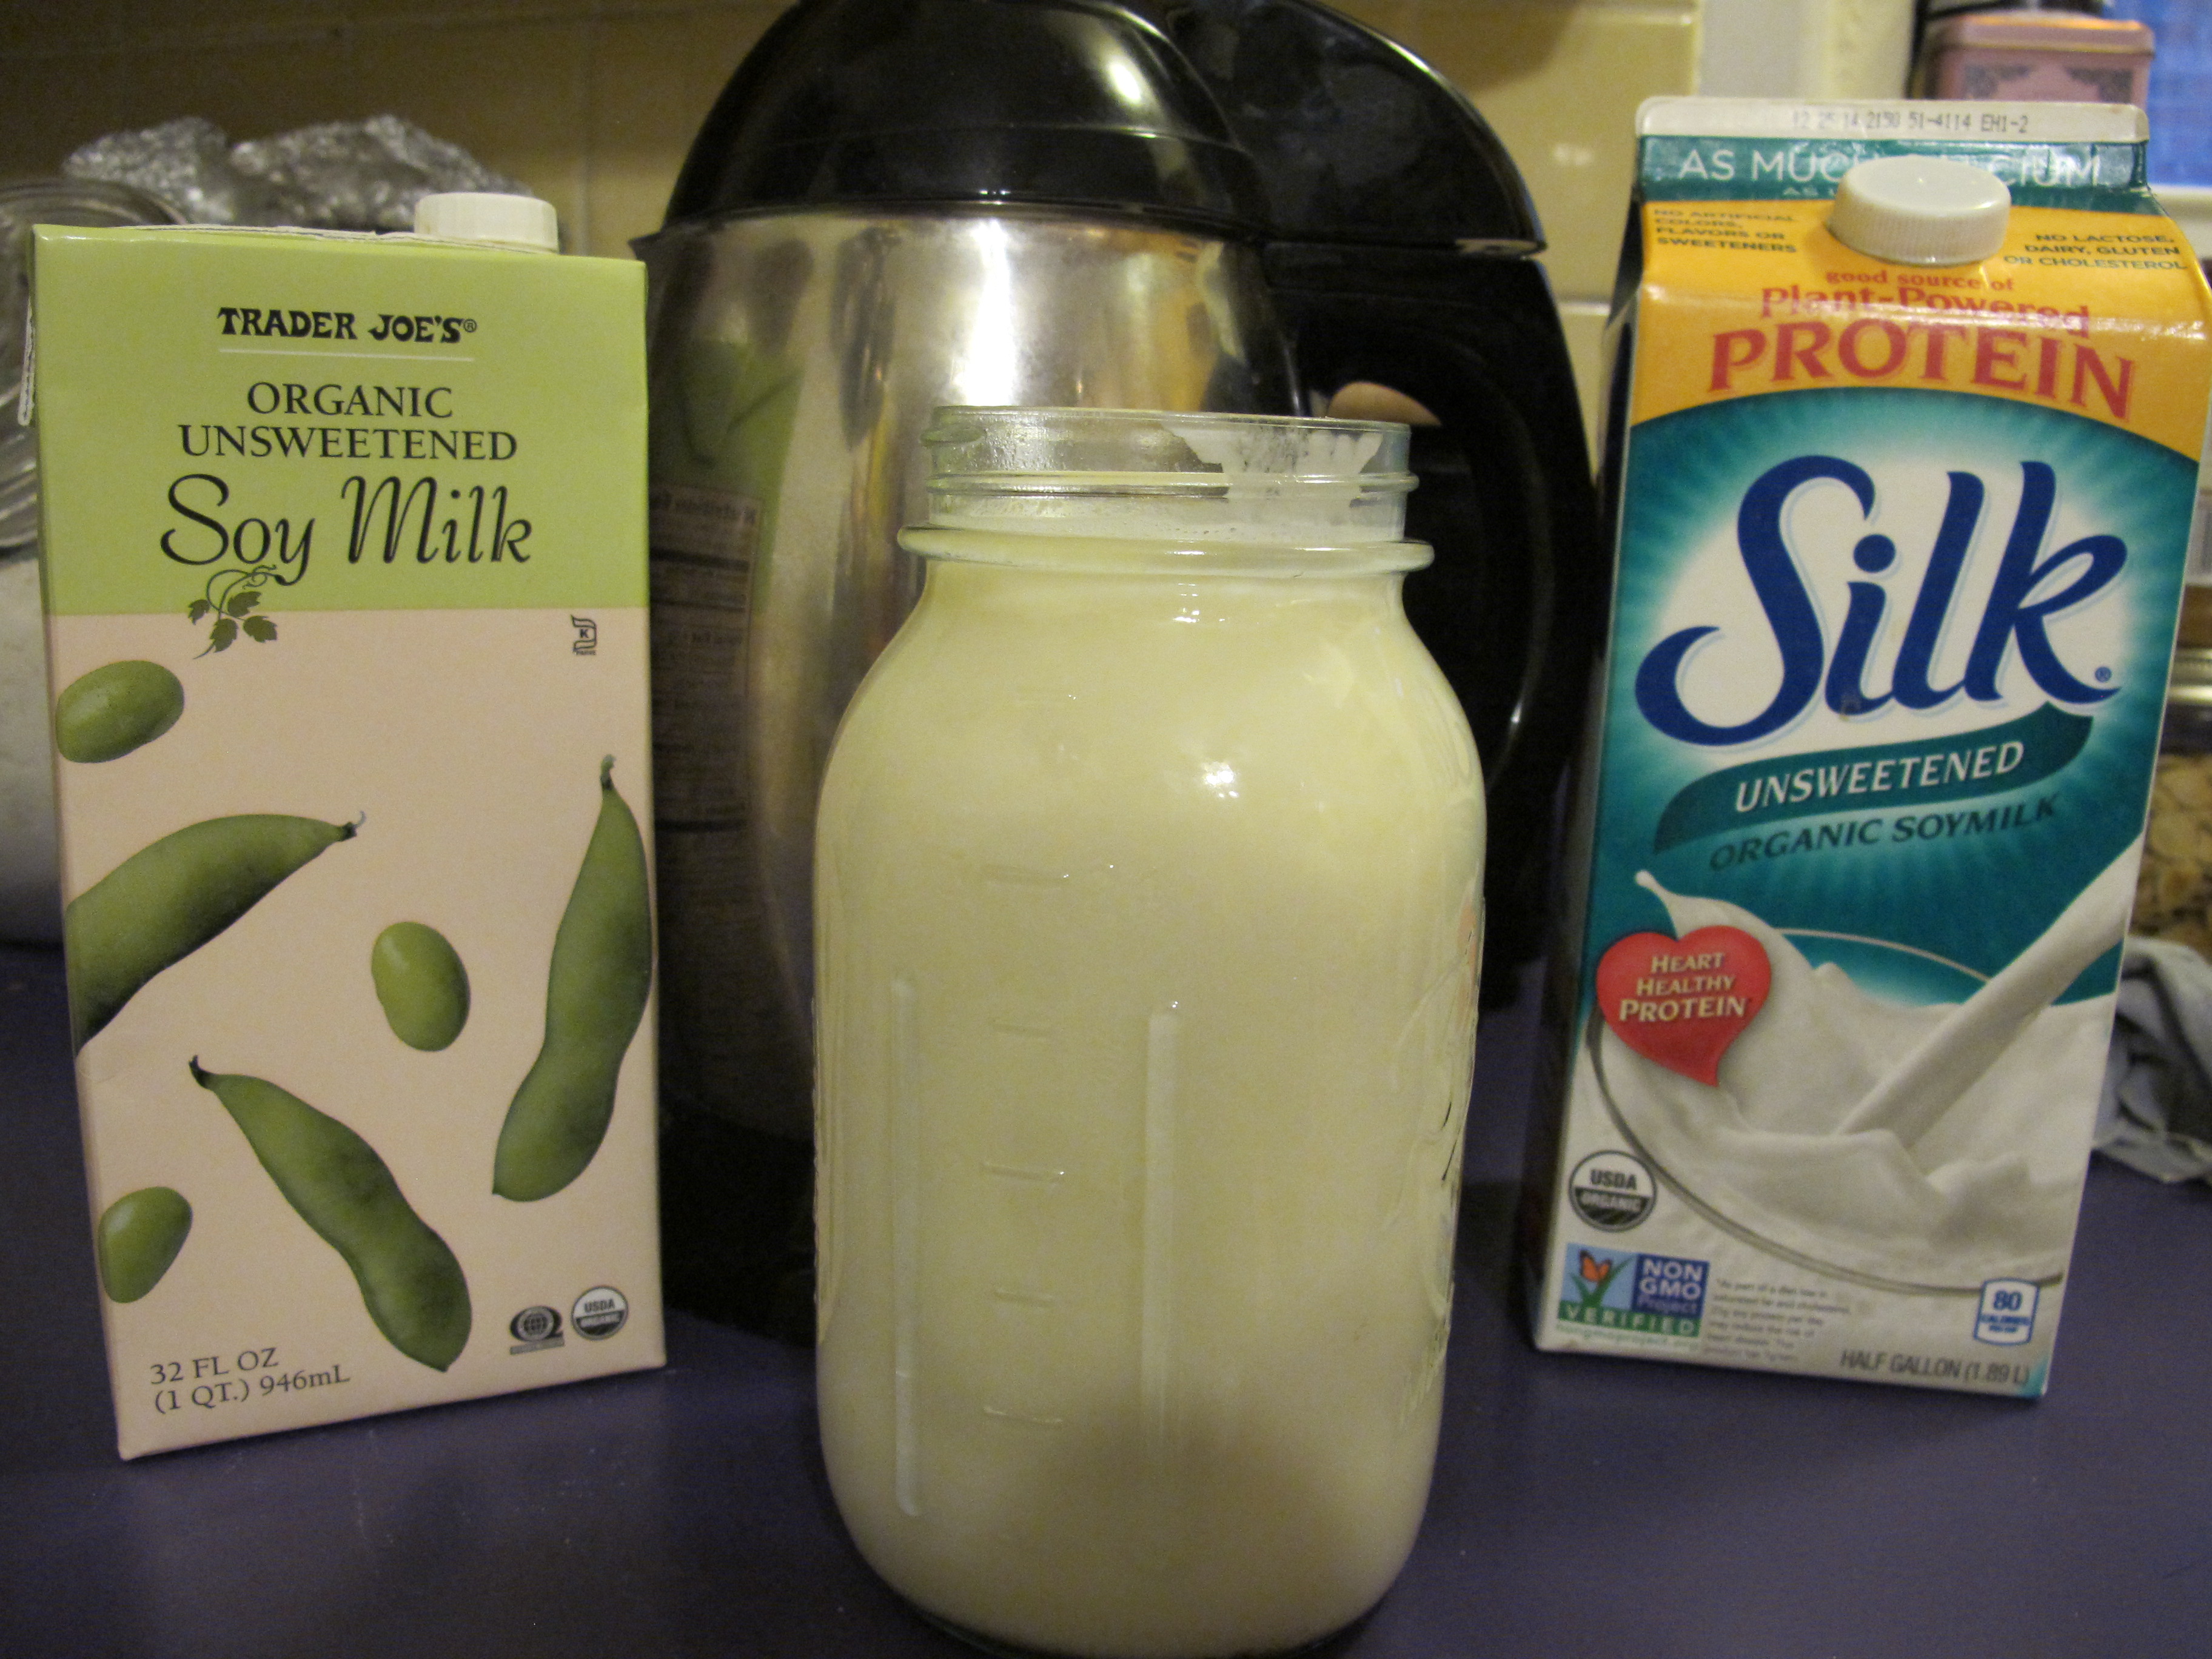
  • Silk Organic Unsweetened Soy Milk: I currently pay $3.30-$3.50 per half gallon.
  • Trader Joe’s Unsweetened Organic Soy Milk (aseptic package): $1.70 per quart, if memory serves
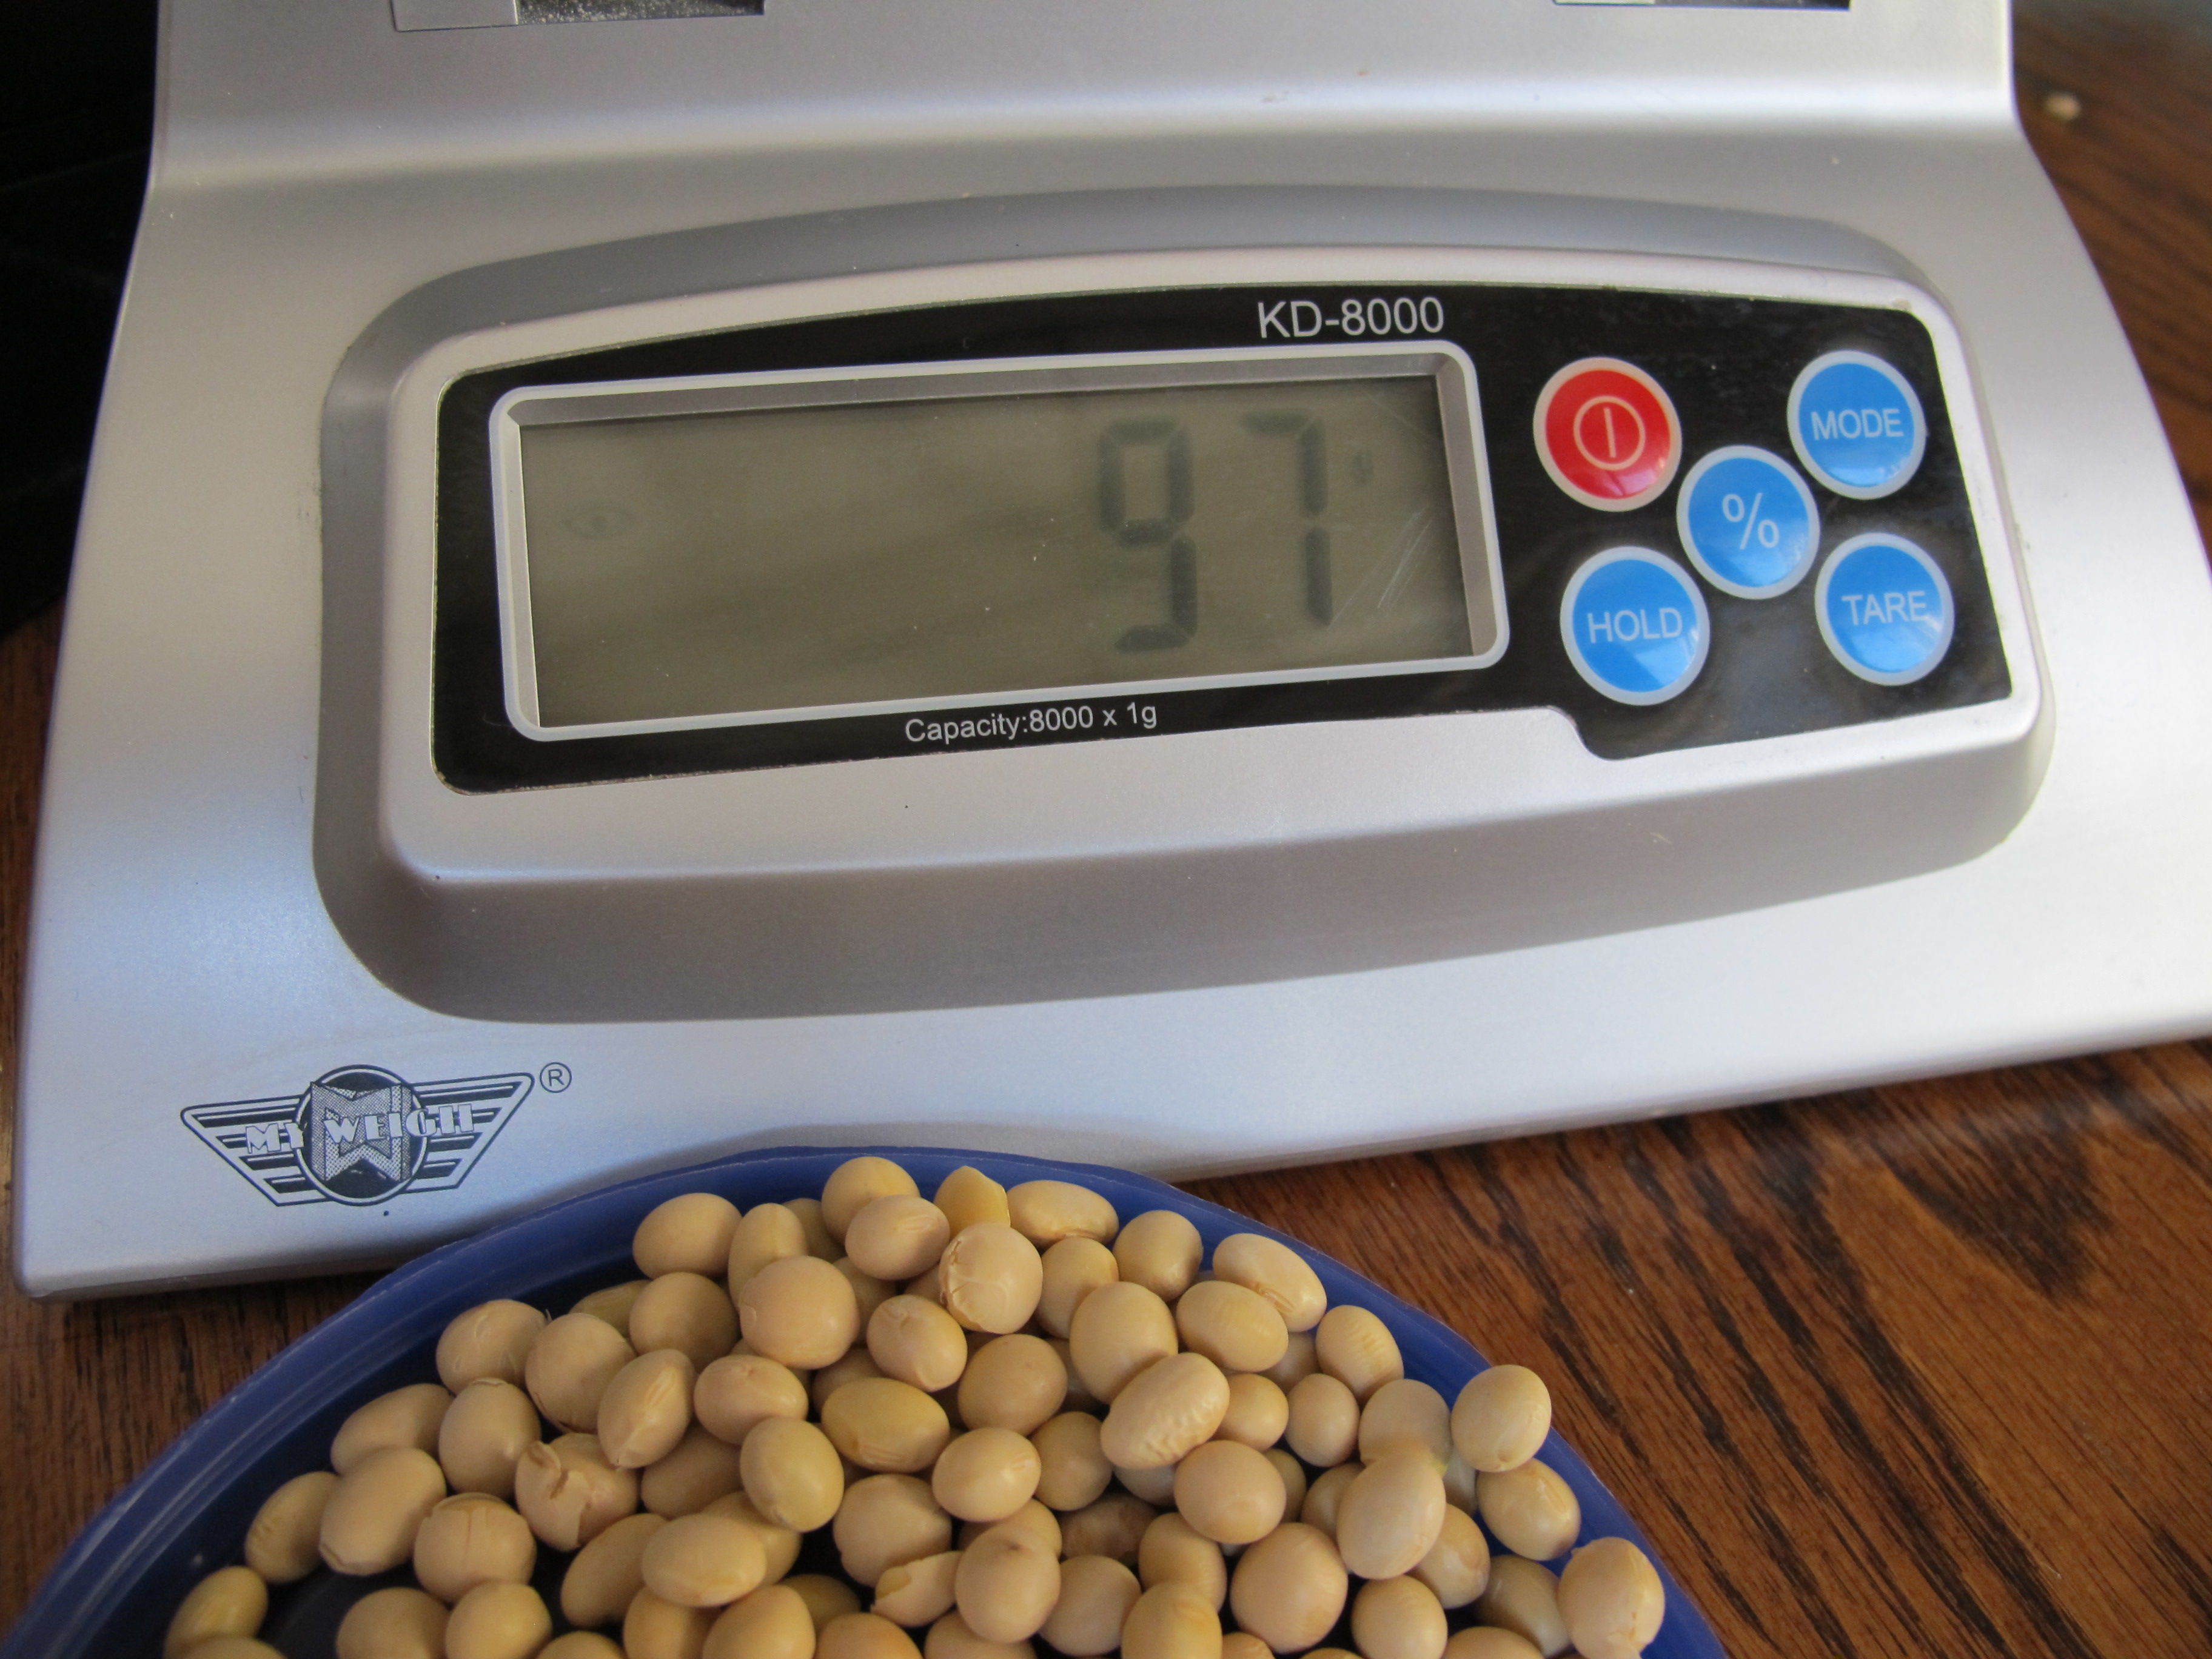
  • Homemade, using just water and soy beans: $0.44 per quart (price based on bulk organic soy beans at $2/lb and 3.5oz [dry weight] soy beans per quart batch)

At first glance, the savings are significant, about $1.20/quart of milk.  I’d say we average a half gallon a week, so over the course of a year, that’s $125 saved.  Coincidentally (or not???) that  is almost exactly the price of a brand new soy milk maker.

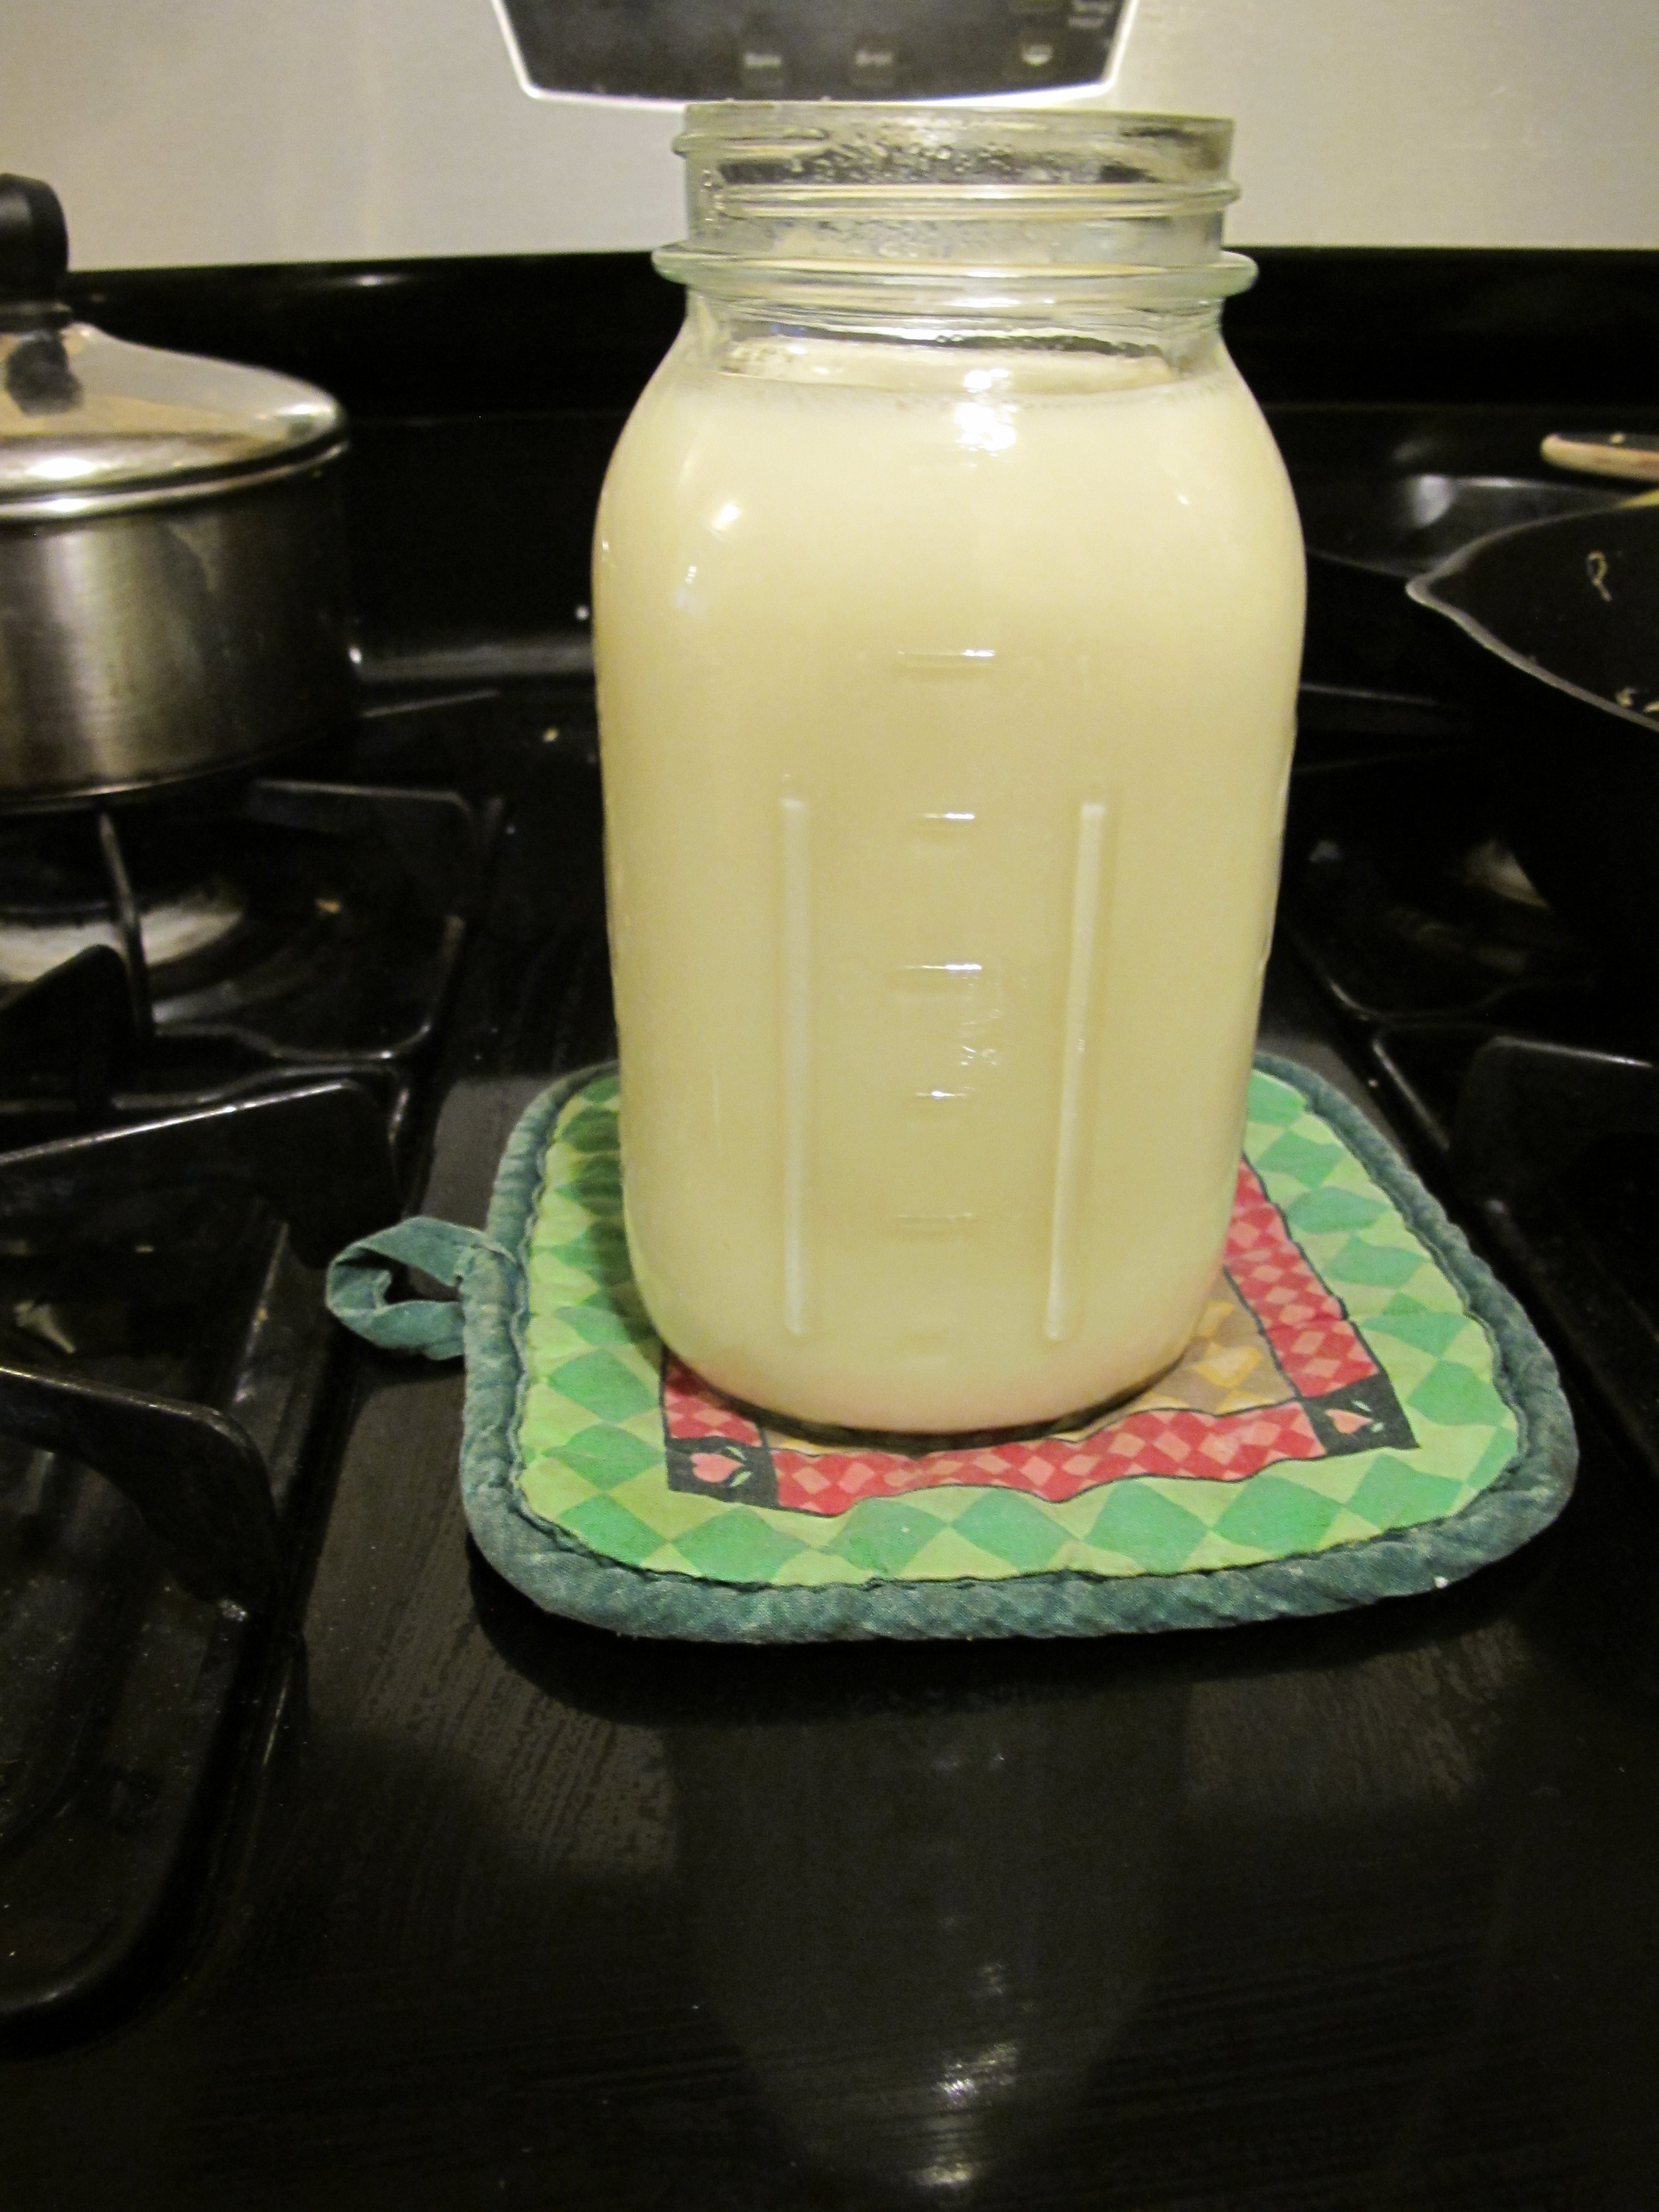
Of course, that forty-four cents per quart price starts creeping up if you want a tastier product.  As I mentioned in my last post, my favorite version thus far involves using a combination of soy beans and cashews, along with small quantities of sea salt, sugar, and vanilla.  I haven’t crunched the numbers on this; I’m guessing it’s still under one dollar per quart, but it does start cutting into the savings of making your own.

Labor: Hulling and Clean-up
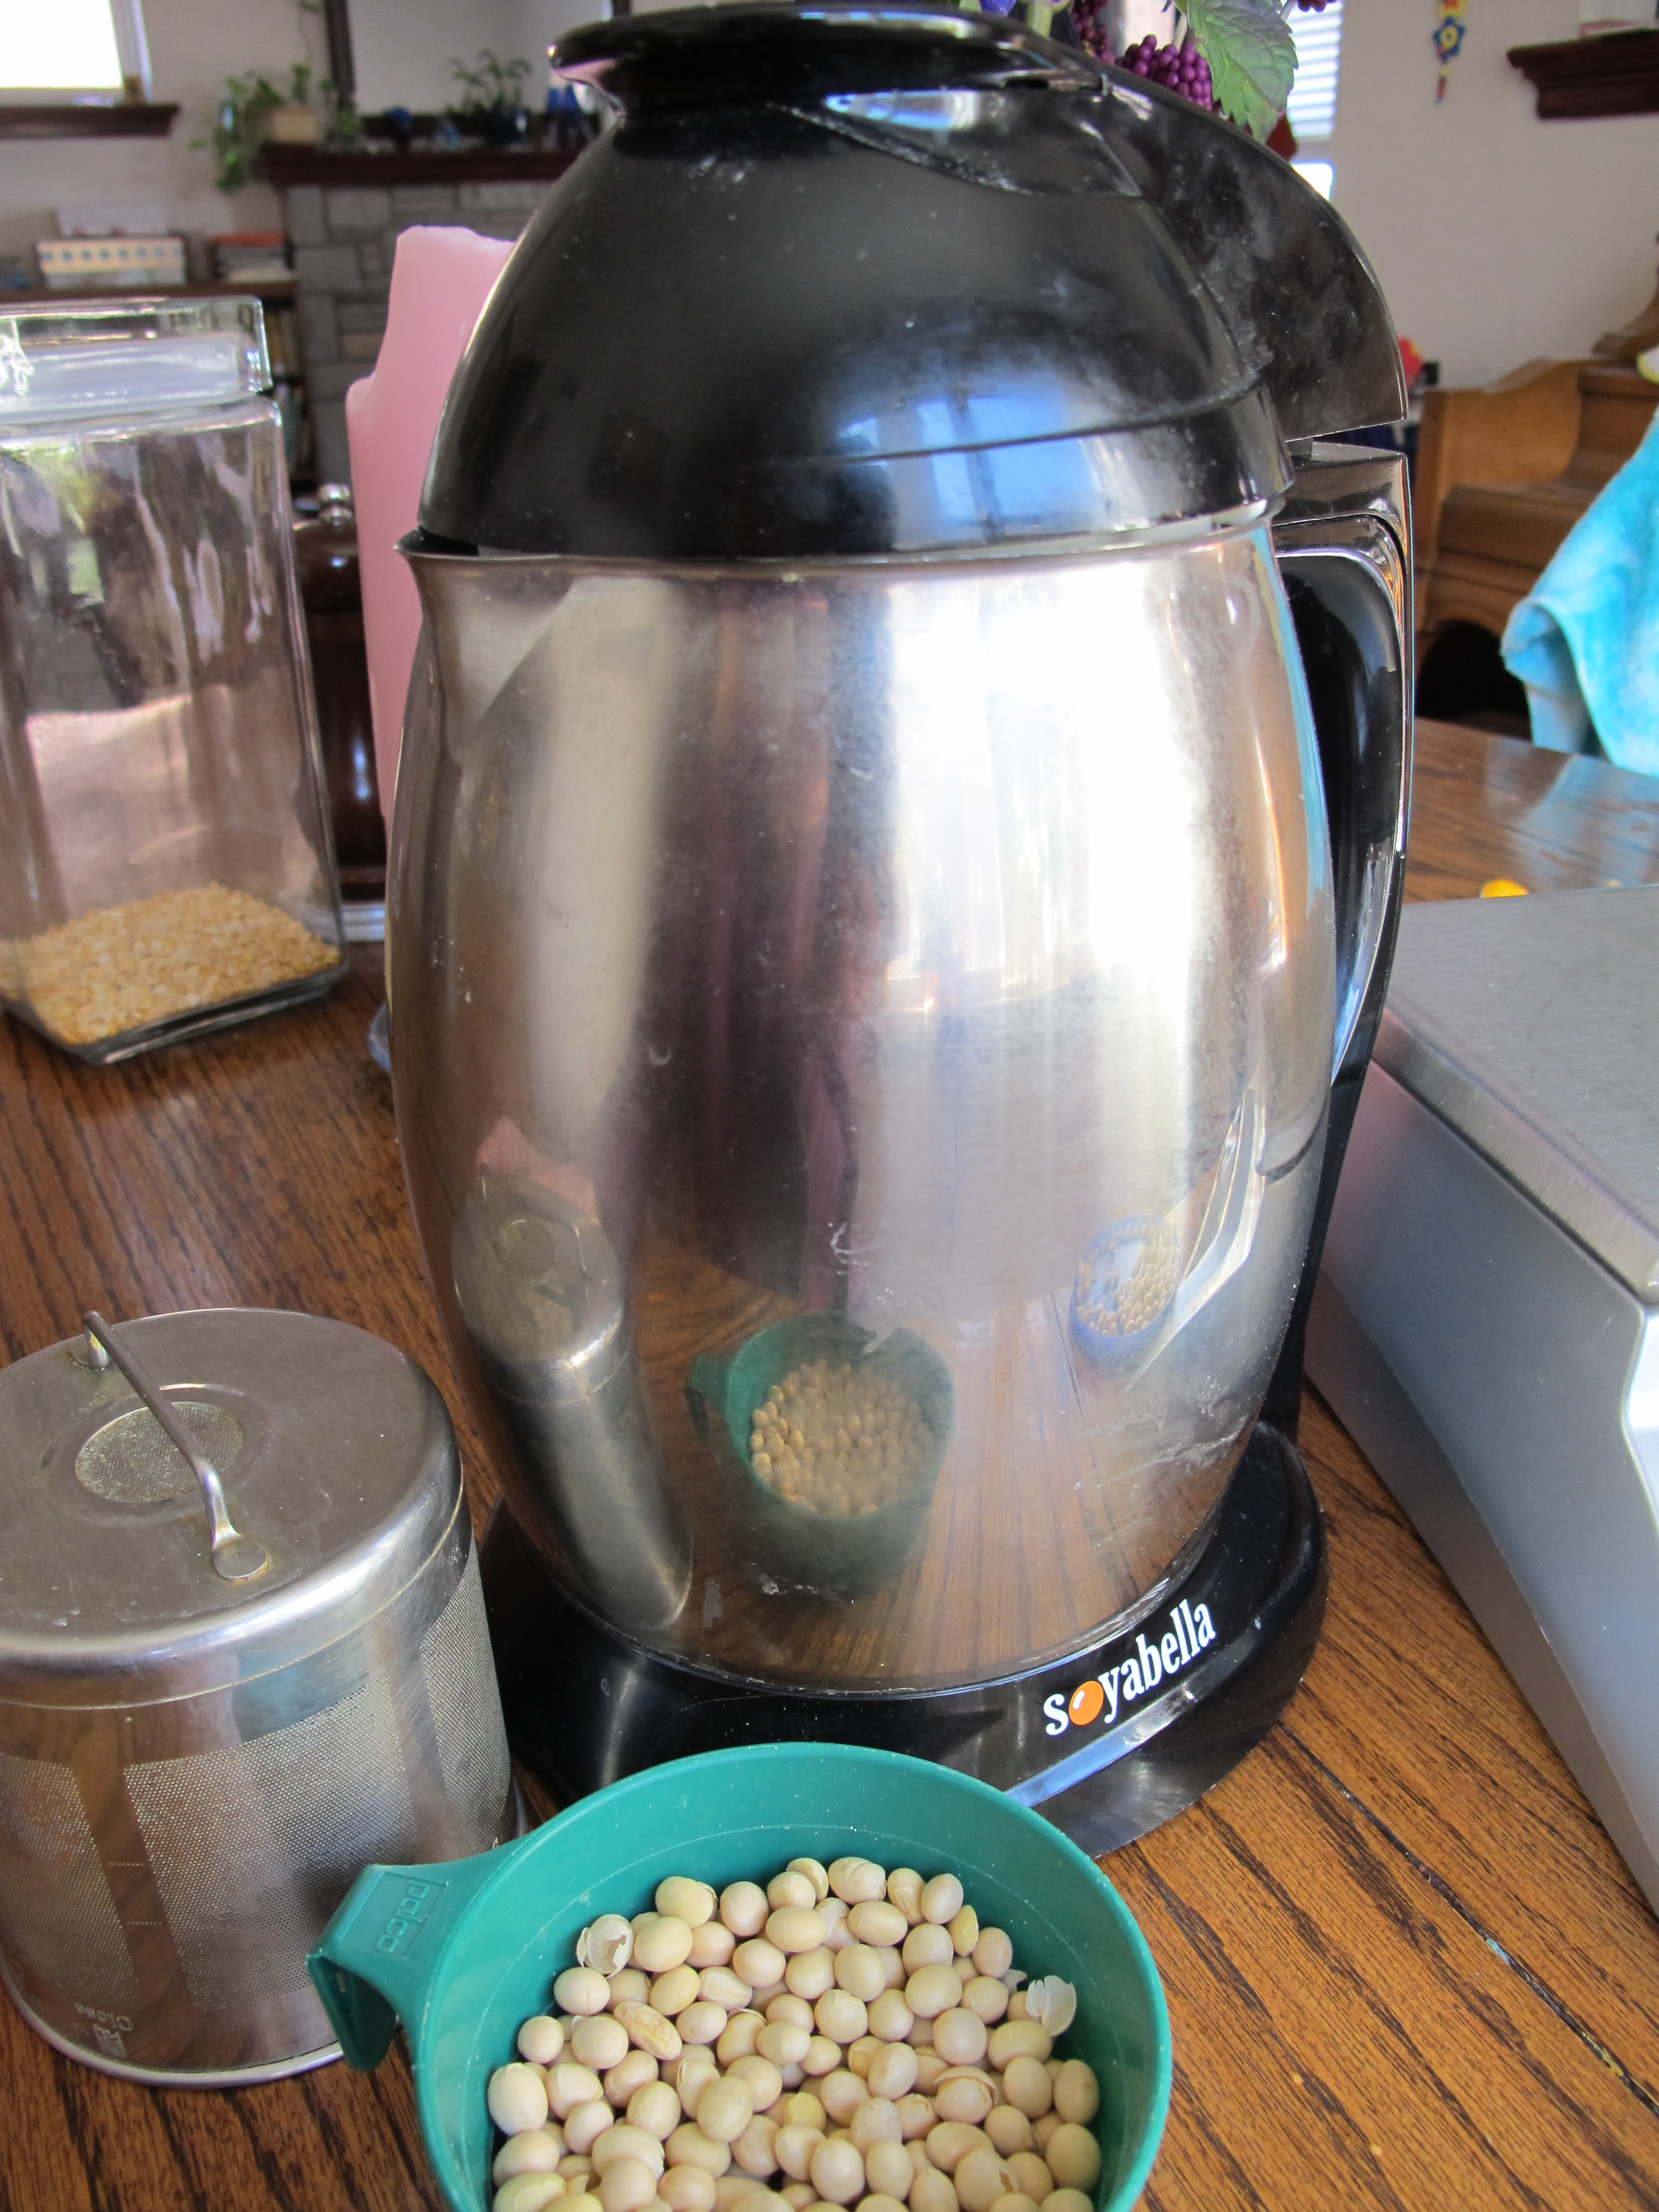
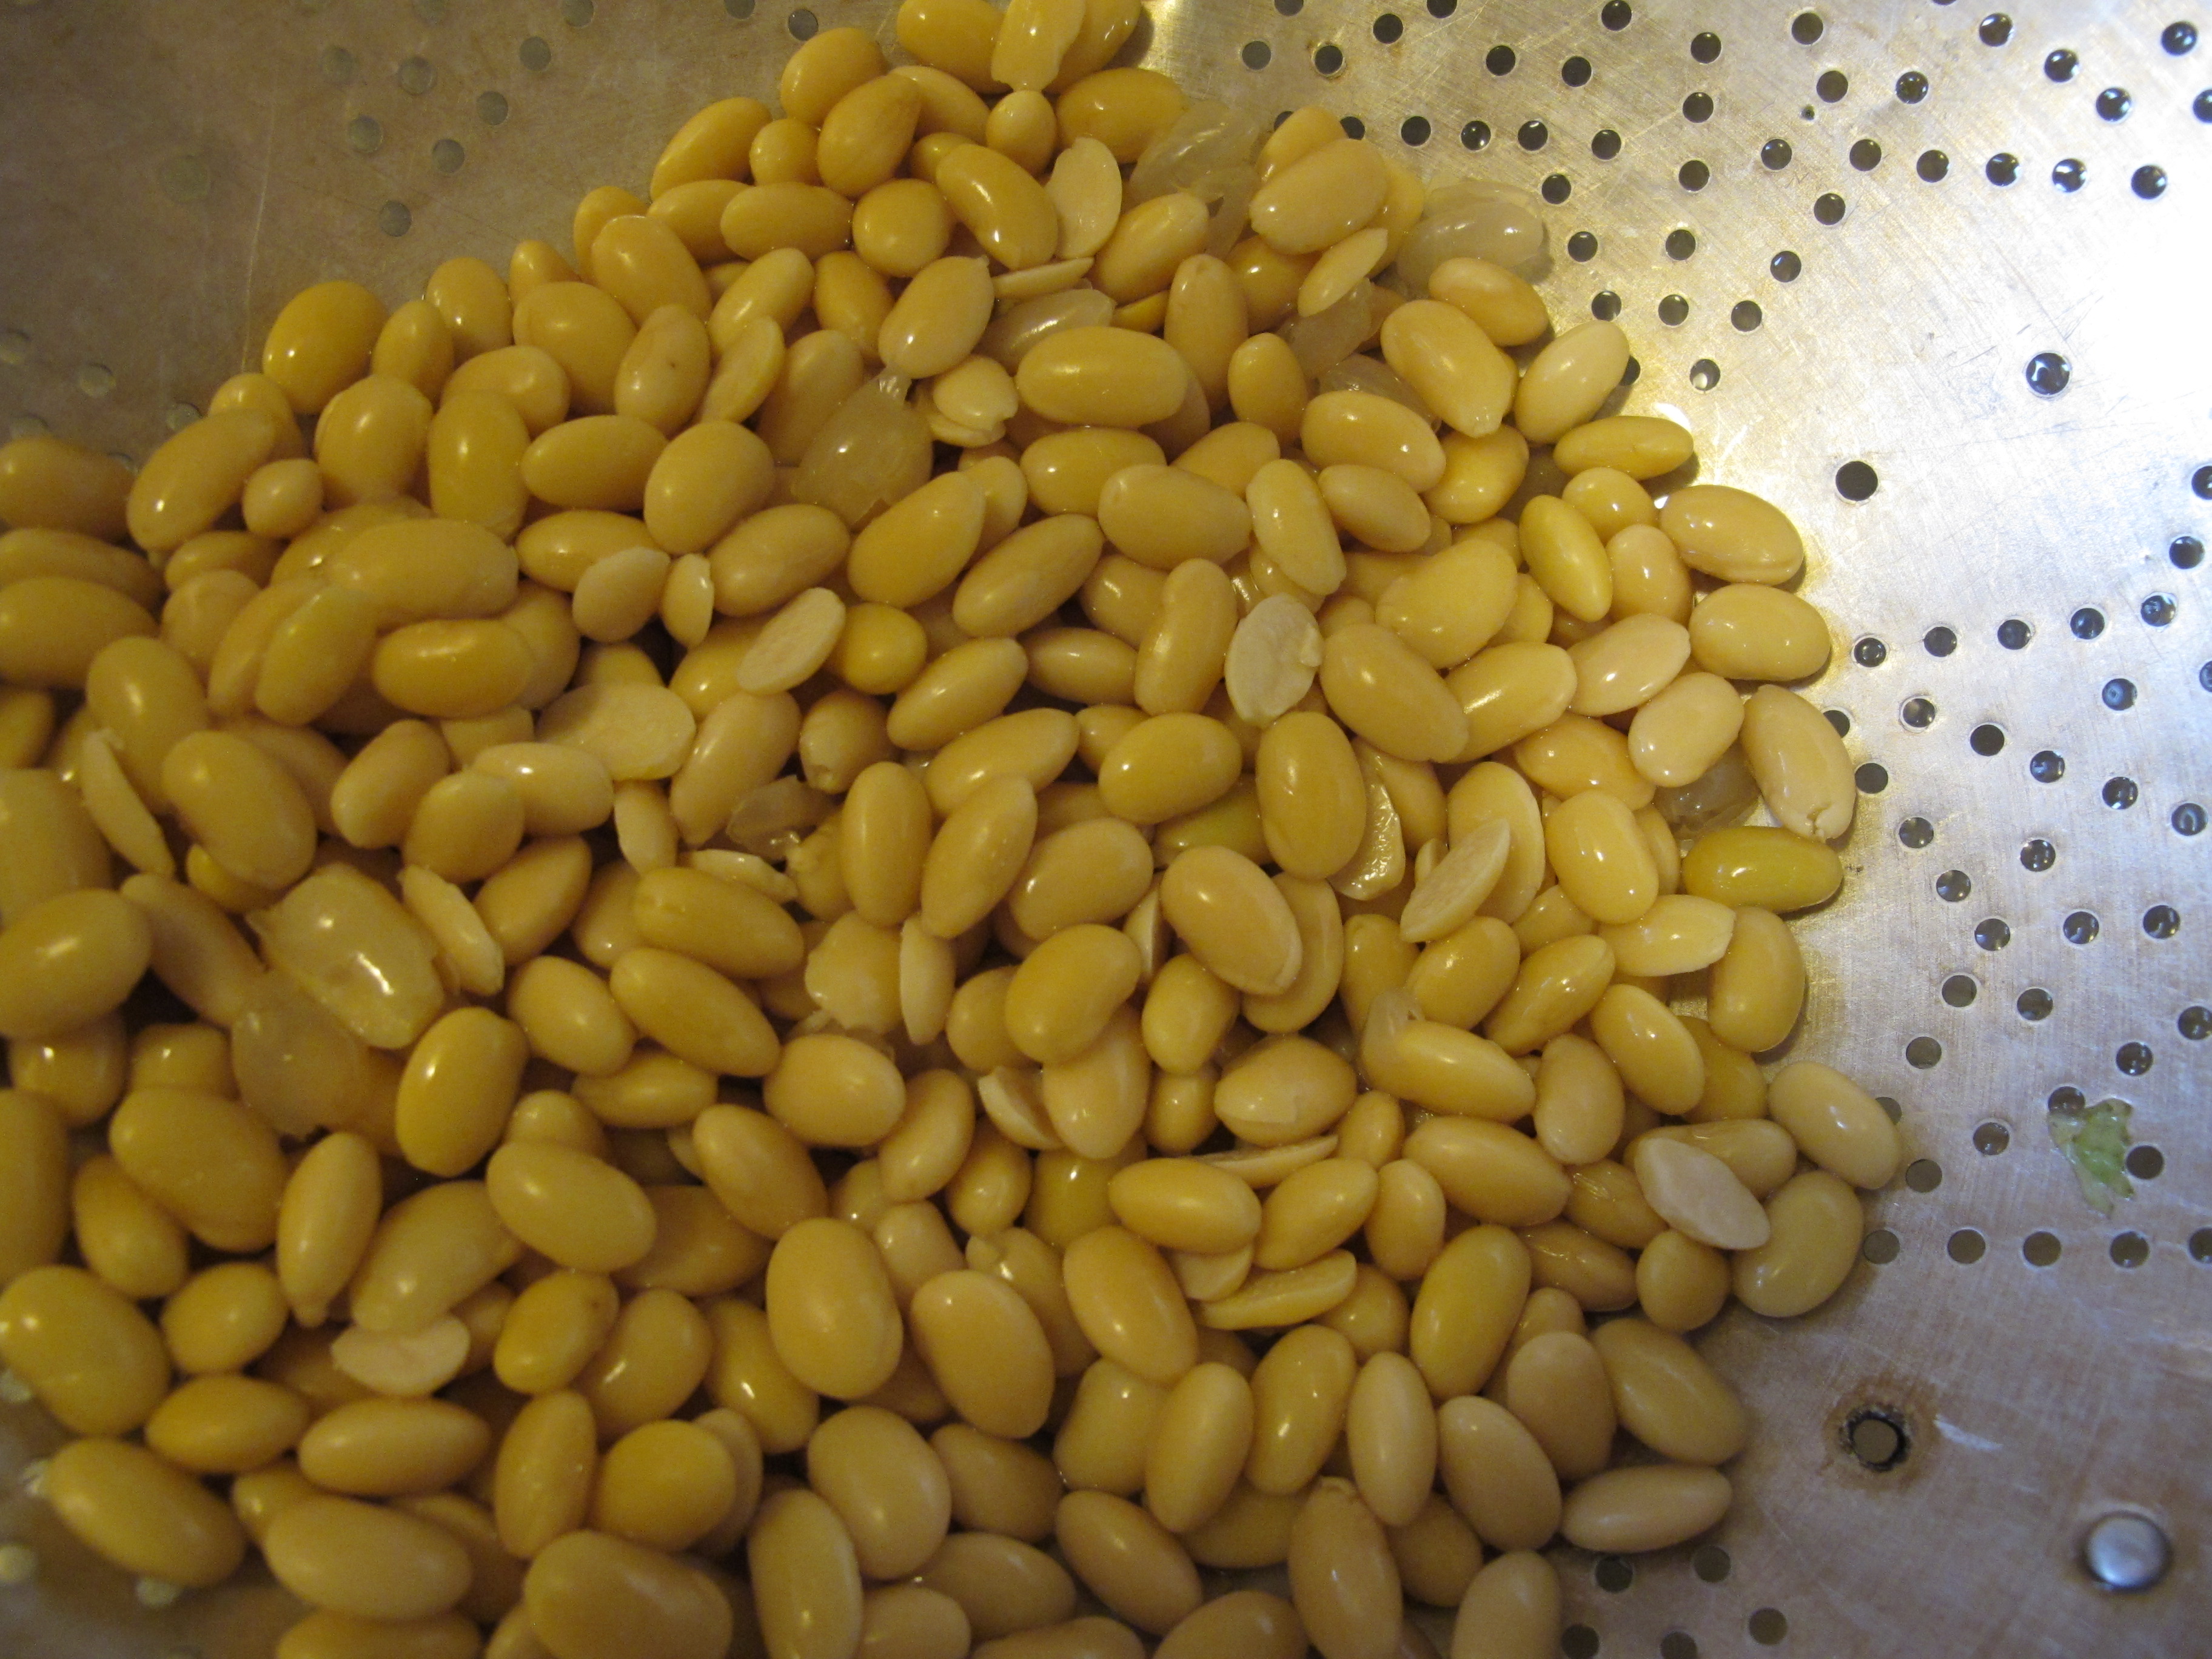
I discovered that hulled soy beans led to better tasting soy milk.  My searches for organic, hulled soy beans (essentially, split soy beans, because the beans split in half once the hull is removed) came up empty.   While hulling the beans is relatively easy, it does add extra work to the process.

If you use a soy milk maker, hulling the beans and clean-up constitute most of the hands-on time.  Clean-up works best if you plan to do it right away, before things cool and solidify.  The metal grinding chamber/strainer is the trickiest thing to clean.

Clean-up for the blender plus nut-milk bag method was actually easier than cleaning the parts of the soy milk machine.  However, the non-machine method requires more hands-on time for the blending, straining, and stove-top cooking.

IMG_6117

Start to finish, I would estimate 35-40-minutes, total, for the machine method.  That includes the 20 minutes for the machine to grind the beans and cook the milk (hands-off time), plus 15 minutes for clean-up.  For the non-machine method, I would estimate closer to an hour.  That is almost all hands-on time, but you can multi-task in the kitchen during the 15-20 minutes of stove-top cooking.  If I’m not in a time-crunch, I enjoy the process of making soy milk, but at other times, it feels like one more things on an already too long to-do list.

By-products: Using okara
The solids that are left over (strained out) in the soy milk making process are known as “okara.”  Commercial soy milk makers likely sell most of their okara for livestock feed, but this nutrient-dense by-product can be used in cooking.

In reality, most of the okara I’ve created is feeding the garden (via compost), rather than us, for a couple of reasons:

  • Most of the recipes for using okara involve relatively small amounts of okara.  Even just making 2 quarts of soy milk per week, I quickly had more than I could use.
  • I’m not really trying to increase the amount of soy in my diet.  I’m fine with my level of soy milk consumption, and we occasionally enjoy tofu and tempeh, but that’s enough for me.

In the end, I don’t feel too bad about composting [most of] the okara.  Adding it to the compost will be good for the garden, and I don’t use the okara when buying commercial soy milk.  I did enjoy this recipe for bean and rice croquettes with okara, and I wouldn’t mind experimenting with adding small amounts of okara to pancake or quick bread recipes.

If I were interested in cooking with more of the okara, I would freeze it in small, recipe-appropriate amounts (¼ to ½ cup).

Final verdict
I returned the borrowed soy milk maker to my friend.  I plan to try to continue mostly making my own (blender + stove top method), allowing myself a free, no-guilt pass to use the store-bought stuff when life gets crazy.

I’m not ready to plunk down the money for a new soy milk maker, but I’m going to keep my eye out for a used model.  The machine does make the process easier and faster, even if I don’t like the final product quite as well.


Greening Christmas: Trees and gifting

The Tree
The last time I wrote about a Christmas tree, we were using an artificial number that I found abandoned in our building’s basement.  That tree served us well, but for the past two years, we’ve had the real deal (the artificial tree is still hanging out in the basement, just in case there’s a year we aren’t able to get a real tree).

On Saturday afternoon, Matthew and Gabriel headed out to PaPa’s (Matthew’s grandpa) to cut a field tree (i.e., a tree growing in an unmowed field where it would eventually be cut down anyway).  These field cedars are not what you find at a tree lot (or a Christmas tree farm — we saw lots of those in Oregon!).

IMG_6136

They all have a sweet, Charlie Brown Christmas vibe, and I’m totally good with that.  Of the few that were about the right size, Gabriel picked this one, and Matthew cut it down with the “chainsaw.”

IMG_6146 - Copy

Bicycle rack?  Christmas tree rack?  Same difference!  Not quite as cool as hauling your Christmas tree by bicycle, though (the distance to Matthew’s grandpa’s rules out that option for us).

We had a bit of a debacle with the tree last year, due to an inferior tree stand.  My MIL came to the rescue with a much better hand-me-down, and we had no problem getting the tree in place this year.

We didn’t have time to decorate it on Saturday night.  Gabriel waited very patiently until after breakfast on Sunday morning, and then we got down to business.

IMG_6156

We have a nice assortment of kid-friendly (read: sturdy) ornaments for the lower branches.  (Tip: if you run out of ornament hooks, unbent paperclips work very well.)

Tree, trimmed!

IMG_6158
Official tree-trimming dance?


Green wrapping
I swear I started a post on this topic a year ago, or at least took some pictures, but I cannot find said pictures anywhere.  My strategy last year involved using pages from the December issues of our [free] local foodie magazines (Sauce and Feast).  There were lots of festive pictures to go around (think cute cookies, candy canes, etc.), and it worked well.  I’m planning on doing more of the same this year.  Receiving blankets also make great reusable gift wrap!

Experiential gifts
This type of gift requires no wrapping.  Remember that time I wanted to be Pink?  Specifically, the high-flying, aerial artist on display at the Grammies (and throughout her 2013 ‘Truth About Love’ Tour).  Well, it turns out that there are aerial arts gyms in St. Louis.  We looked at classes at Bumbershoot Aerial Arts last spring, but the timing wasn’t right.

When Matthew brought it up in November, there was an “Intro to Silks” class that worked for us, and I suggested we do it as our Christmas present (in addition to taking care of Christmas shopping, this route made it a bit easier to swallow the price).

IMG_6129

We’re doing pretty basic things, but our instructor didn’t waste any time getting us on the silks.  The above photo is a bit deceiving — my legs are in a wide V-shape, and NOT straight out to the sides.  Our third class is tonight, then we break for two weeks, and finish with three more classes in January.

Pre-loved gifts
I’ve been thinking about getting Gabriel a doll house since his birthday this summer.  Though he doesn’t know he wants a doll house, I think he would enjoy playing with it (and I would enjoy doing it with him).  I didn’t want to break the bank on this purchase, but I also wanted something decent.

I’ve been checking Craigslist off and on since mid-November.  I had my eye on a Plan Toys model with an asking price of just under $200, complete with furnishings.  That was still really more than I wanted to spend (especially since I don’t know if G will enjoy it), and so I waited.

Two weeks ago, another option popped up, also made of wood (brand is Ryan’s Room, which I’ve never heard of), asking $100, and very close to where we live (it would have been tricky on the longtail, but I could have easily biked it home, if we had a flatbed bicycle trailer).  It’s not perfect, but it’s in pretty good condition (I negotiated $20 off the asking price).  I’m really looking forward to watching his reaction on Christmas morning!

Gabriel is very into playing doctor.  We have a pieced together “doctor’s kit,” and I love seeing the creativity he uses in creating doctor instruments.  I didn’t want to undermine that creativity by running out and buying a plastic play doctor set, but I liked the idea of adding to his medical kit, so when I stumbled across an awesome, real (I think — we’ll see!) stethoscope at the St. Vincent de Paul thrift store, I snatched it up.

That about does it for us.  I’d love to hear about other great experiential or pre-loved gifts — please share your ideas!

Biking in an autumn-y Christmas wonderland

Today brings a return to seasonal weather, but I made the most of the unseasonably warm weekend with three nights of Christmas light biking.

We kicked off the weekend with a family trip down Candy Cane Lane.  We arrived just as it was getting dark on Friday night, and we had the street almost to ourselves.  It was a challenge to bike slowly enough to take it all in, especially with a wiggly passenger on board.

Said passenger informed me that Nativity scenes are more correctly referred to as “Away in a Manger.”  Of course, the appropriate response to biking by an Away in a Manger is to begin singing the eponymous song.  (“Jingle Bells” is also a popular song to sing while biking, along with “Walking Biking in a Winter Wonderland.”)

On Saturday night I ventured out with bikey friends Mónica and Mike.  We scoped out even more lights, starting with Snowflake Street, before moving on to Candy Cane Lane.  On this trip, the place was packed, with a block-long line of cars in each direction, waiting to access Candy Cane lane.  We didn’t butt in line, but we did take advantage of the flexibility of bicycles by hopping off and becoming pedestrians.

After walking down Candy Cane Lane, we hopped back on the bikes and continued down Murdoch Avenue, which led to the discovery of “Angel Avenue” (Prague Ave. between Nottingham and Murdoch).  I loved the house on the SW corner of Prague and Murdoch — the entire front face is covered with teeny, tiny lights.  And then there was the house with the crazy lights synched to Christmas music.

We ended our bicycle tour with cookies and hot chocolate.

Gabriel and I went out again on Sunday afternoon.  It wasn’t dark yet, so there wasn’t much of a light show, but we found some fun decorations.

IMG_6163
Christmas dino on Snowflake Street

I was really tempted to detour by Ted Drewes for some frozen custard, but it was close to dinner time; practicality and my desire for G to eat a good dinner won.

We walked down Candy Cane Lane, checking out the sand sculpture in daylight.

IMG_6164
Sandy Santa

On the way home, we swung by Angel Avenue, but it still wasn’t dark enough to see any lights.  While Candy Cane Lane is the big draw, I preferred some of the other streets:

Angel Avenue > Snowflake Street > Candy Cane Lane

Now I just need to get Matthew and Gabriel to Angel Avenue when it’s dark!

Making soy milk — Part 2

I didn’t mean for yesterday’s post to be a teaser.  I really thought I’d actually be writing about making soy milk, but when I sat down to write, there was just too much background and context for one post.  But I’m back and ready to get down to business!

The machine
I borrowed my friend’s Soyabella soy milk maker.  The website has a number of recipes for both soy and nut milks, though you have to go to the product manual to get the weight of soybeans to use for the most basic soy milk recipe.

IMG_6047

Making soy milk
At it’s most basic, soy milk requires soy beans and water.  You start with dried soybeans (available in the bulk section at most natural food stores).  I had not one, but two small bags of old dried soy beans sitting around, from other times I’d intended to make soy milk, but I decided I should start with a fresher product. The Soyabella manual called for 70g-95g (2.5oz-3.5oz) dry soybeans per 1L batch.

IMG_6046

As with all dried beans, the first step is soaking, either a quick soak, or an overnight (at least 8 hour) soak.  Once I had my hands on the machine, I wanted to make soy milk that day, so I went with the quick soak (add enough water to cover beans by an inch, bring to a boil, simmer 2-3 minutes, then remove from heat and soak 2-3 hours).

IMG_6049

After that, you add the soaked, drained beans to the grinding chamber, add the appropriate amount of water to the pitcher (I used filtered), push the “Milk” button, and voilá, about twenty minutes later, you have soy milk.

As suggested, I added a pinch of sea salt.  I also reluctantly added a bit of sugar (I switched to buying unsweetened soy milk about three years ago, and I don’t miss the sugar (7g per cup in my usual brand/variety) at all).  However, there’s a very good chance that there’s something sweet-tasting (stevia?) buried in that “natural flavor” portion of the ingredient list.  For my homemade version, I started with about 1 T. of sugar in 1 quart of soy milk, which comes out to < 3g sugar per cup of milk.

IMG_6051

Initial results
The initial results were rather, “eh.”  It tasted very beany.  Granted, it is made from beans, but somehow, the soy-bean-only store-bought versions (TJ’s and WestSoy), while not exactly delicious, lack the pronounced beany flavor in my homemade product.

Inspired by a friend’s very positive review of Califia Farms Coconut Almond Milk, I had purchased some coconut cream in hopes that it might lead to an equally delicious soy milk.  (I did not try the Califia product myself, but I glanced at it in the store, and was duped into believing that it consisted of three ingredients: water, almonds, and coconut cream.  I like to think I’m a pretty good label reader, but a glance at the product link above reveals this milk is not as “pure” as it claims (for shame!):

Contains Less Than 2% Of The Following: Sunflower Lecithin, Sea Salt, Potassium Citrate, Natural Flavors, Gellan Gum, Carrageenan, Vitamin/Mineral Blend (Calcium Carbonate, Vitamin A, Vitamin E, Vitamin D2, Vitamin B12, Vitamin B2), Monk Fruit Concentrate.

So, maybe the coconut cream is not really the secret to this tasting good.)

IMG_6048

Anyhow, I bought two different brands of coconut cream, and a coconut cream powder.  In the end, these helped a bit, but they were no miracle fix for the beany milk.  This batch was okay for making oatmeal and using for pancakes and waffles, but not inspiring otherwise.  It was usable on cold cereal, but didn’t pass the sipping test.

Other varieties
Not yet dissuaded in my quest for tasty, homemade soy milk, I started playing around.  My second batch of milk in the Soyabella was actually the walnut and almond milk, which is soy free.  The taste was decent (no beans = no beany taste), but it quickly separated into a particulate-heavy bottom and a watery top.

I did some research into eliminating the beany taste in homemade soy milk, and settled on the following fixes:

  • removing the hulls from the soybeans
  • adding a few peanuts to the blend
  • additional cook time for the finished milk

I first tried a batch just removing the hulls.  It tasted better, but I wasn’t satisfied.  The next round, I cut back the amount of soy beans and added a few [soaked] peanuts.  Once the soy milk maker did it’s thing, I dumped the milk into a pan and simmered on very low for about twenty minutes.

The result was WEIRD.  It might have tasted okay, if I was able to get past the texture, but, no.  I’m guessing the stove top cooking, in addition to the cooking that happens in the maker, overcooked it, because the result was ridiculously thick and gloppy.  Adding more water after the fact didn’t help.  I got through this quart by using it primarily for oatmeal.  It was not good for cold cereal or sipping, and I didn’t want to waste good chocolate by using it for hot chocolate.  (In the interest of full disclosure, my other variable here was that I didn’t use only soy beans — I mixed things up a bit by using some black beans, but I really don’t think that was the problem.)

Another method
Some of my research into reducing the beany taste led me to recipes that don’t require a soy milk maker (here and here).  These recipes, which had seemed so daunting before, didn’t look so bad now.  The basic process was the same, minus the convenience of a single machine: soak the beans, grind with hot water (in a blender), filter (using a nut milk bag), and cook (on the stove top).

In the Soyabella, the milk “cooks” while still in contact with the filtered soy bean remains (known as okara).  I was curious if this arrangement (which you can’t avoid if you’re using the machine) intensified the beany flavor.  Armed with a blender and a nut milk bag for straining, I was ready to ditch the machine.

Ingredients

70 g beans (I used mostly soy beans, but I substituted a few chick peas), soaked and hulled
20-30g cashews (raw, unsalted), soaked
1 L boiling water

I pureed the [soaked] beans, nuts, and boiling water in two batches in the blender; filtered it through the nut milk bag; and simmered it on low, stirring frequently, for about twenty minutes.  I added a pinch of salt and 1 T. of sugar, and, hold on to your hats . . . .

. . . . it tasted good!  I actually enjoyed sipping this milk, and it passed the cold cereal test, wonder of wonders!

Back to the machine
To test things a bit further, I returned to the soy milk maker and used the same bean-cashew blend as above.  The result was okay, but, for better or worse, definitely not as good as the non-machine version.

On the one hand, I don’t have to run out and drop $100+ on a soy milk maker.  On the other hand, while making soy milk without a dedicated machine is not as daunting as I’d feared, the machine version requires less hands-on time than the blend, filter, heat and stir on stove top method.  Adding that time up every week could make the not-quite-as-tasty machine version an okay compromise.

Check back for one more post on final thoughts including ease of clean-up, using the okara, cost comparison, and health effects of going “carrageenan-free.”


Making soy milk — Part 1

Looking back, we’ve been talking about making our own soy milk for over two years now, when a friend first offered to let us try her soy milk maker.  For one reason or another, it took me quite awhile to actually take her up on the offer.  (You can make soy milk without a special machine, but, to a newbie, those recipes seemed complicated and labor intensive.  I bought soy beans, intending to try, but it never happened.)

Why make your own

  • Save money???
  • Reduce packaging waste (soy milk packaging is recyclable, but reducing >> recycling!)
  • Avoid additives in store-bought soy milk, particularly carrageenan
  • Better taste than carrageenan-free, store-bought options???

I could write an entire post on that last bullet point, but we’ll try the brief version.  Carrageenan is a “natural” additive,  derived from a type of seaweed, used in food as a thickener and/or emulsifier to improve flavor and mouth feel.  It’s found in many processed foods, not just soy milk.

WebMD says carrageenan is, “safe for most people in food amounts,” but the Center for Science in the Public Interest (CSPI) gives carrageenan a “Caution” rating, stating “May pose a risk and needs to be better tested. Try to avoid.”  (For a full report on carrageenan and human health, with links to peer-reviewed research, see this publication from the Cornucopia Institute.)  There is evidence that it may be especially prudent for individuals with Inflammatory Bowel Syndrome or other GI disorders to avoid consuming carrageenan.

I am not affected by any GI disorders, but the CSPI’s “Caution” rating was enough to make me want to investigate alternatives, and store-bought soy milk is the main source of carrageenan in my diet.

Soy milk consumption
When it comes down to it, I don’t consume all that much soy milk.  I’m not drinking three 8-ounce glasses per day.  In fact, I rarely drink soy milk at all.  I consume 1/3 to 1/2 cup a day in my oatmeal.  Some days, that’s it.  Other days, I have a bit more, either in hot chocolate, with cold cereal, or, very rarely as something I sip with a cookie.  A bit more slips into my diet some days via our homemade pancakes and waffles, but I think it’s safe to say that I average less than one cup of soy milk a day, total.

My other concern, of course, is Gabriel.  I would estimate his soy milk consumption at about 1/2 cup most days.  While he likely consumes a bit less than me, his body is smaller than mine, and perhaps more vulnerable to questionable ingredients.  As far as I know, Gabriel does not suffer from any GI disorders — he doesn’t complain of stomach pain, and his bowel movements are regular.

Store-bought options
A few years ago, I decided it was important to eat organic soy as much as possible.  This decision was not necessarily for health reasons, but rather to avoid GMO soybeans (avoiding the GMOs is also not necessarily for health reasons; for me, it’s about avoiding big agribusiness that threatens small-scale, local growers and food systems).

Based on availability and price, my go-to, store-bought soy milk is Silk Organic Unsweetened, which is readily available at most grocery stores, sold refrigerated in a half-gallon carton.  Sometimes I’d mix things up and buy the equivalent store-brand product at Whole Foods or Trader Joe’s.  The ingredient lists on these products were pretty similar: water, organic soybeans, carrageenan, sea salt, and “natural flavor.”

For carrageenan-free options, I tried Trader Joe’s Unsweetened Organic and WestSoy organic unsweetened.  Both of these come in aseptic quart cartons and do not require refrigeration until after opening.  Ingredients are simply water and organic soybeans.

To me, the carrageenan-free options were missing something in the taste department.  They were fine for my oatmeal and for cooking (e.g., making pancakes), and okay for hot chocolate, but not particularly appealing on cold cereal or for sipping.

Making my own
Part of my motivation for making my own was to see if I could make something that tasted good, without carrageenan and other “natural flavor” additives.

The other motivation was the waste factor: the store-bought options without carrageenan only come in quarts (vs. the half-gallons size of Silk and similar products).  Smaller quantities mean a higher packaging to product ratio, so by switching to the [quart-sized] carrageenan-free option, I was going to be generating proportionally more trash.  Uck.

IMG_6053
L to R: Trader Joe’s (sans carrageenan), homemade (with soy milk maker in background), and my beloved, tasty (but maybe not good for me?) Silk

Plus, what exactly is in the lining of those aseptic containers?  Nothing beats a good, old-fashioned glass jar!

When I started questioning carrageenan, my friend again offered to let me borrow her soy milk maker.  The timing was particularly good, because her family had taken a break from using it.  It’s been great getting to try the machine, and the resulting product, before committing to buying an appliance just for making soy milk.

I’ve been experimenting with it for three weeks now.  I’ve tried straight-up soy milk, plus a number of variations: adding coconut cream, a peanut soy blend, a cashew soy blend, and even a version that used some black beans.  Tomorrow, I’ll report back on the results!