Along with pancakes, whole-grain waffles are part of our normal breakfast rotation around here. Our waffle iron was one of the few items on our very small wedding registry (this makes it easy to remember its origin) and is a gift from my parents.
From the beginning, getting the waffles to release nicely was a tricky proposition. I don’t know if the issue is our waffle iron, our recipe, or some of both, but until we discovered our secret weapon, the first waffle of the batch always stuck. I don’t mean it was a little tricky to remove; I mean we were scraping chunks of what should have been a beautiful waffle out of a hot waffle iron, cursing the thing while trying not to burn our fingers and swearing that we’d never make waffles again.
This happened with the first waffle (and sometimes the second and third, to a lesser degree) regardless of how much oil we used. In addition to the environmental issues with disposable aerosol bottles, commercial non-stick spray is not recommended for waffle irons (or anything with a nonstick coating, really), because the propellant gunks up the surface, so we used a pastry brush to apply either canola oil or melted coconut oil in between every waffle.
Subsequent waffles usually released better (except for this one time when I swear every. single. waffle. in the batch was a hot mess, as was I by the end of it), and by the end of the waffle making session, our frustration would have faded a bit, eased by the fact that we were eating delicious waffles. But the effort required made me eschew waffles in favor of pancakes on more than one occasion.
Enter the secret weapon.
On the way back from a camping trip two years ago, we stopped to do a little shopping. I believe we were at T.J. Maxx, and, not unusually, I was much more interested in looking at their kitchen wares than at clothing. They had a Misto oil sprayer, which I’d contemplated before, but never purchased due to concerns about how well it would actually work. Matthew was interested in having something like that for applying oil to the top of rising bread dough, and we decided that for ten dollars, it was worth a try.
Back home, it sat in the box for a couple of months before I actually cleaned it (to remove any residual chemicals from manufacturing) and filled it with oil. It then took another few months for us to think to use it to apply oil to the waffle iron, but once we did, holy moly, what a difference! Consistently beautiful, easy-release waffles were ours!

There have been a few hiccups along the way. Every so often, the Misto clogs and needs to be cleaned (if you have one and it is refusing to spray anything but a sad stream of oil, this is likely your problem). You need to wait for it to air-dry before refilling and using again, so if it just happens to clog in the middle of a batch of waffles, you’re s.o.l. (yes, I learned this the hard way). I have not done so, but I’m somewhat tempted to buy a back-up so I have a clean, dry Misto waiting in the wings for just such occasions.

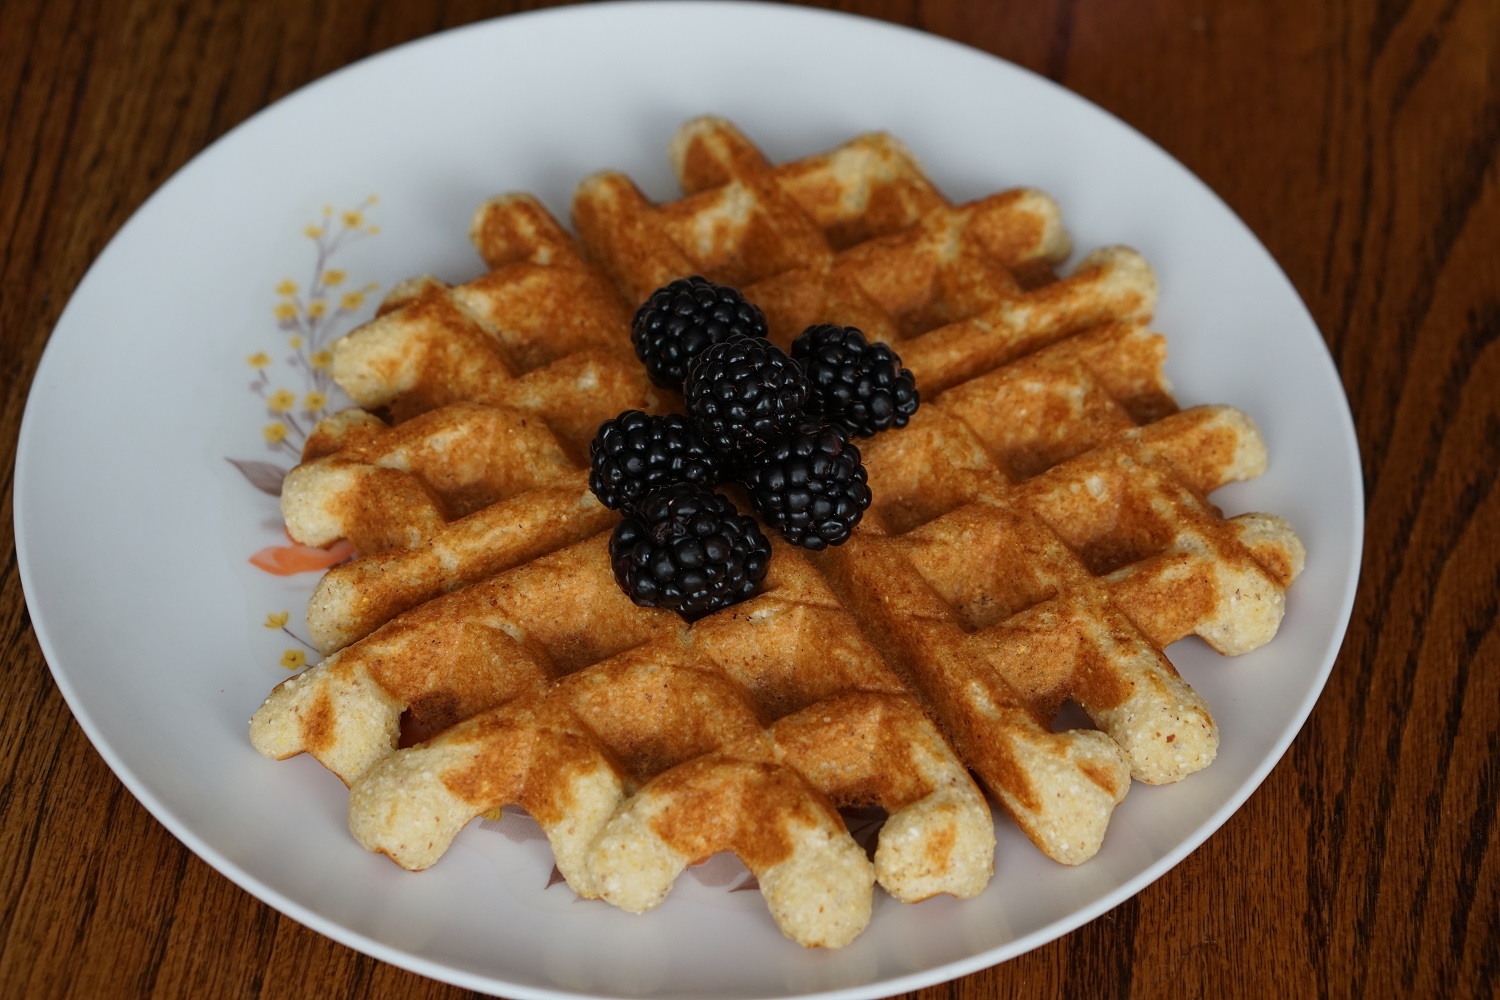
WHOLE GRAIN WAFFLES
Recipe adapted from 1000 Vegetarian Recipes by Carol Gelles
Quantities here are for a double recipe — enough to feed a crowd or freeze a bunch. Cut in half if you want less.
Ingredients
3 c. whole wheat pastry flour*
1 c. other flours (I use a mix of almond and/or cashew meal, coconut flour, and corn meal)
1/2 c. sugar
2 T. baking powder
2 2/3 c. milk
2/3 c. oil
4 eggs, separated
2 t. vanilla
1/3 c. rolled (NOT quick) oats, optional
Directions
In a large mixing bowl (big enough to hold wet and dry ingredients), sift together flours, sugar, and baking powder.
Beat egg whites until stiff peaks form (do this first while the beaters are still clean). Then, use the mixer to combine the milk, oil, egg yolks, and vanilla.
Preheat the waffle iron.
Make a well in the dry ingredients and pour in the wet. Stir gently until just combined, folding in the egg whites toward the end.
Apply oil to the hot waffle iron, ideally with a Misto. I spray the bottom first, add the batter (I use about 1 cup of batter per waffle; this doesn’t totally fill our waffle iron, but that’s my preference) and then spray the top just before closing. In our waffle maker, on a “medium” setting, these cook in about 3 minutes. If you still see steam coming out of the waffle iron, it is probably too soon!
If it does stick a bit, use something wooden to help it release (metal will scratch the iron’s cooking surface). Place on cooling rack.
*You can play with the ratios of different types of flour a bit, but I would not go much below 2.5 cups of whole wheat pastry flour.

We make big batches and freeze them to enjoy over a few weeks. To freeze, place thoroughly cooled waffles in freezer bags.

In the morning (or at snack time), let thaw at room temperature for a bit and reheat in the toaster for an almost-as-good as fresh waffle!
These waffles are fairly sweet on their own. I usually top with butter and just the tiniest bit of real maple syrup or homemade fruit sauce; chocolate chips and cherry sauce are the topping of choice when I’m feeling decadent (and nostalgic, as that was my go-to combo when using the Belgian waffle maker in the Notre Dame dining hall).

![IMG_5994[1]](https://hergreenlife.com/wp-content/uploads/2014/11/img_59941.jpg)