Child labor

One of Matthew’s new crops this year was a bean that you grow for the dried bean.  Theoretically, you can grow almost any kind of green bean until the seeds/beans fully ripen and the pods dry, but certain varieties are grown with that in mind.

From time-t0-time, I read a lovely blog called A Life Sustained, where the author, Courtney, writes about creative, Montessori-learning-type activities with real-world objects for her toddler son.  I admire, and am inspired by, her efforts, but I’m not gonna lie, thinking up and carrying out projects like that is not really something to which I aspire.  And, yes, I feel at least a bit of mommy-guilt over this fact.

Last week, I soothed some of that guilt when I stumbled upon bean-shelling as an engaging, real- and natural-world toddler activity.  Perhaps it would be more fair to say that Gabriel discovered it, as it was his initial interest in the pile of dried beans left sitting on the floor.

IMG_2802

I grabbed the beans and pulled out a metal cake pan, and we plopped down on the floor and went to work.

It’s pretty amazing what toddlers can do.  At just over two-years-old, Sir has the dexterity to shell the beans, a decent bit of focus to stick with the activity, and the knowledge that the de-beaned pods go in the compost bucket.

He also knows, but sometimes needs to be reminded, that we have to make the dry beans hot (i.e., cook them) before they are good to eat.

Since decent dry beans are relatively easy and affordable to buy, Matthew is debating whether or not to grow this crop in future years.  The toddler-entertainment factor may make the case for keeping them in the rotation.

Cookie Monster

I took advantage of the cooler temperatures last week (we’re heading back toward “normal” summer heat now) to appease the Cookie Monster.

He wanted a batch of crunchy oatmeal raisin cookies and I wanted to try a new recipe for chocolate chip chia cookies.  What’s a girl to do?  Make both, of course!

Making both doughs at the same time allowed me to use the mixer twice and wash once.  I made both doughs in the morning and chilled them for afternoon baking.  I worried that the chia seeds would absorb moisture while sitting, lessening the crunch in the final product, but that wasn’t an issue.

IMG_2806

I made some significant adjustments to the chocolate chip chia recipe (above left), which was a bit of a gamble on the first round.  I kept relative proportions the same, but I subbed some rice flour and quick oats for some of the spelt flour, swapped some of the butter for nut butter, and reduced the sugar.

The result?  A low-sweetness, chewy, chocolatey cookie with crunch from the chia seeds and pecans.  They work either as a granola bar-type snack or as a healthy treat — just what I wanted!

IMG_2807

We used to freeze cookie dough balls for later baking, but it’s easier (and more energy efficient, especially in the summer) to heat the oven once, bake all the cookies in one go, and freeze them for later enjoyment.

The oatmeal cookies (smaller cookies in above photos) are a recipe from a friend, who made a batch for Matthew and his mom for their road trip to Florida earlier this summer.  The spices really make the cookies — enjoy!

Judy’s oatmeal cookies

Ingredients
2 c. whole wheat pastry flour
1 t. baking powder
1 t. baking soda
1 t. salt
1 t. cinnamon
1/2 t. nutmeg
1/4 t. cloves
1/4 t. allspice
1 c. brown sugar
1 c. white sugar
1 c. butter
2 eggs
2 t. vanilla
2.5 cups rolled oats
1 c. chopped walnuts and/or pecans
1 c. raisins (or dried cherries or cranberries)

Directions
Combine all dry ingredients (except the oats), including spices.  Set aside.

Cream the butter and sugars.  Add eggs and vanilla.

Combine dry ingredients with butter-egg mixture.  Stir in the oats, nuts, and fruit.  Chill dough for at least an hour (or up to thirty-six hours), before scooping and baking.

Preheat oven to 350°F.  For crunchy cookies (this is how we made a previous batch, and how Judy makes them), make very small dough balls (maybe a not-heaping tablespoon of dough?) and bake for 12-15 minutes, rotating top and bottom trays halfway through.

I was curious about a chewier oatmeal cookie, so I made the dough balls a bit bigger, but kept the cooking time about the same.

The plan was actually that some would come out crunchier (for Cookie Monster) and some chewier (for me), but I’m afraid none were the super crunchy that Cookie Monster was hoping for, unless he eats them straight from the freezer — they’re very crunchy that way!

Eat your greens!

When we learned that Matthew was going to be on anticoagulant medication (Coumadin/warfarin) for awhile, one of our big questions was about eating foods that are high in vitamin K.

Vitamin K plays a major role in blood clotting, as it is needed by many of the proteins that help blood clot.  However, that means vitamin K works at cross-purposes with the warfarin:

Large quantities of dietary or supplemental vitamin K can overcome the anticoagulant effect of vitamin K antagonists [e.g., warfarin], so patients taking these drugs are cautioned against consuming very large or highly variable quantities of vitamin K in their diets.  Experts now advise a reasonably constant dietary intake of vitamin K that meets current dietary recommendations (90-120 mcg/day) for patients on vitamin K antagonists like warfarin (source).

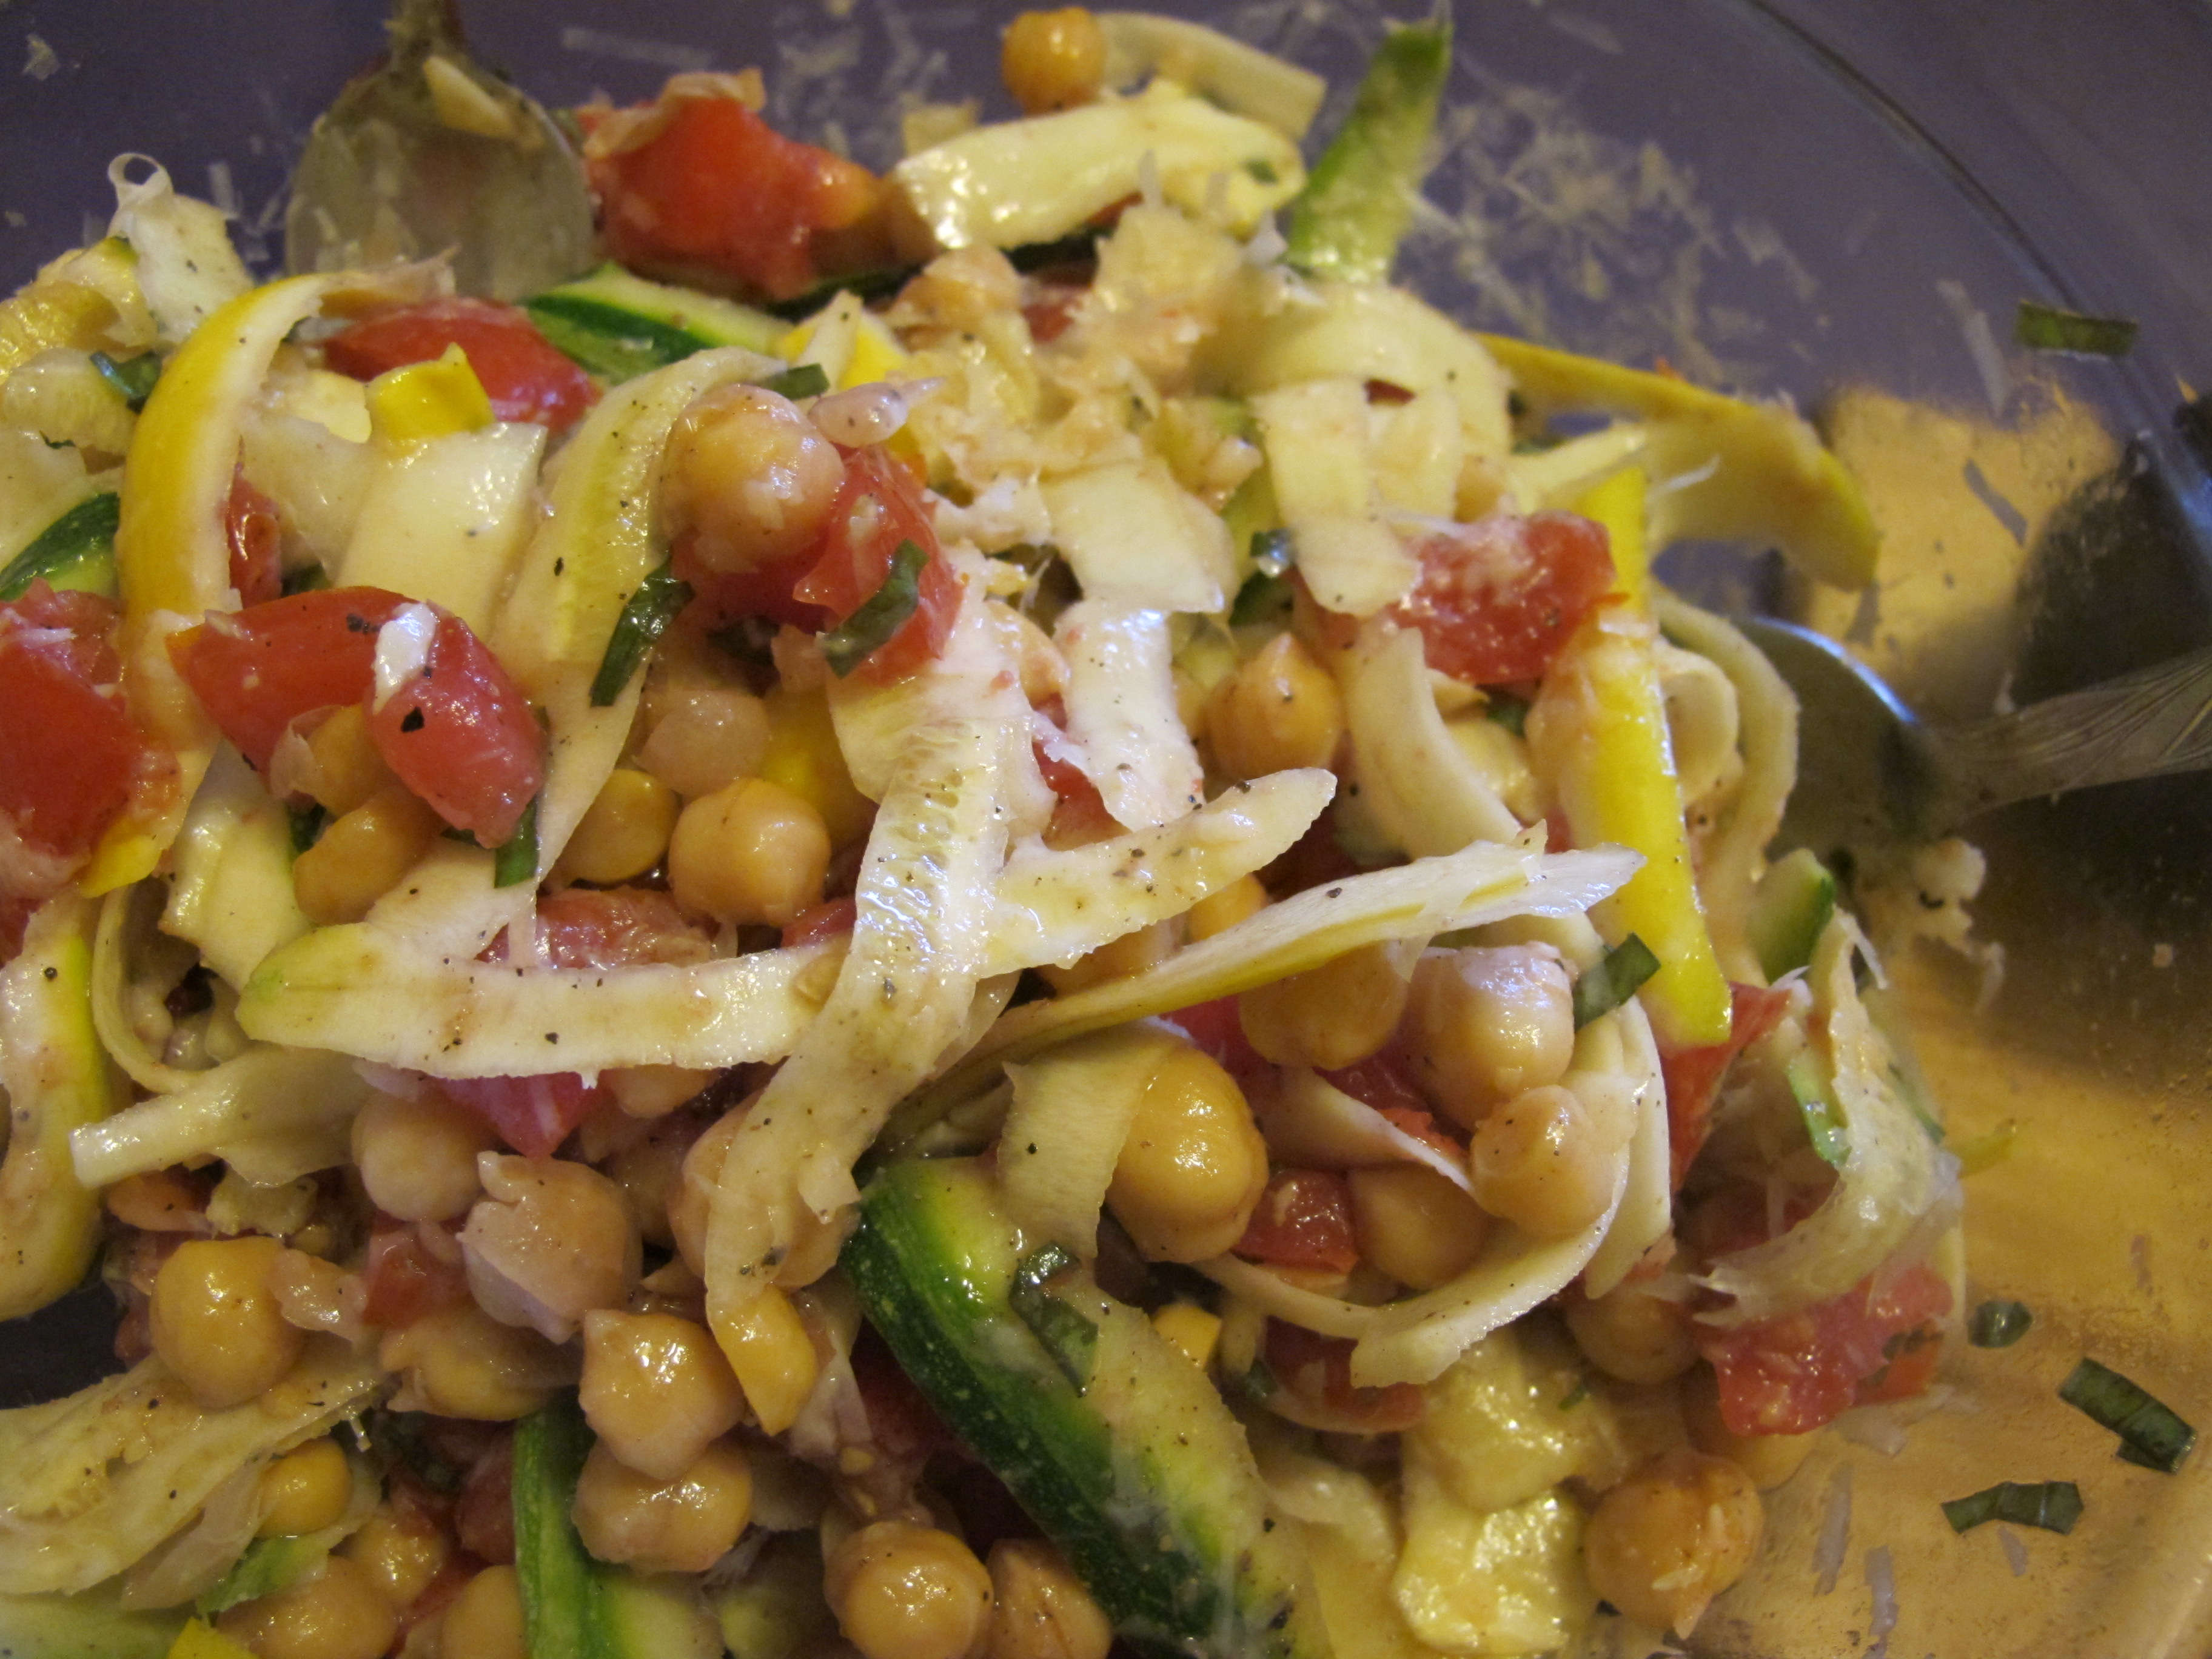
Foods highest in vitamin K include kale (660 mcg per half-cup cooked) and collard greens (520 mcg per half-cup cooked).  While the majority of the American public is not in danger of consuming high doses of vitamin K, and some would rejoice rather than mourn upon being instructed to severely reduce or eliminate these foods, our regular diet is a bit different than the majority of the American public, to put it mildly.

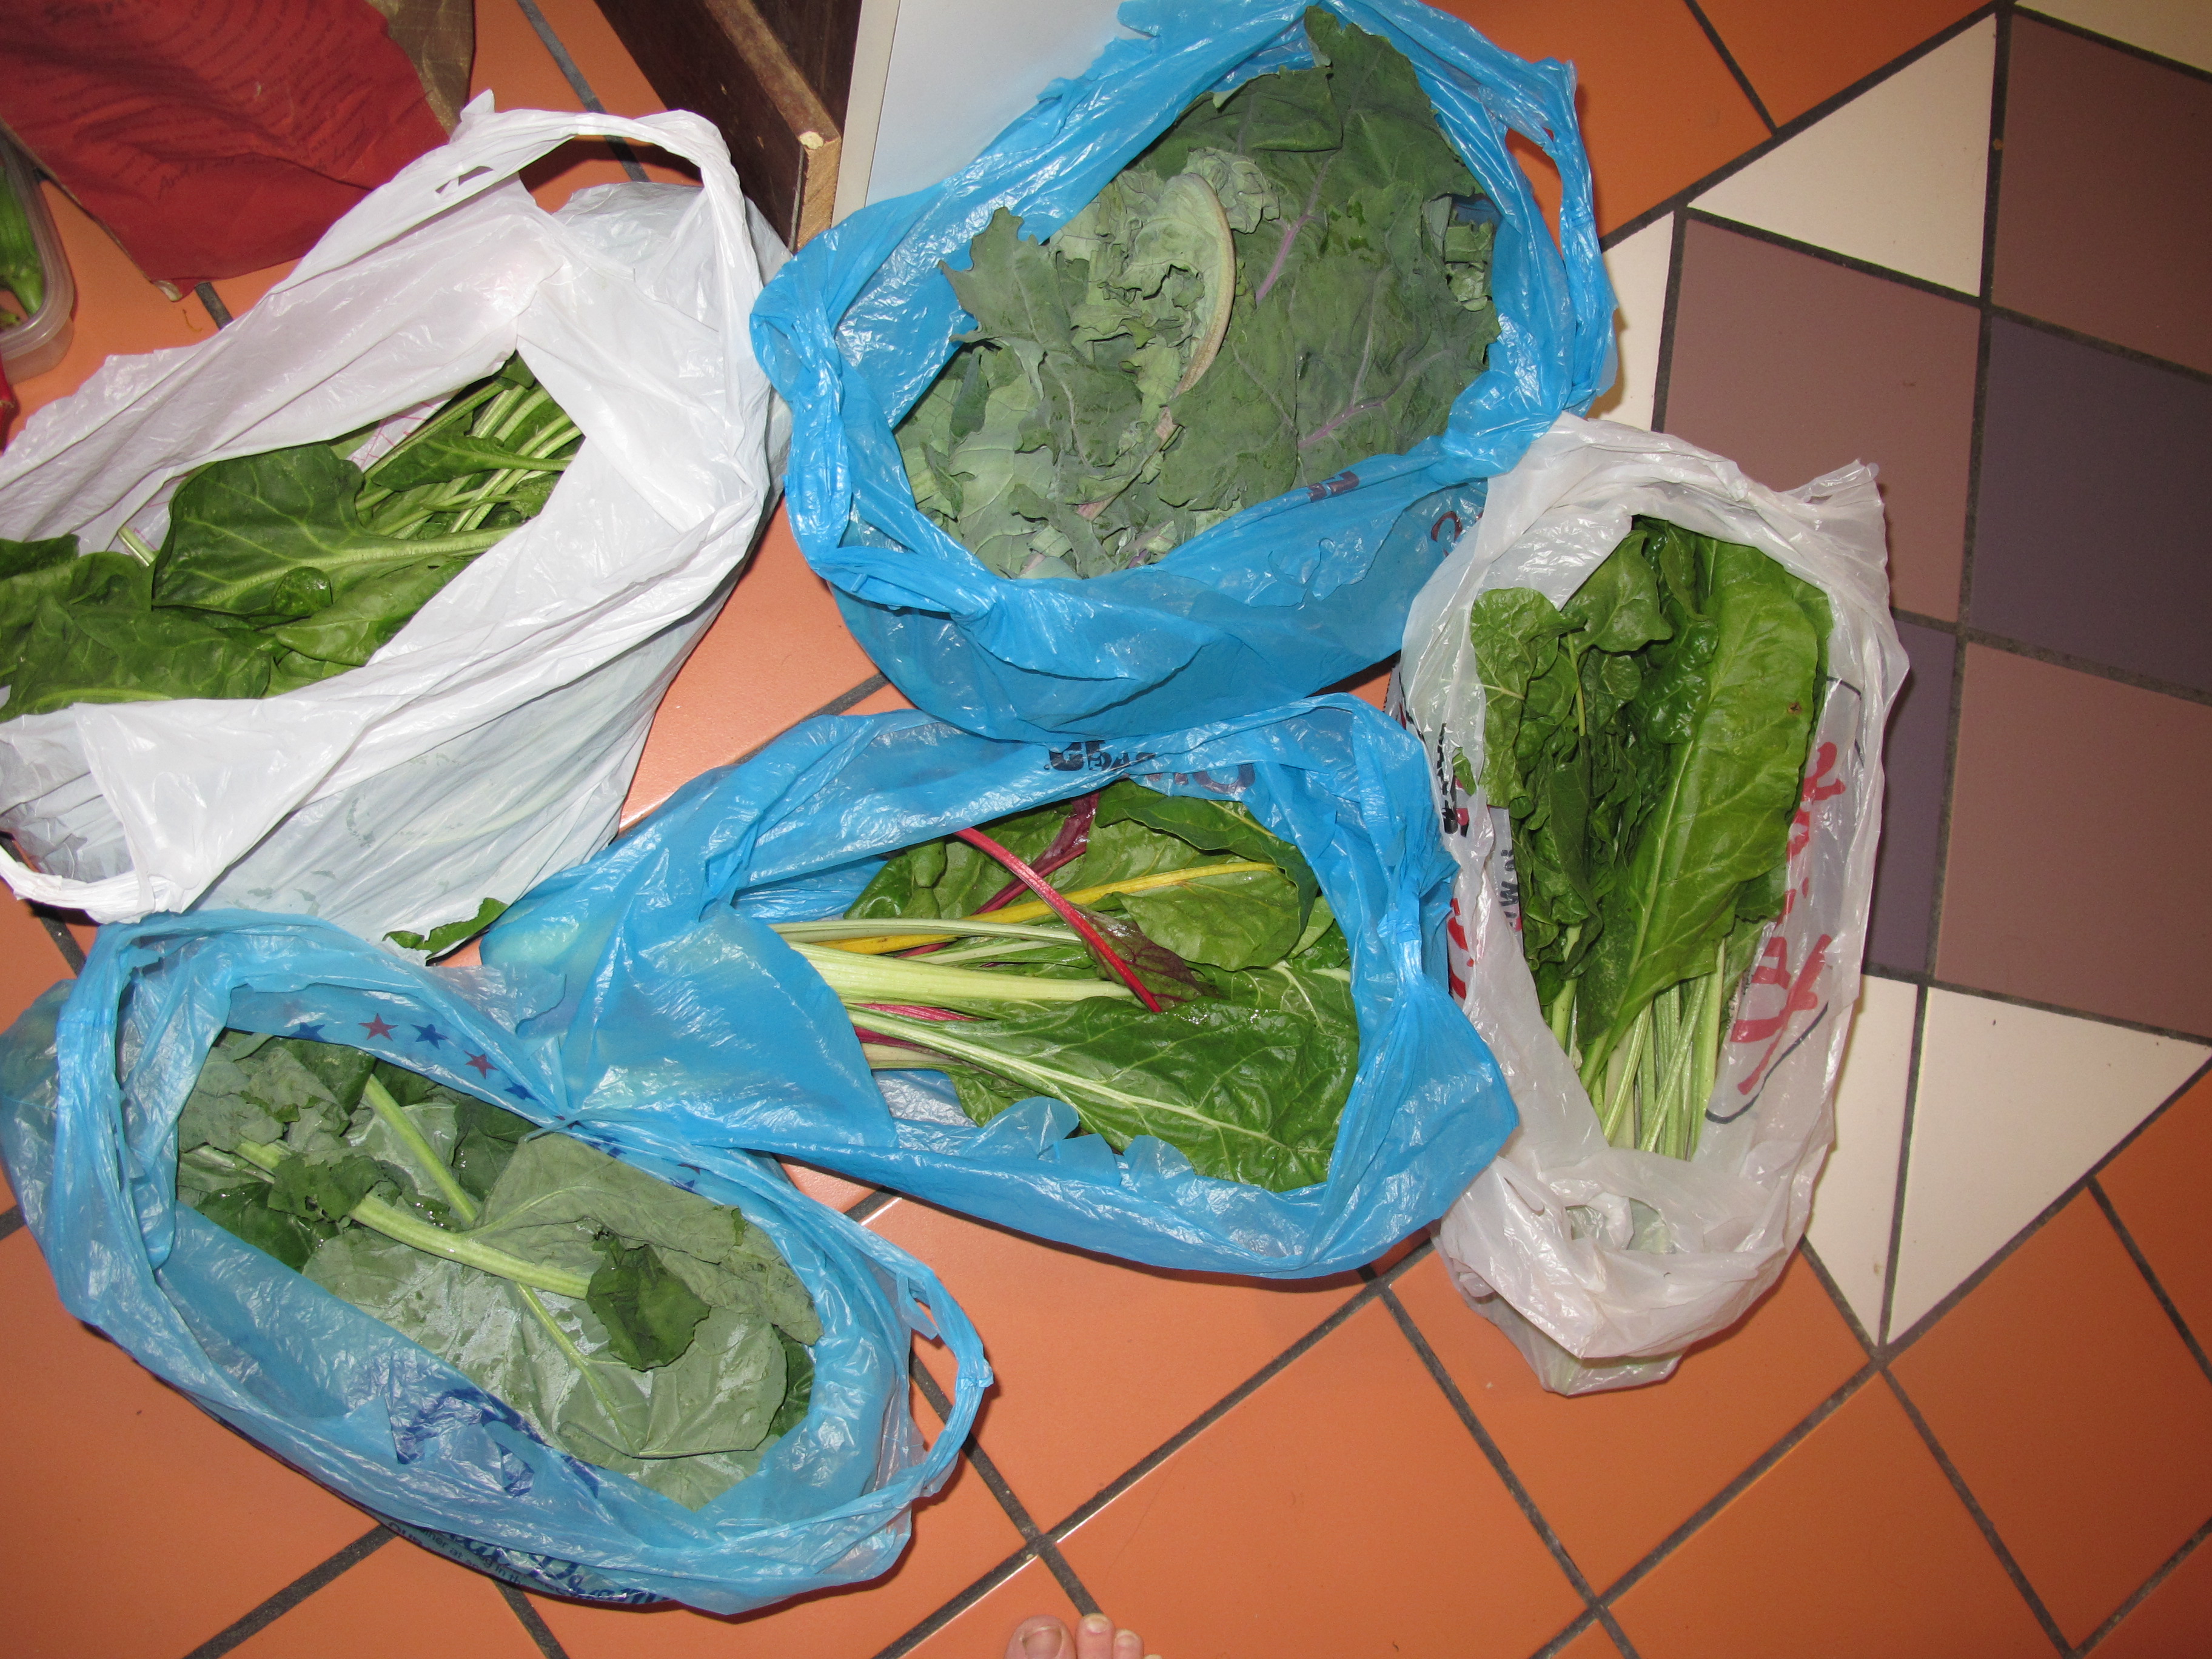
Matthew started taking warfarin just as our garden-grown greens (kale, collards, and Swiss chard*) really hit their stride.  We’ve been harvesting huge grocery bags full every week, and that seems to barely make a dent in the supply.

IMG_2792

Clockwise from top: kale (one of two varieties we grow), perpetual spinach chard, rainbow chard, collards, and some other kind of chard.

I prefer to be the one doing the harvesting, as Matthew’s idea of how many greens we can consume in a week (not to mention how much we can stuff into our poor refrigerator!) is a bit more optimistic than mine.

Fortunately, Matthew’s hematologist gave him the green light for continuing to eat a full serving of greens every day, with the caveat that he keep intake consistent.  Thus, while he previously wouldn’t have eaten a half-cup of cooked kale or collards every day, doing so is now part of his “medical” regimen.**

IMG_2797

The garden continues to produce in abundance, so supply is not a problem, though it was a bit tricky when we separated from the garden for our trip to Wisconsin.  We kept up the intake with lots of frozen grocery store spinach (560 mcg per half-cup cooked) — those little frozen boxes were convenient, but not near as tasty.

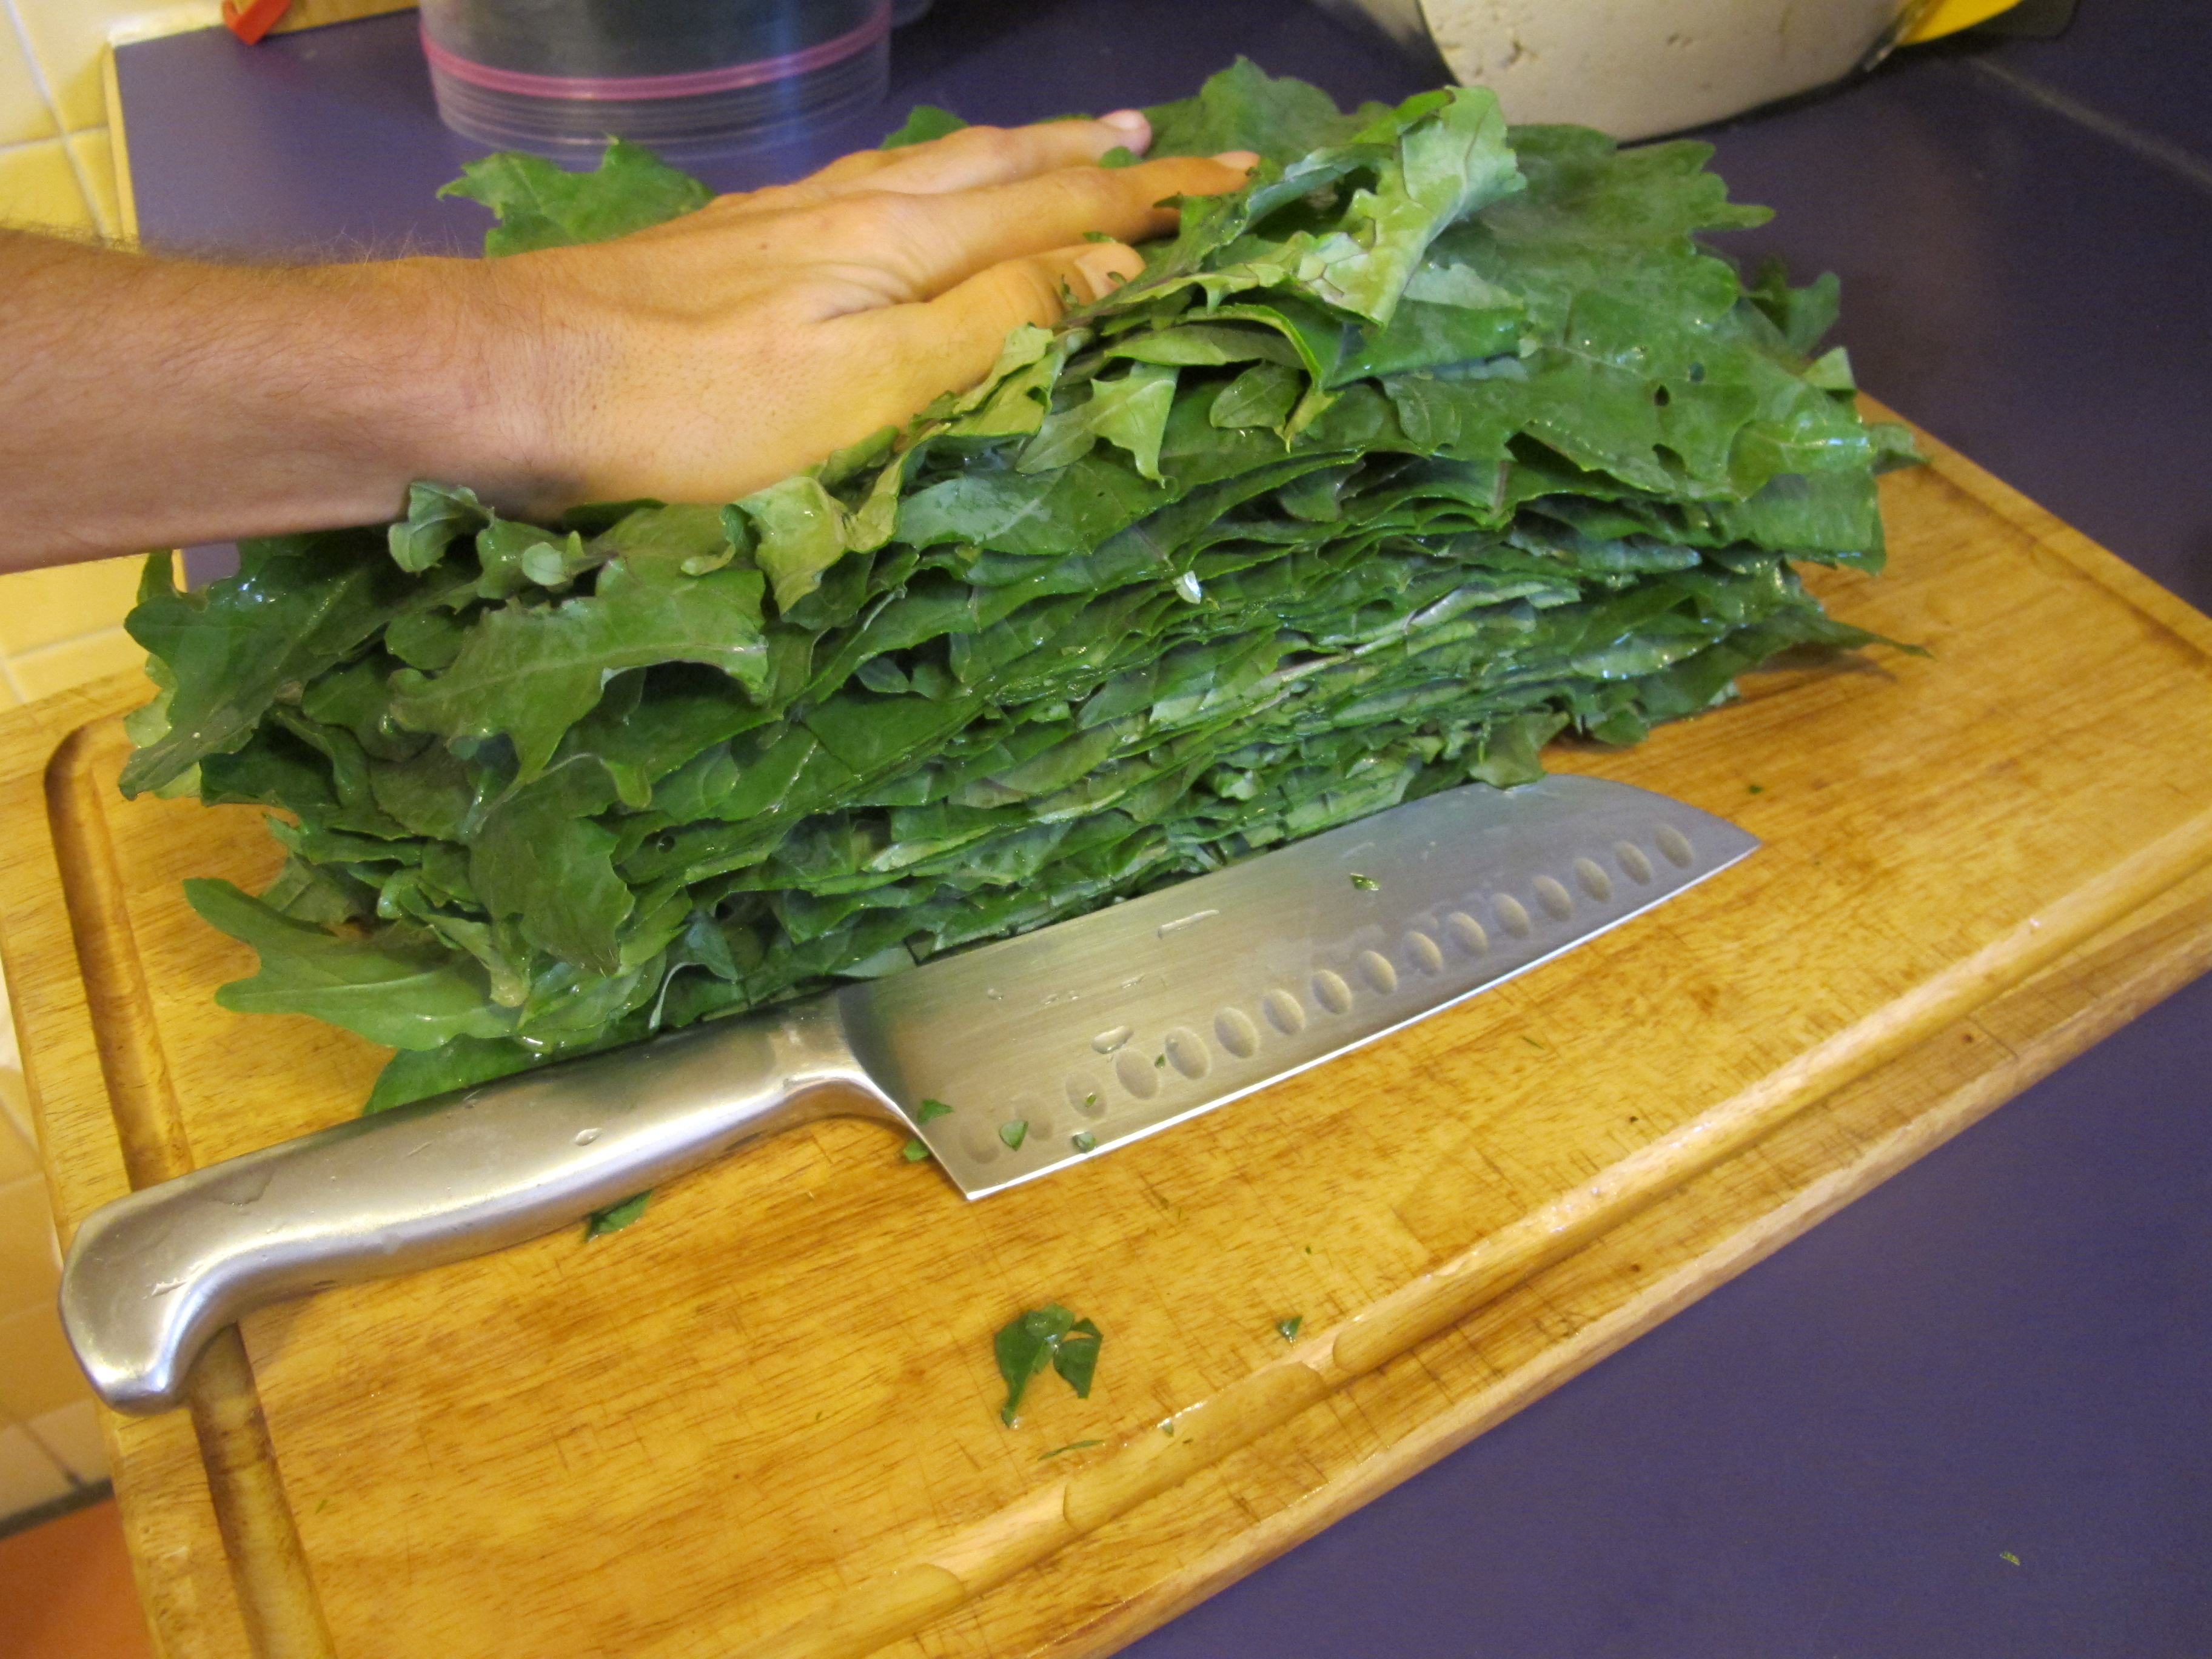
One thing I’ve discovered is that summer kale and chard do not at all resemble the tender leaves that I cook in spring, when I toss the still-damp, cut, rinsed leaves in our biggest cast iron skillet, cover to steam for a couple of minutes, and then finish uncovered, sauteing with a bit of oil, salt, and garlic.

Summer kale is a different beast entirely, with tougher, chewier leaves not suited for light cooking (or raw kale salads).  It will just laugh at those preparation methods as you sit trying to chew a mouthful of tough greens.

Much as I cringe at boiling those beautiful, nutrient-packed leaves, a girl’s gotta do what a girl’s gotta do.  Fortunately, there’s a happy medium between gross, boiled-to-death, pile of mush and too-tough-to-chew.

cooking hot-weather greens

Wash and chop the greens.  Bring a large pan of salted water to a boil.  Add your prepped greens to the boiling water.  Return to low boil and cook for 10-15 minutes.  Drain.

Now the greens are ready to be sauteed with onion and garlic or tossed into some kale-quinoa quiche.

IMG_2798

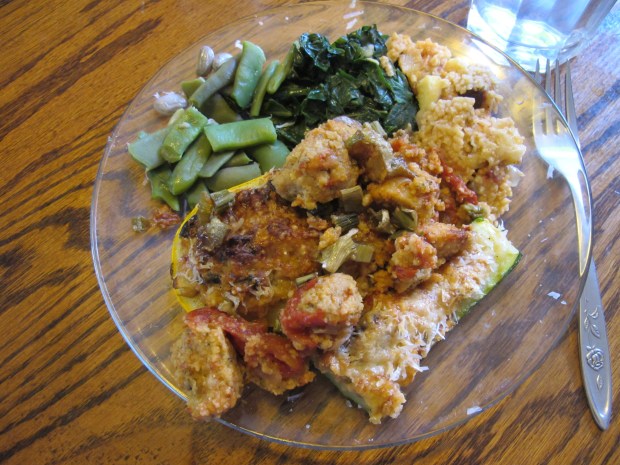
A recent dinner: stuffed zucchini with a side of garlicky sauteed collards.

If greens are half the “superfood” that some people claim, Matthew is well on his way to becoming Clark Kent!

—————————-

*Chard is lower in Vitamin K, with about 360 mcg per half-cup cooked, which means eating about two servings  a day.

** This post is not intended as medical advice.  If you are on anticoagulant/blood thinner medication, consult your physician before increasing your intake of vitamin K-rich foods.

Garden veggie slaw and potluck hosting

So, as I mentioned last week, we hosted our vegetarian potluck group on Friday night.  With the apartment looking the best it ever has, I set out to make our contribution to the meal.

I discovered that potluck style meals are awesome to host, because instead of going crazy trying to make (and clean up after) multiple dishes/courses, there’s just the one dish you’re responsible for making.

A couple of weeks ago, I made some kohlrabi-turnip slaw based on this recipe.  So, while I wasn’t strictly working from a recipe when I made my dish for the potluck, this was floating around in my head.

We also planned to make a second, simple dish of sliced garden tomatoes with olive oil and balsamic, but the cooler weather we’ve had (yay!) means slow-ripening tomatoes.  Good thing we didn’t put all our eggs in that basket!

Once I finished the slaw, I completed some final kitchen clean-up, then set out cloth napkins and real (i.e., non-disposable) plates, cups, and utensils (very thankful for the dishwasher post-party).

Fifteen of our friends joined us, bringing their own lovely, local-food themed offerings, for a fun evening of dining and chatting.

I received several requests for the slaw recipe, so, without further ado, my garden veggie slaw.

IMG_2750

GARDEN VEGGIE SLAW

Recipe by Melissa
Serves 12-15

Ingredients
Dressing
3 T peanut butter
2 T miso paste
1 t sweet mirin rice wine
2 T seasoned rice vinegar
1 t lime juice
1 T toasted sesame oil
1 T peanut oil
3 T sugar
6 cloves garlic, minced
Cilantro*
———–
Veggies**
3 c purple cabbage, shredded or cut very finely
1 large kohlrabi, shredded
3  hakurei turnips, shredded
1 small onion, thinly sliced

1 c toasted sunflower seeds

Directions
Combine all dressing ingredients to make a rich, thick dressing.

Prep your veggies.  I cut the cabbage by hand and used a box grated for the kohlrabi and turnips.

In a large bowl, toss shredded vegetables with the dressing.  Let sit for at least two hours for flavors to meld.

Serve topped with toasted sunflower seeds.

*I didn’t have fresh cilantro, so I used some cilantro “pesto” that I made and froze earlier in the summer.  It was a minor flavor note, so could be omitted.
**You can mix and match the veggies here, depending on what you have available.  Green cabbage would certainly work, while the purple adds a nice color pop.  Shredded carrots would also work nicely.

Kitchen craziness

It’s been a busy week of cooking, baking, and fermenting.  Three-and-a-half hours of oven time on Tuesday yielded nice results.

IMG_2737

Clockwise from top: roasted fennel, roasted potatoes (dug on Saturday), and a double batch of granola.

IMG_2741

I also baked six loaves of bread (Matthew made the dough before work), including one chocolate cherry loaf — so good!

IMG_2738

Two crocks of shredded cabbage, on their way to becoming sauerkraut.

After all that kitchen time, I didn’t really feel like making dinner, but I tossed together a zucchini salad to go with the roasted potatoes.

IMG_2742

This was an occasion where my internet recipe search [for “zucchini salad”] was spot on.  I used this recipe from the Post Punk Kitchen, complete with her suggested additions of chickpeas and avocado, which I wanted to work into the dish anyway — it was like the author read my mind!

In addition to the kitchen endeavors, I’ve been cleaning and decluttering the apartment, in preparation for hosting our vegetarian potluck group for the first time ever!

Our previous apartment was just too small, so we’ve enjoyed the hospitality of others for the three years we’ve been part of the group, in addition to “hosting” a dinner at the Botanical Garden for two years.  I’m really looking forward to having the gathering here.

Now back to the kitchen to figure out what I’m making for the potluck . . . .