The gardener never rests

Guest post by Matthew, AKA Farmer Brown

It’s March 3rd, and there’s an inch of ice on the ground and single digit temps outside, of course nothing’s going on with the garden, right?

Well, actually, over the weekend, I harvested 2 gallons of arugula (from under the low tunnel), turned compost piles, and took more anti-vole measures (more on that in a future post).

I have nine trays of seedlings growing, including onion starts and fennel seedlings that are itching to be transplanted outside.  Nine trays exceeds our grow light capacity by one tray, so the leeks are hanging out on the sun porch, along with a bit of lettuce.

IMG_3636[1]
Seed Starting
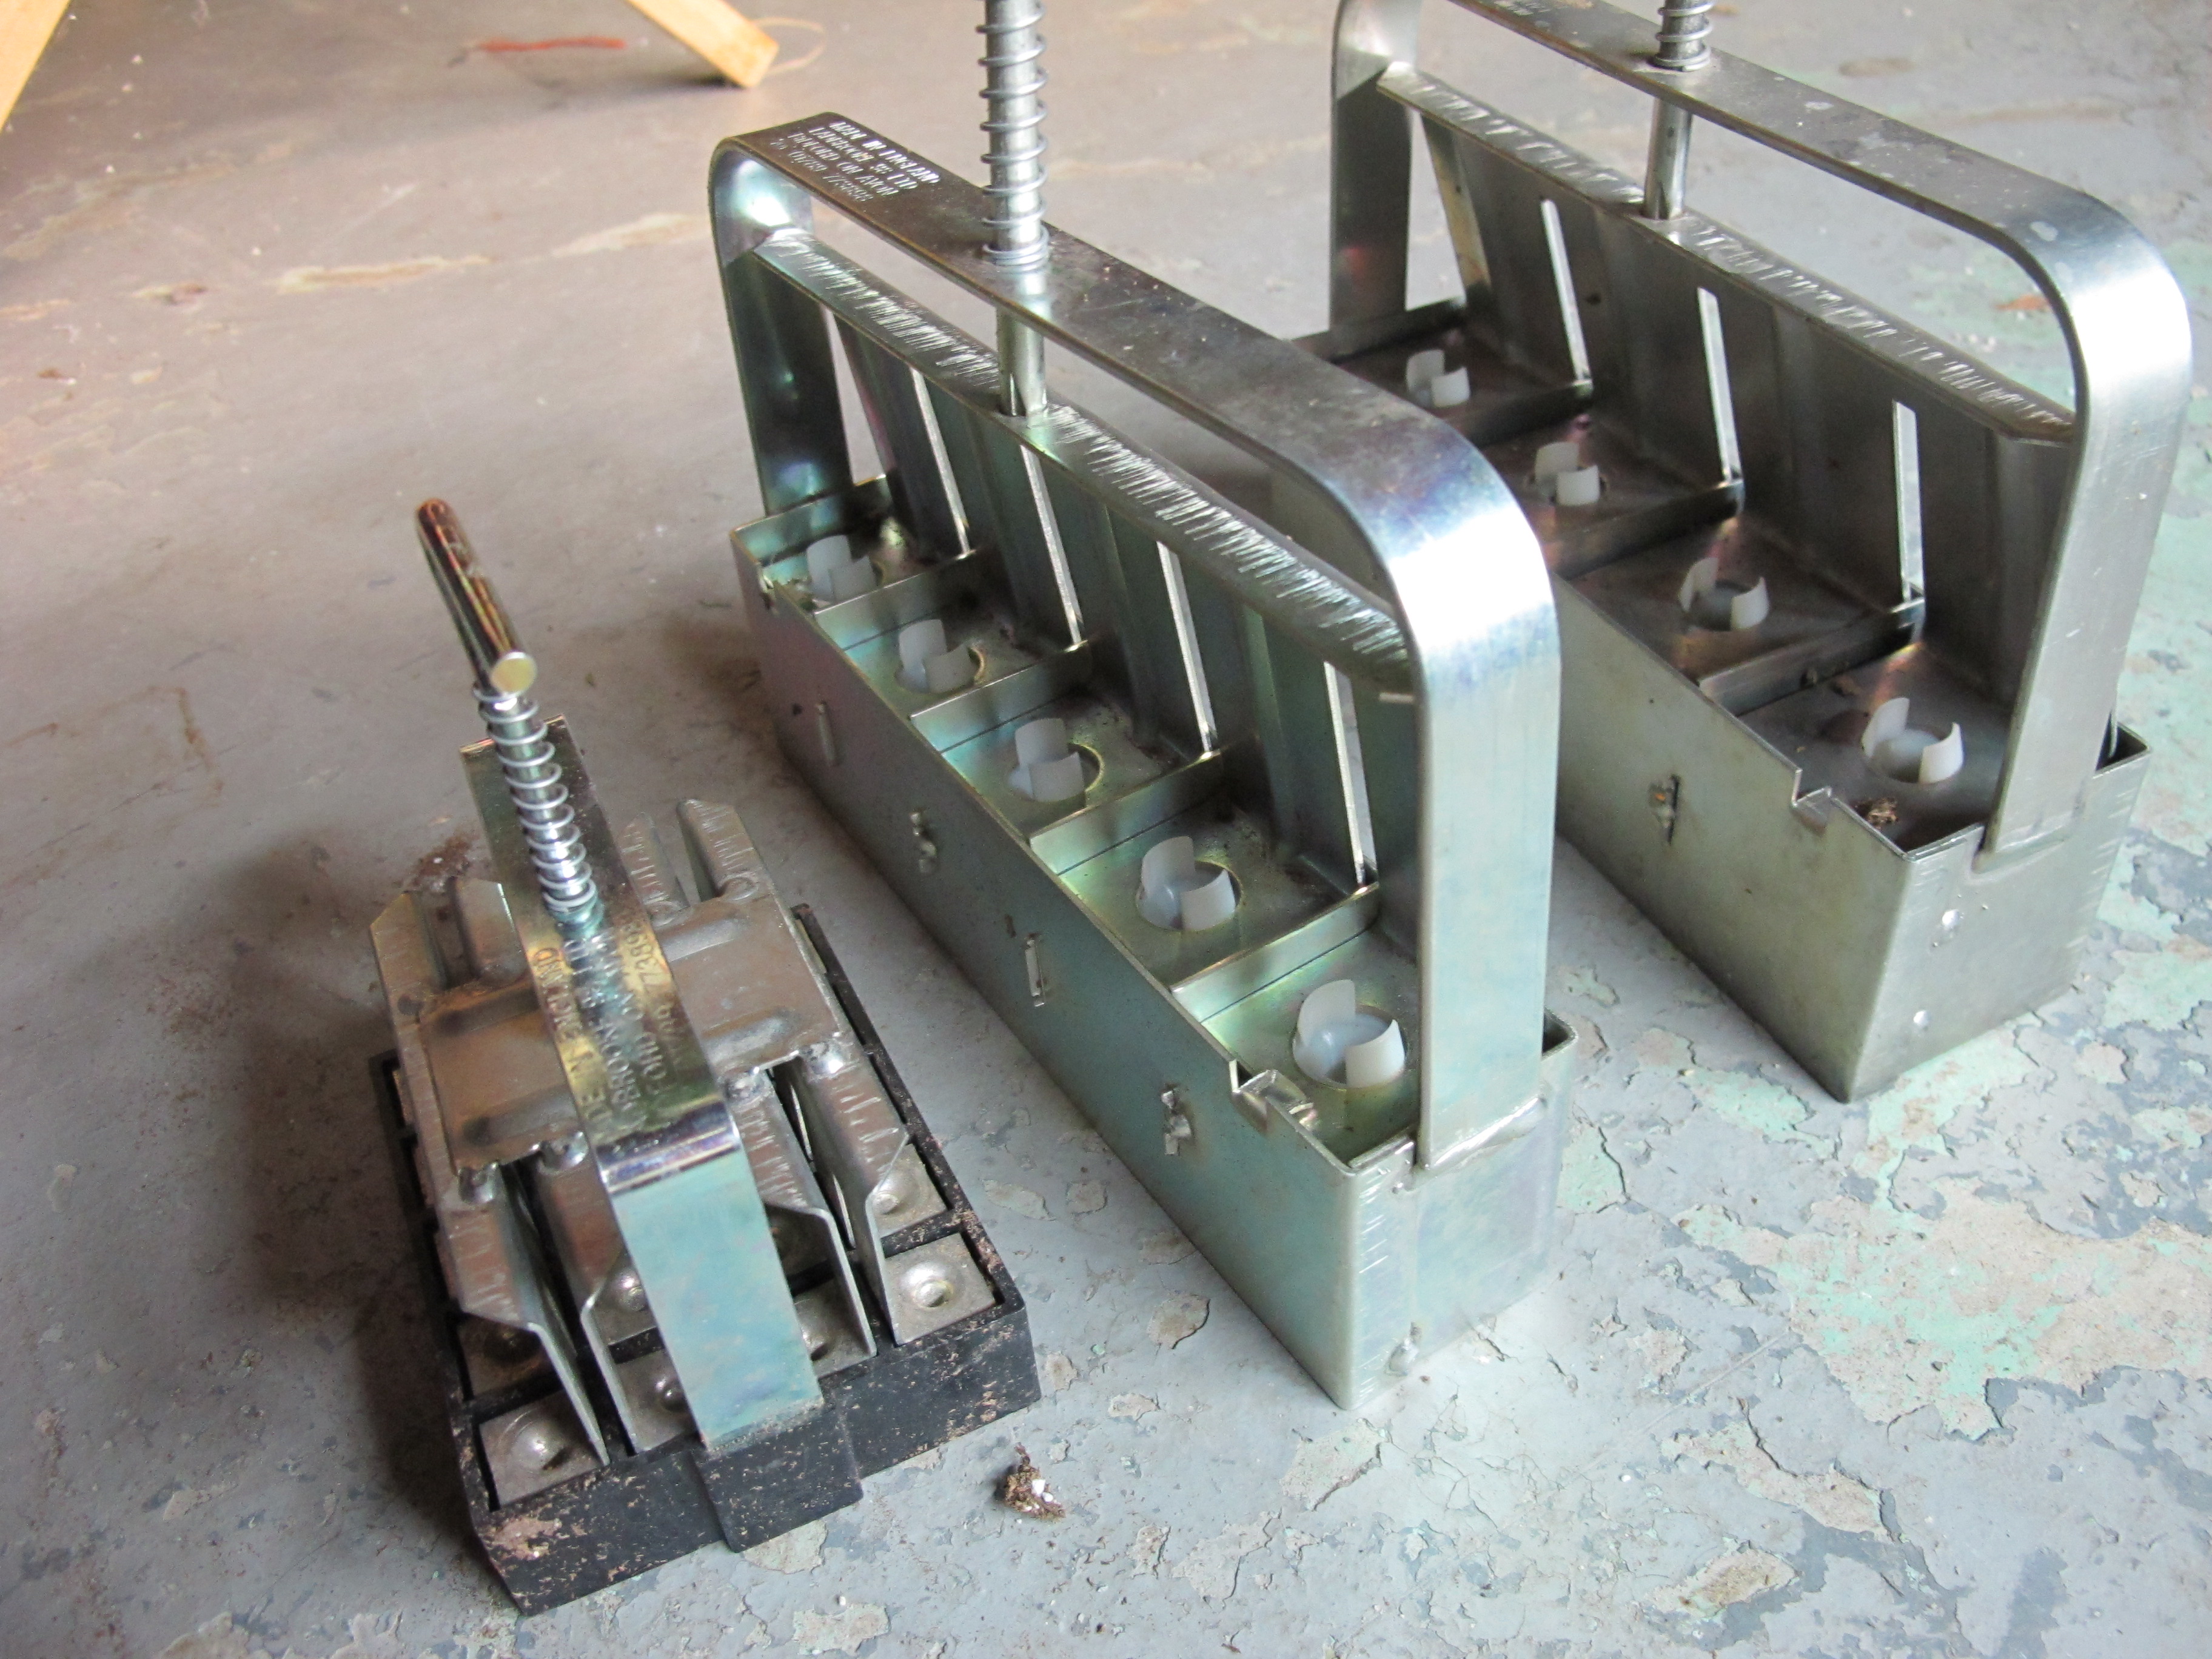
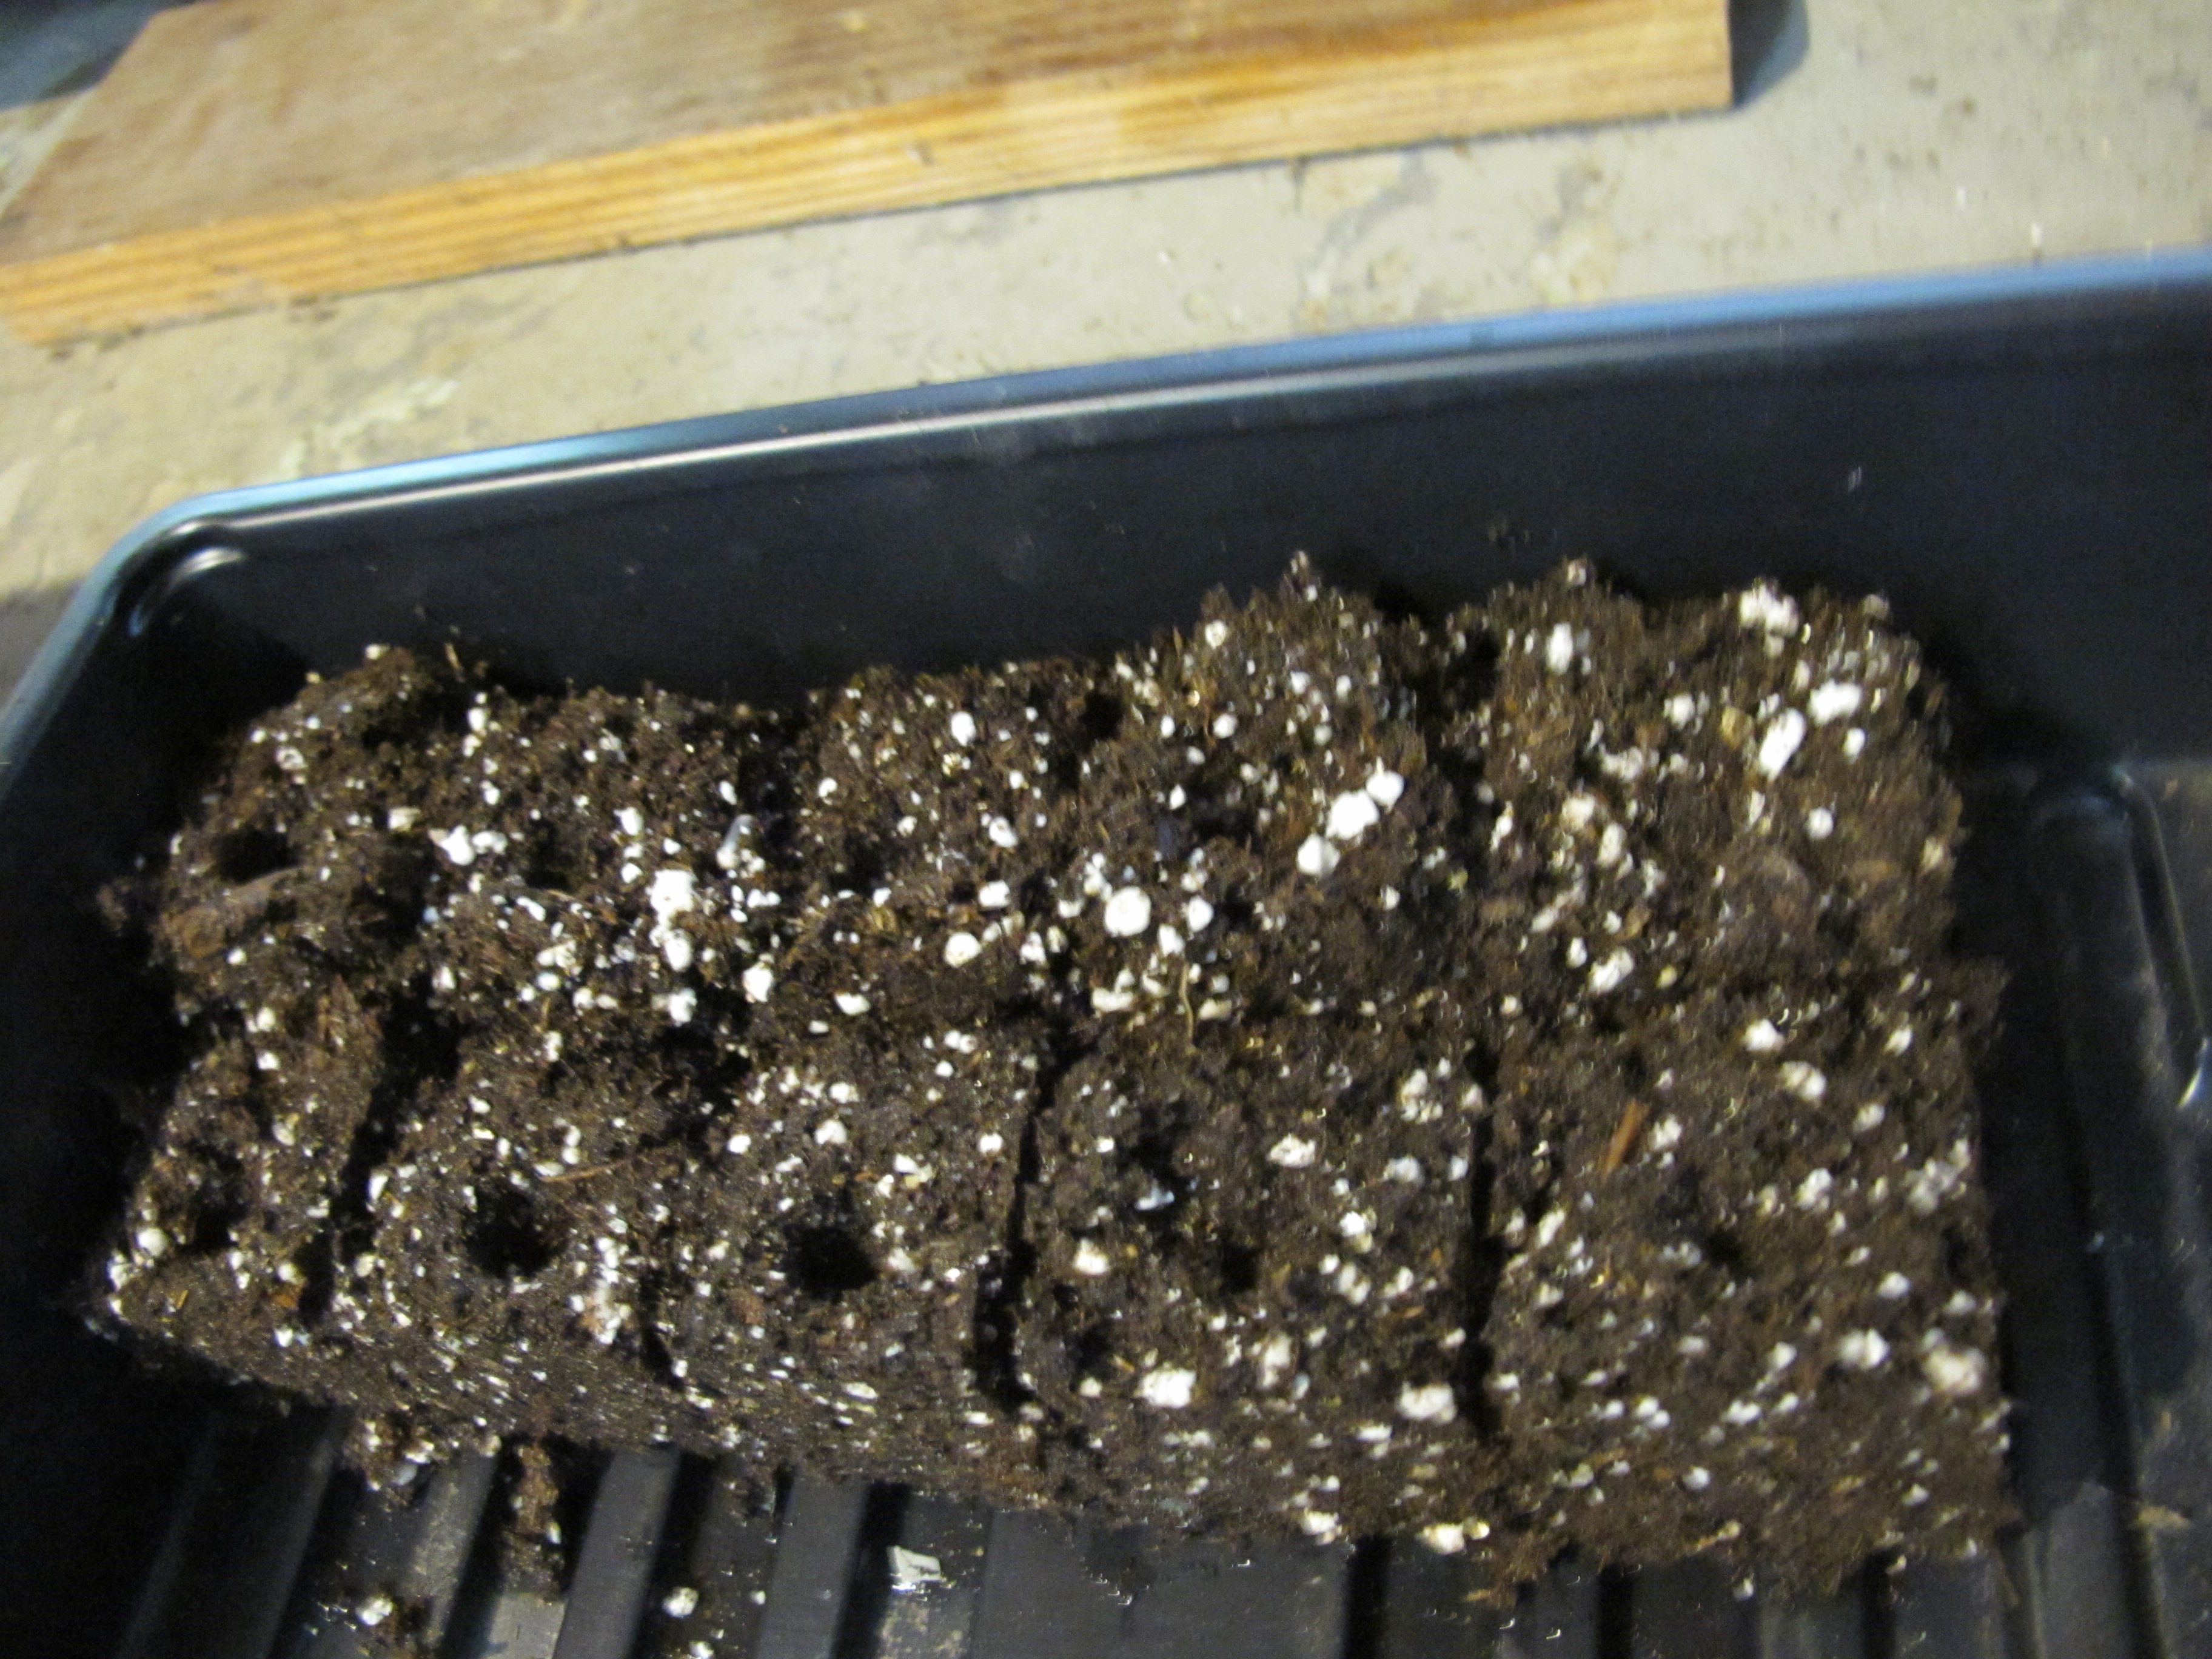
There’s almost always something to do . . . .  I planted leeks and onions December 1st.  I have my best onions transplants ever — many are roughly pencil thickness.  I seeded four seeds to a 1 ½” block and they’ve been under our grow light set-up, getting 16 hours of light a day.

IMG_3638[1]

I seeded fennel, celeriac, celery, flat and curly leaved parsley, and artichokes on January 4th.  I planted cruciferous (40 varietals of broccoli, cauliflower, cabbage, kale, rapa, collards, and kohlrabi), eggplant, bluebells, and breadseed poppies at the beginning of February.

IMG_3641[1]

Peppers and Tomatoes got planted 2/25 and 2/26 because I was feeling antsy for my 3/1 planned date.

Most everything germinated on my homemade heat boxes, since our basement is rather chilly right now.  The tomatoes and peppers are getting treated to an extra blanket of foam cloth to trap more heat for the seeds.

Now we just need the soil to warm-up enough for spring planting!  What are you planning to grow in your garden this year?

Using soil blocks to start seeds

Guest post by Matthew, AKA Farmer Brown
I’ve been using soil blocks to start seeds for the garden for a few years now.  I started with the affordable one that makes four 2”x 2” blocks, and later added the mini and a new five 1.5”x1.5” (after they decompress) blocker.
IMG_1437

I really like the 2” blocks, and I think the 1.5” one has potential, but I don’t think the mini is worth the bother, especially since my heating box space is not too precious, since I built it large enough for two flats at a time (three if I’m not worried about light).

Pros: Growing with soil blocks in trays leads to way less to sterilize than cell packs, plus easier to transplant and easier on roots than just growing in flats.  Also, despite reusing the cell packs, the flimsy plastic cracks after a few uses, so soil blocking = less plastic waste.

Cons: uses more soil than cell packs, because they require packed soil.

For seed starting soil, I’m currently using Pro-Mix, which comes in a compressed 3.8 cu ft block.  I’ve used a couple of other potting soils, and I’ve seen recipes for making your own.  I use this mostly because it’s affordable, and available easily near me, but I think most any general purpose seed starting/potting soil would work.  I’d prefer to make my own using coconut fiber instead of the peat, but practicalities of time lead me to compromises.

Materials
Soil blocker (a cookie cutter for soil)
Potting soil (bought or home-made)
Seeds
Flats (or trays) – sterilized with chlorine bleach solution if re-using and especially if found
A flat bottom container for the wet soil

IMG_1440

Using the soil blocker

1.       Moisten some soil the night before, with the goal of very wet but not soupy soil.

2.       Take the soil blocker and push down firmly into the soil.  I generally really pack it in.

3.       Twist the blocker right and left a bit to loosen the soil in the container from that in the blocker

4.       Tip the blocker slightly to release any liquid seal/suction and then pick it up

5.       Set it down on the tray and then

a.      Push down on both the blocker and the handle on the top of the blocker

b.      Gently allow the bottom half of the blocker to come upward as you keep pushing down on the handle

c.       Tip the blocker slightly to release suction

d.      Lift the blocker (leaving soil blocks behind)

e.      Repeat

IMG_1441

This seems complicated, but it really is rather simple and fast once you have the hang of it.  I think it may be a bit faster, and is certainly more pleasant, than sterilizing cell packs for reuse.

Once I’ve completed a whole tray of soil blocks, I start seeding, either in the dimples, or on the surface depending on the seed.  I use a bit more of the moistened soil to fill the dimples and cover the seed (unless it’s something that needs light to germinate).

To Water:  I used to spray the blocks carefully with a mister, but now  I just use a watering can that gives a fairly gentle shower.  It does destroy the pretty, orderly look of the blocks, but they hold together enough that it’s still easy to separate the blocks for planting.

I do still grow onions in flats, and I grow my artichokes in cell packs so I can vernalize them, but for most of my other indoor seed starting soil blocks are my method of choice.

Seed starting: Make a functional, affordable heat box

Special guest post by Matthew

Functional, Affordable Seed starting heat source . . . I’ve used this one with great success and reliability for four sets of plants now.  We set our thermostat pretty low in the winter, so the heat box helps keep the seeds cozy (i.e., at an ideal temperature for sprouting).

The basics:

  1. Build a 5 sided wooden box to hold the heat, sized to fit your light source (or your tray size)
    1. Four 1”x4″ s (or whatever wood you want) for the sides
    2. Very thin plywood (or planks) for the top
    3. I left the bottom open, just set it on #3
    4. Nails or screws to join
    5. I made two boxes, each 10.5″ x 32″ x 3.5″
  2. A string of nightlight (4 watt) bulbs (or other incandescent lights) as a variable heat source (screw them in or unscrew some of them to get the soil temperature you want)
    1. Optional: Tack the wire of the nightlight string to the sides of the box to keep the bulbs out of direct contact with the box or radiant barrier –be careful to avoid damaging the wire’s insulation
    2. You may want to add a timer; I only use heat during the 16 hours of light I give my plants
    3. We have a string of lights that have a little metal cage around each bulb, so they sit directly on the reflective material
  3. A sheet of reflective radiant barrier insulation (see photo above) for below the box
    1. I used a scrap left over at the hardware store from someone’s home insulation project

Set your seed starting trays directly on top of the heat box.  When starting with this, put a thermometer into the soil of your seed starting tray and adjust how many bulbs are on in your box until you get the right temperature for your seeds.