Get Out the Vote on August 5

This one goes out to all my fellow Missourians.  We have a primary election coming up next Tuesday, August 5.  It’s easy to let these things slip by, but there are two amendments that caught my attention in this election, one on farming/agriculture and the other on transportation.

Amendment 1 — Why I’m Voting NO
Described by proponents as a simple, innocent “right to farm” bill, this amendment would hurt small farmers and local agriculture by turning over farmland to agribusiness, including foreign corporations.

If you care about local food systems, sustainable growing practices, and/or small farmers, read more here and vote NO to Amendment 1 on August 5.*

Amendment 7 — Why I’m Voting NO
Amendment 7 proposes a statewide sales tax to fund transportation projects.  While I agree we may need some new tax revenue to pay for the upkeep of our roads, a blanket sales tax is not the way to do it:

Those who benefit the least from Amendment 7, people of modest incomes who do less driving and pay a disproportionate share of their incomes toward sales tax, will bear the greatest burden of this regressive tax. (source)

It would make far more sense, and be more equitable, to pay for these expenses with a tax on gasoline (i.e., a use tax), but this amendment actually prohibits a gas tax.  Read more here, spread the word, and VOTE!

*This also made the Huffington Post, from a Humane Society perspective.

Pesto remix

Pesto was not really part of my life until I met Matthew.  Sure, I’d eaten it before, here and there, but it was not on the list of food I consumed regularly.  That all changed the first fall that we were dating.  Matthew was gardening with his dad at a large community garden, and his dad had a BUMPER crop of basil.  I’m talking huge trash bags full of the stuff.

At that point, I was just over a year out of college, and nearly every Saturday afternoon in the fall involved my butt glued to the couch watching Notre Dame football (I still cheer for my alma mater, but both my ability and my desire to put in 4 hours every weekend in the fall has faded with every passing year — it’s just not the same when you’re away from campus.  I’m a loyal fan, but my priorities have changed a bit in nine years.)

Anyway, back to the basil.  Matthew is not a sports fan AT ALL, but he joined me on the couch most Saturday afternoons that fall (twue wuv), learning more about football than he ever wanted to know (and asking really cute questions).  But he didn’t show up empty handed.

On more than one Saturday, he arrived on the doorstep with one or two HUGE black garbage bags full of basil.  His dad had harvested whole branches, and sometimes entire basil plants.  Our mission was to pick off all of the leaves and freeze them.  Our crazy stores of frozen basil meant we could make pesto all year long, and we did.

Good pesto is not a cheap endeavor, even when you have your own basil (if you have to buy the basil, it gets even pricier).  At some point in the game, I read about using walnuts in place of [uber-expensive] pine nuts, and we would alternate, making one batch with pine nuts, the next with walnuts.

Our pesto recipe came from our go-to vegetarian cookbook, 1000 Vegetarian Recipes by Carol Gelles, and was pretty standard — basil leaves, pine nuts, olive oil, garlic, and salt, with some Parmesan cheese stirred in at the end (we usually just add the cheese when serving, and I often skip it altogether).

I recently made some modifications to that traditional pesto recipe, with good results.  Substituting some kale and arugula for the basil adds extra depth and a freshness that I love.  I discovered that pepitas (pumpkin seeds) work equally as well as walnuts (it’s been months since I bought pine nuts!)  There are a few methods for making pesto, but I prefer the blender.

IMG_4919[1]

Basil-Kale Pesto

Recipe by Melissa
Makes 2 cups

INGREDIENTS

1 c. lightly packed kale leaves, washed, dried, and torn into small pieces
1/4 – 1/2 c. lightly packed arugula leaves, washed, dried, and torn into small pieces
2 1/2 c. lightly packed basil leaves
1 1/3 c. extra virgin olive oil2/3 c. walnuts or pepitas (or a combo)
2 T. minced garlic
1/4 – 1/2 t. salt

DIRECTIONS

1. Place about half of the greens (kale, arugula, and basil) in the blender.

2. Pour half of the oil over top, and start blending, adding more of the oil as needed.

3. Once you have the first part nicely blended, add the remaining ingredients and blend until smooth.  You may need to turn off the blender and stir a bit, and perhaps add a bit more olive oil, depending on your blender.

Notes

  • This makes a pretty large batch of pesto.  Unless you’re feeding a lot of people, plan on freezing some.
  • Many places suggest freezing pesto in ice cube trays.  I use muffin pans for freezing slightly larger chunks.  Once frozen, I put the pesto blocks in freezer bags.

Broiled: No-bake stuffed zucchini

I started this post almost a year ago, and it’s been languishing in my “Drafts” folder.  I recreated this dish a week ago for one of Gabriel’s birthday dinners, and my father-in-law requested the recipe.

I should note here that my FIL is a very good cook — we’re usually asking him for recipes, so it’s fun when the roles are reversed.  It’s also a bit easier when we ask him for recipes, since he actually, ahem, uses recipes, as opposed to just making stuff up.

Stuffed zucchini is a great use for somewhat overgrown zucchini and other summer squash, but most recipes call for a long baking time.  This recipe is not oven-free, as it requires a few minutes under the broiler, but it still probably uses less energy and heats the house up less than having the oven on for an hour.  If you’re making a small batch, and have a toaster oven, you can really be efficient!

IMG_2888

This is one of those “use what you have/what you like” recipes.  In the above photo, from last fall, I used quinoa as the grain, and we had tomatoes and peppers from the garden.  Last week, I used brown rice, along with some tempeh to up the protein and flavor (lentils are another good vegetarian protein addition).  We didn’t have tomatoes or peppers last week, so I used fennel, kale, and corn, plus some eggplant puree and fresh herbs, for the vegetables.

There is a decent bit of prep work, but a lot of it can be done ahead of time, so it works well when you’re having guests for dinner, or if you just have time earlier in the day, but not in those last frantic minutes right before dinner.

No-bake Stuffed Zucchini

Recipe by Melissa
Serves 4-6

INGREDIENTS

2-3 large zucchini or other summer squash (ideally at least 8-10″ long and ≥9″ diameter)
1 onion
6 cloves garlic
1.5 c. uncooked grain (brown rice, quinoa, millet, farro)
1 c. cooked lentils or 1 8oz package of tempeh (optional)
4-8 c. vegetables of choice (tomatoes, peppers, eggplant, kale or spinach, fennel)fresh or dried herbs (thyme, oregano, parsley)
1-2 c. grated Parmesan cheese
olive oil and/or butter
salt and pepper

Directions

1. Prep the squash: cut in half length-wise, and scoop out the seeds and goop in the middle.  Sprinkle salt on the insides, and drain in a colander for 30 minutes.  While the squash is draining, bring a large pot of water to a boil (large enough to fit the squash halves).  After 30 minutes, parboil the squash for 5-7 minutes, until slightly tender.  Drain well.  Reserve water for next step (optional).

2. Prep the grain.  To up the flavor, add a bit of salt, plus some onion powder and a pinch of tumeric to this step.  If you want to conserve water and energy, use some of the already-heated water from step 1 to cook the grain.

3. Prep the veggies: Since we’re not baking the stuffed zucc, you want everything fairly tender and ready to eat.  Chop everything into bite-sized pieces.  Sauté onions, then add other veggies to sauté.  I used a mix of butter and olive oil, plus about 1/2 t. of salt.  If you’re using tomatoes, you can just throw the chopped, uncooked tomatoes into the filling, or cook them down into more of a sauce.

4. Prep the tempeh, if using: I basically followed the method I use to prep tempeh for vegetarian reubens, except I crumbled it up first, instead of leaving it in a slab.

5. Combine it all: In one large pan or bowl (one of the ones that’s already dirty is fine, if it’s big enough), combine everything from steps 1-4.  Toss in any herbs.  Taste for overall salt and flavor level, and adjust as needed.

6. Stuff it and broil it: arrange squash halves on a broiler pan or in a large cast iron pan.  Sprinkle halves with salt and garlic powder.  Add the stuffing.  Preheat the broiler for a couple of minutes, then broil for 5 minutes.  Remove, add cheese, and broil for an additional 2-3 minutes.

IMG_2887

Notes

  • Don’t worry if you have extra stuffing.  Serve it on the side, or save it for leftovers.
  • If you don’t want to heat the house up at all, I imagine you could do the “broil” step on the grill to good effect.
  • While not required, adding something a little “saucy” can be nice.  For my most recent batch, the eggplant puree (frozen from last summer) filled that role.  Tomatoes or tomato sauce work similarly well.
  • To prep ahead, complete steps 1-5.  You could stuff the squash ahead of time, also, but it’s best done shortly before broiling.  If your filling and squash are starting at refrigerator temperature, either get them out of the fridge about 30 minutes before dinner, or microwave the filling to warm it before completing step 6.


Summer

While I’m not taking a full summer vacation from blogging, things have been a little slow in this space, which, as usual, indicates that life is anything but slow!  Despite the craziness, life is actually pretty darn good right now, and I have lots of future post ideas stored in the drafts folder for a rainy day.  Until then, here’s a peak at foodie and bikey happenings.

We celebrated last week’s unseasonably cool weather (highs in the mid-70s) — picnicking with friends at the Botanical Gardens and a trip to the zoo, both by bike.  The cooler temps didn’t stop Gabriel from getting soaked in the raccoon fountain at MOBot.

IMG_4886[1]

Our return trip from the zoo marked my first time climbing the Macklind hill on Roadrunner.  I enlisted my cheer leading section to chant “Go, Mama, go!”  We were slow but steady on our climb to the top.

On Saturday, I spent a rare day at the garden, ostensibly to help dig the last of the potatoes.  That didn’t happen so much (potatoes were dug, just not by me), but I harvested edamame, gave tours to a couple of friends who will be helping with the garden (and enjoyed catching up in the process), and cleaned and sorted a boatload of carrots!

IMG_4901[1]

That’s less than half of the harvest!  Carrot harvesting was not on the list for Saturday, but, despite all of his anti-vole efforts, Matthew found evidence of vole-damaged carrots, so out they came!  Fortunately, we got to most of them before the voles.

After a couple weeks of a trickle of cherry tomatoes and a couple of other small varieties, we harvested our first big tomatoes over the weekend, which meant Caprese sandwiches on Sunday.

IMG_4911[1]

Plus carrots and green beans!

Our “low-key” Sunday involved picking and freezing a couple quarts of basil, pickling some cucumbers, baking a coffee cake, and making bread dough.

Food philosophy: Great grains

Variety is the spice of life, and I certainly take that to heart when it comes to grains (and food in general!).  As I’ve mentioned before, I don’t go for lo-carb or fad diets (as a health- and eco-conscious vegetarian, a decent number of my calories come from whole grains and legumes), but I DO avoid eating large quantities of refined grains.

The first step for me was switching to products (bread, pasta, breakfast cereal, crackers, etc.) that were 100% whole wheat.  Growing up, my family used a lot of whole grains, and did most of our baking with 100% whole wheat pastry flour, so this wasn’t a huge switch for me, overall.  [Tip: when trying whole wheat pasta, start with angel hair; also, brand can matter.]

But there’s a lot more to the grain-scene than wheat, and, while I don’t have a medical reason to avoid wheat, I realized there were health benefits to expanding my grain consumption.

Fortunately, there are now a variety of easily accessible options in this department:

  • Brown rice
  • Quinoa
  • Millet
  • Oats, including oat groats (for risotto)
  • Corn meal (for polenta and cornbread)
  • Potatoes

That list is by no means exhaustive.  Some of the above straddle the line between grain vs. seed or starch vs. vegetable.  For my planning purposes, I tend to treat them all as grain/starch, though the distinctions can be important, nutrient-wise.

Avoiding an all-wheat, all-the-time diet does require a bit of effort, and it’s become part of my [informal] meal planning.  Sometimes it’s tricky, especially with a toddler, who, while a great eater overall, is not always into quinoa or millet.

Here’s what an average day looks like for me, grain-wise:

  • Breakfast: Oatmeal (I use a mix of rolled and steel-cut oats)
  • Breakfast #2/Morning snack: Wheat-based — 100% whole grain pancakes, waffles, toast w/peanut butter or egg, or quick bread
  • Lunch: Alternate grain
  • Afternoon snack: Often wheat-based, though sometimes granola, whole-grain corn chips, or non-wheat leftover
  • Dinner: Wheat-based

Lunch and dinner flip-flop, so if our lunch one day is wheat-based, I try to prioritize an alternate grain for dinner.  If I know we’ll be eating away from home (whether a restaurant or someone’s house), I usually assume the meal will be wheat-based, and plan accordingly throughout the day.

Even with a concerted effort to eat a variety of grains, I end up eating a decent bit of wheat — it’s pretty ubiquitous in the U.S. diet.  Here are some of my thoughts and experiences with the wheat alternatives.

Potatoes
We grow almost all of the potatoes we eat, which is great, because we know they’re not full of chemicals (a problem with conventionally grown potatoes), but not so great in terms of prep time.  Potatoes store best unwashed, so that means meal prep involves not just chopping and cooking the potatoes, but also rinsing and scrubbing off a substantial amount of dirt.  Strike one.

I also feel like, relative to other grains/starches, potatoes require a large amount of both fat (butter, olive oil, cheese, sour cream, etc.) and salt.  Strike two.

But there’s no strike three.  Potatoes are one of the only calorie crops (think grains and legumes) that don’t require special processing like milling or shelling, which make them a great option for the grow-your-own scene.  If you eat the skins, they are a good source of several nutrients and they help increase variety.  I didn’t realize how much the potato option helped with grain/starch variety until we ran out of potatoes in March.
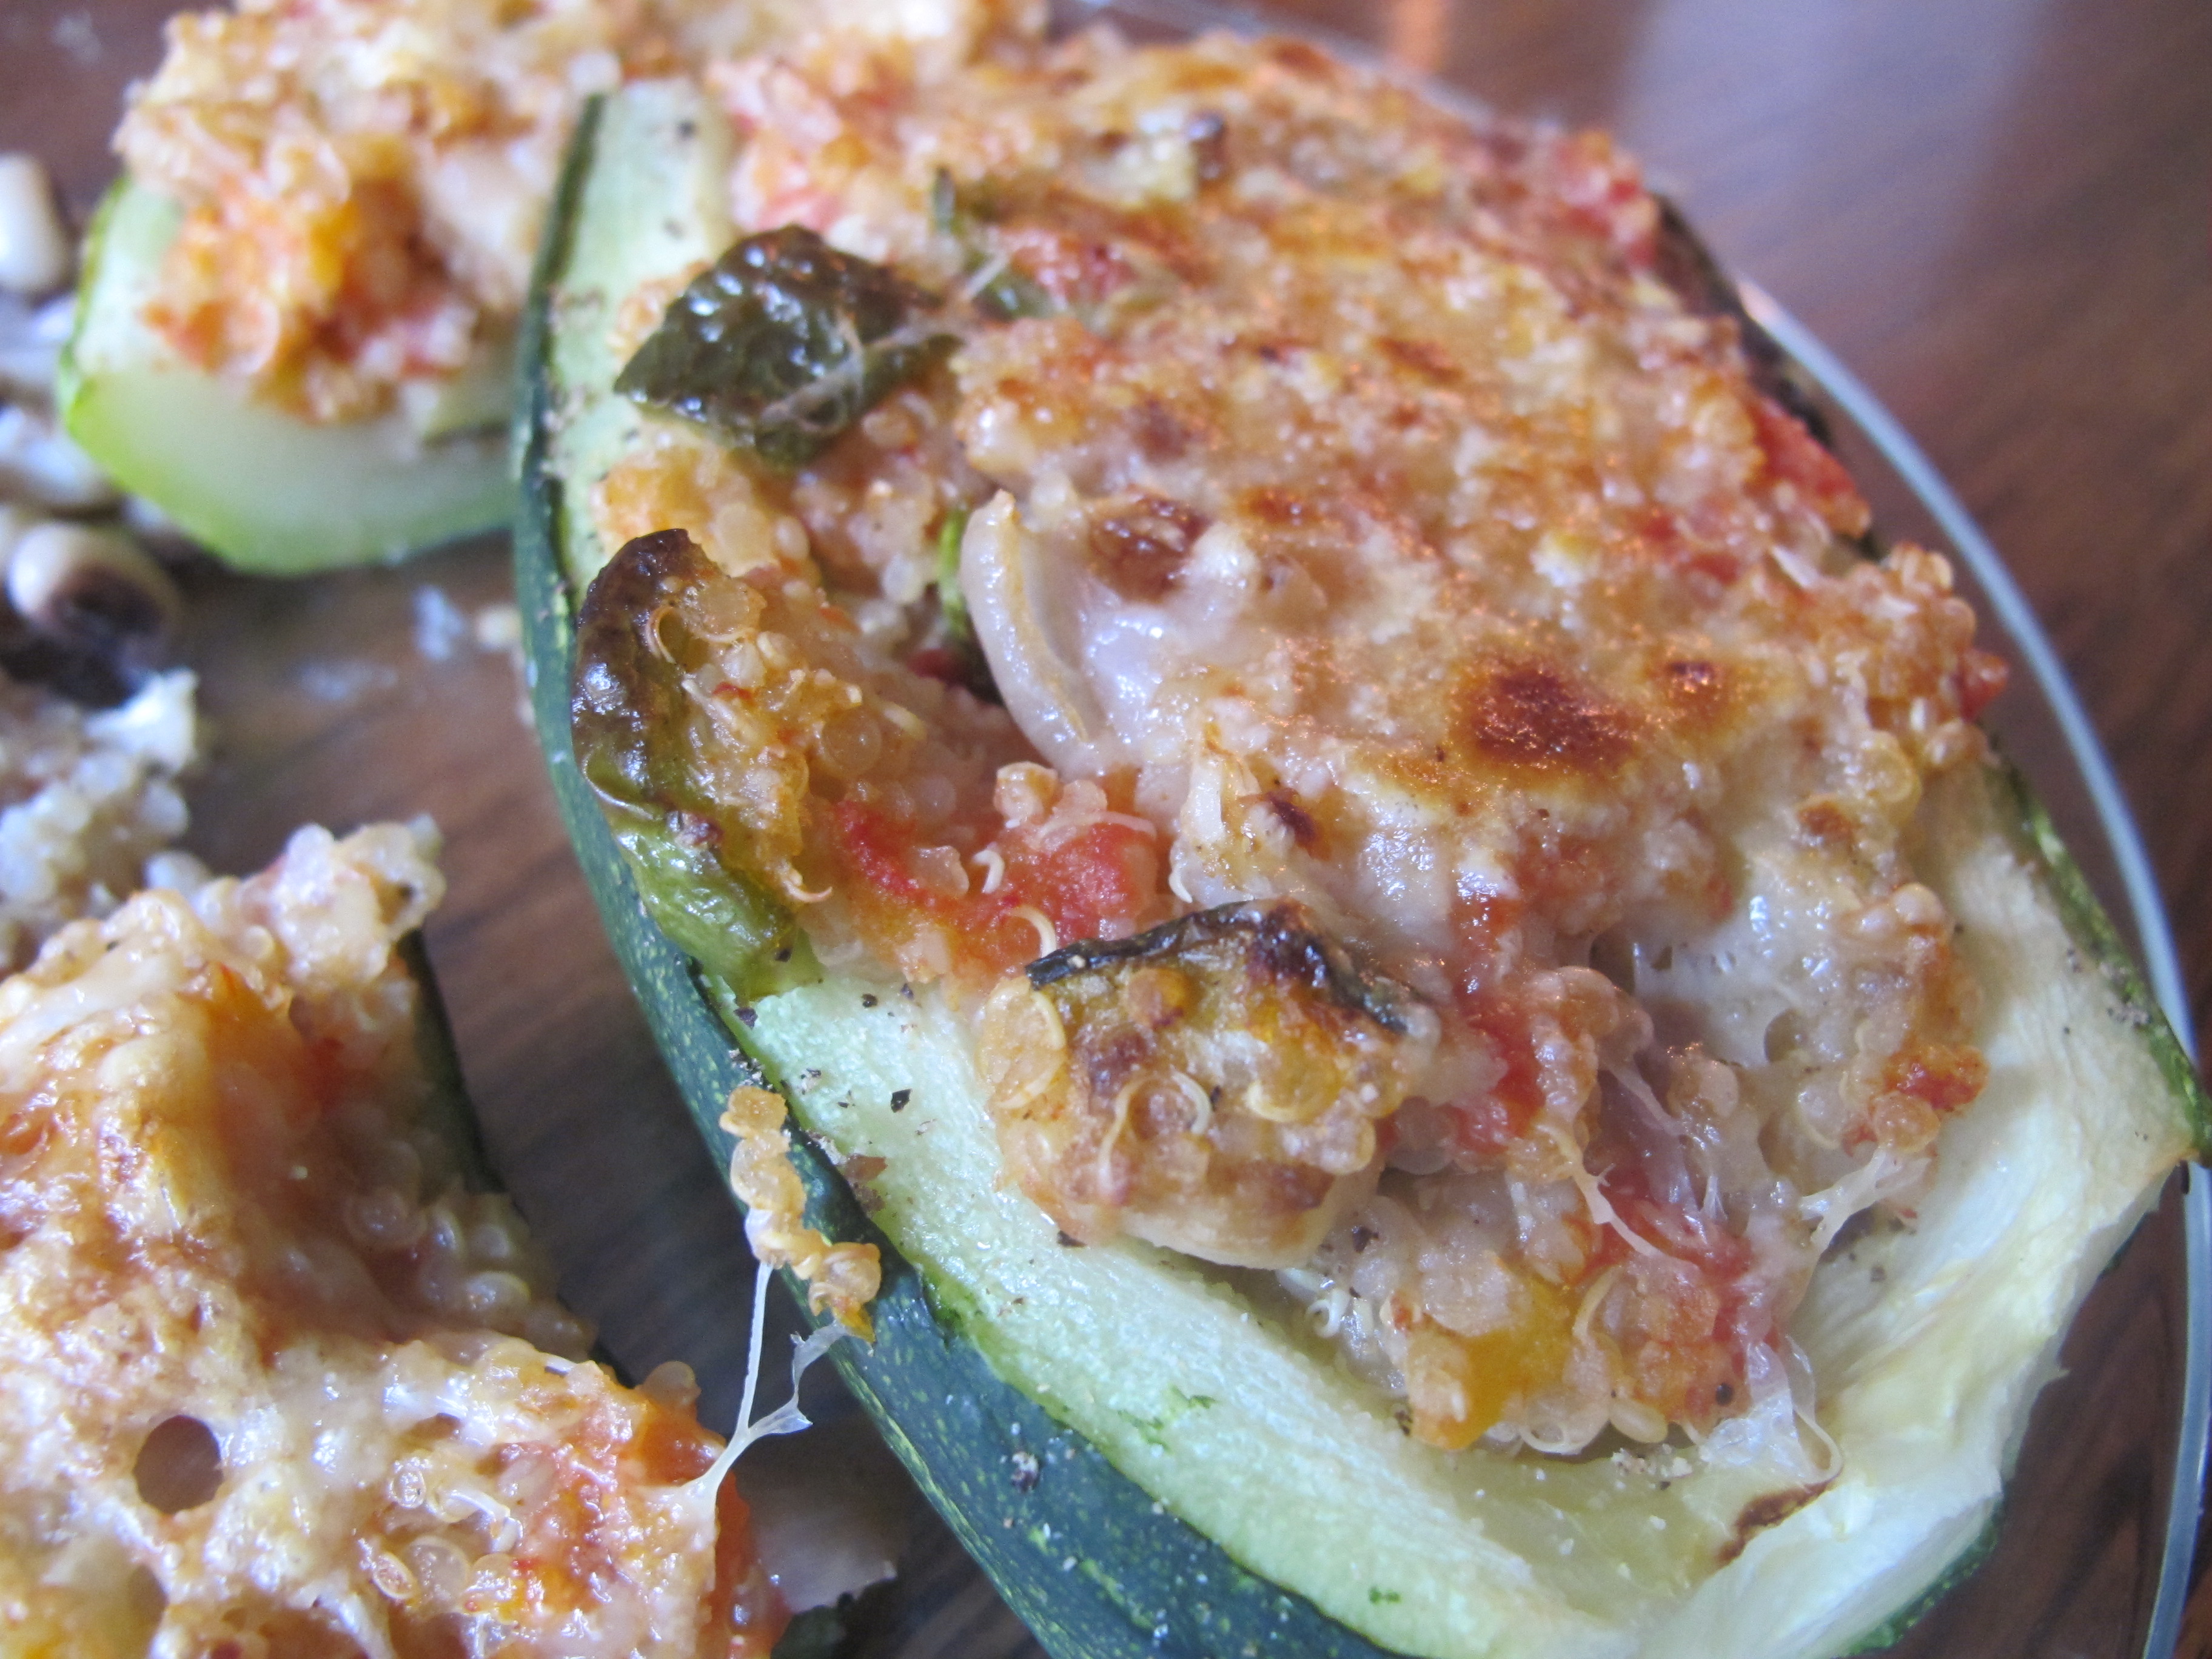
Quinoa
Technically a seed, quinoa is one of the highest protein grains out there.  It also cooks relatively quickly (faster than brown rice) and works in a variety of dishes.

The protein and nutrients come with a price though, as this is one of the more expensive grains you can buy, even if you stick to “white” quinoa (still a whole grain, just a different variety than the more expensive “red”).  Until recently, I found the bulk bins at Local Harvest Grocery to be the best bet, priced a bit under $4/lb (making it cheaper than the WF bulk bins).  Unfortunately, on my most recent LH visit, the price had jumped to over $7/lb!

I was so surprised that I asked the cashier if the price was correct.  He confirmed that it was, though he didn’t know why.  (I haven’t gone back to see if there was a similar price jump at WF.)  I plan to continue eating quinoa, but at that price, I may not increase my consumption (currently averages one dinner plus one lunch [leftover] per week).

Toddler tips
Grain variety is a bit trickier with babies and toddlers.  Wheat-based products, like bread and noodles, lend themselves to little fingers (and are often kid favorites).  While you can buy alternate-grain version of pasta and bread, they tend to be pricey.

Adding peanut butter (or another nut butter) after cooking rice, millet, or quinoa is one trick that worked for us.  The nut butter a) increases tastiness and b) makes the grain easier for a toddler to handle on a spoon or fork (or even with fingers).

Before G was using a spoon, I made him oat clusters instead of oatmeal.  To prepare, I made a really think batch of oatmeal on the stove top, then chilled.  In the morning, I served bite-sized chunks of the oatmeal, dotted with peanut butter.  Perfect for little fingers, if a bit labor intensive.  Now he eats oatmeal with me every morning; I intentionally keep his on the thick side, for ease of spooning and less mess.

Finally, potatoes are a great finger food for babies and toddlers.

Your turn: what is your favorite non-wheat grain, and how do you use it?  Anything I should add to my regular rotation?