Grain mill test run and cornbread recipe

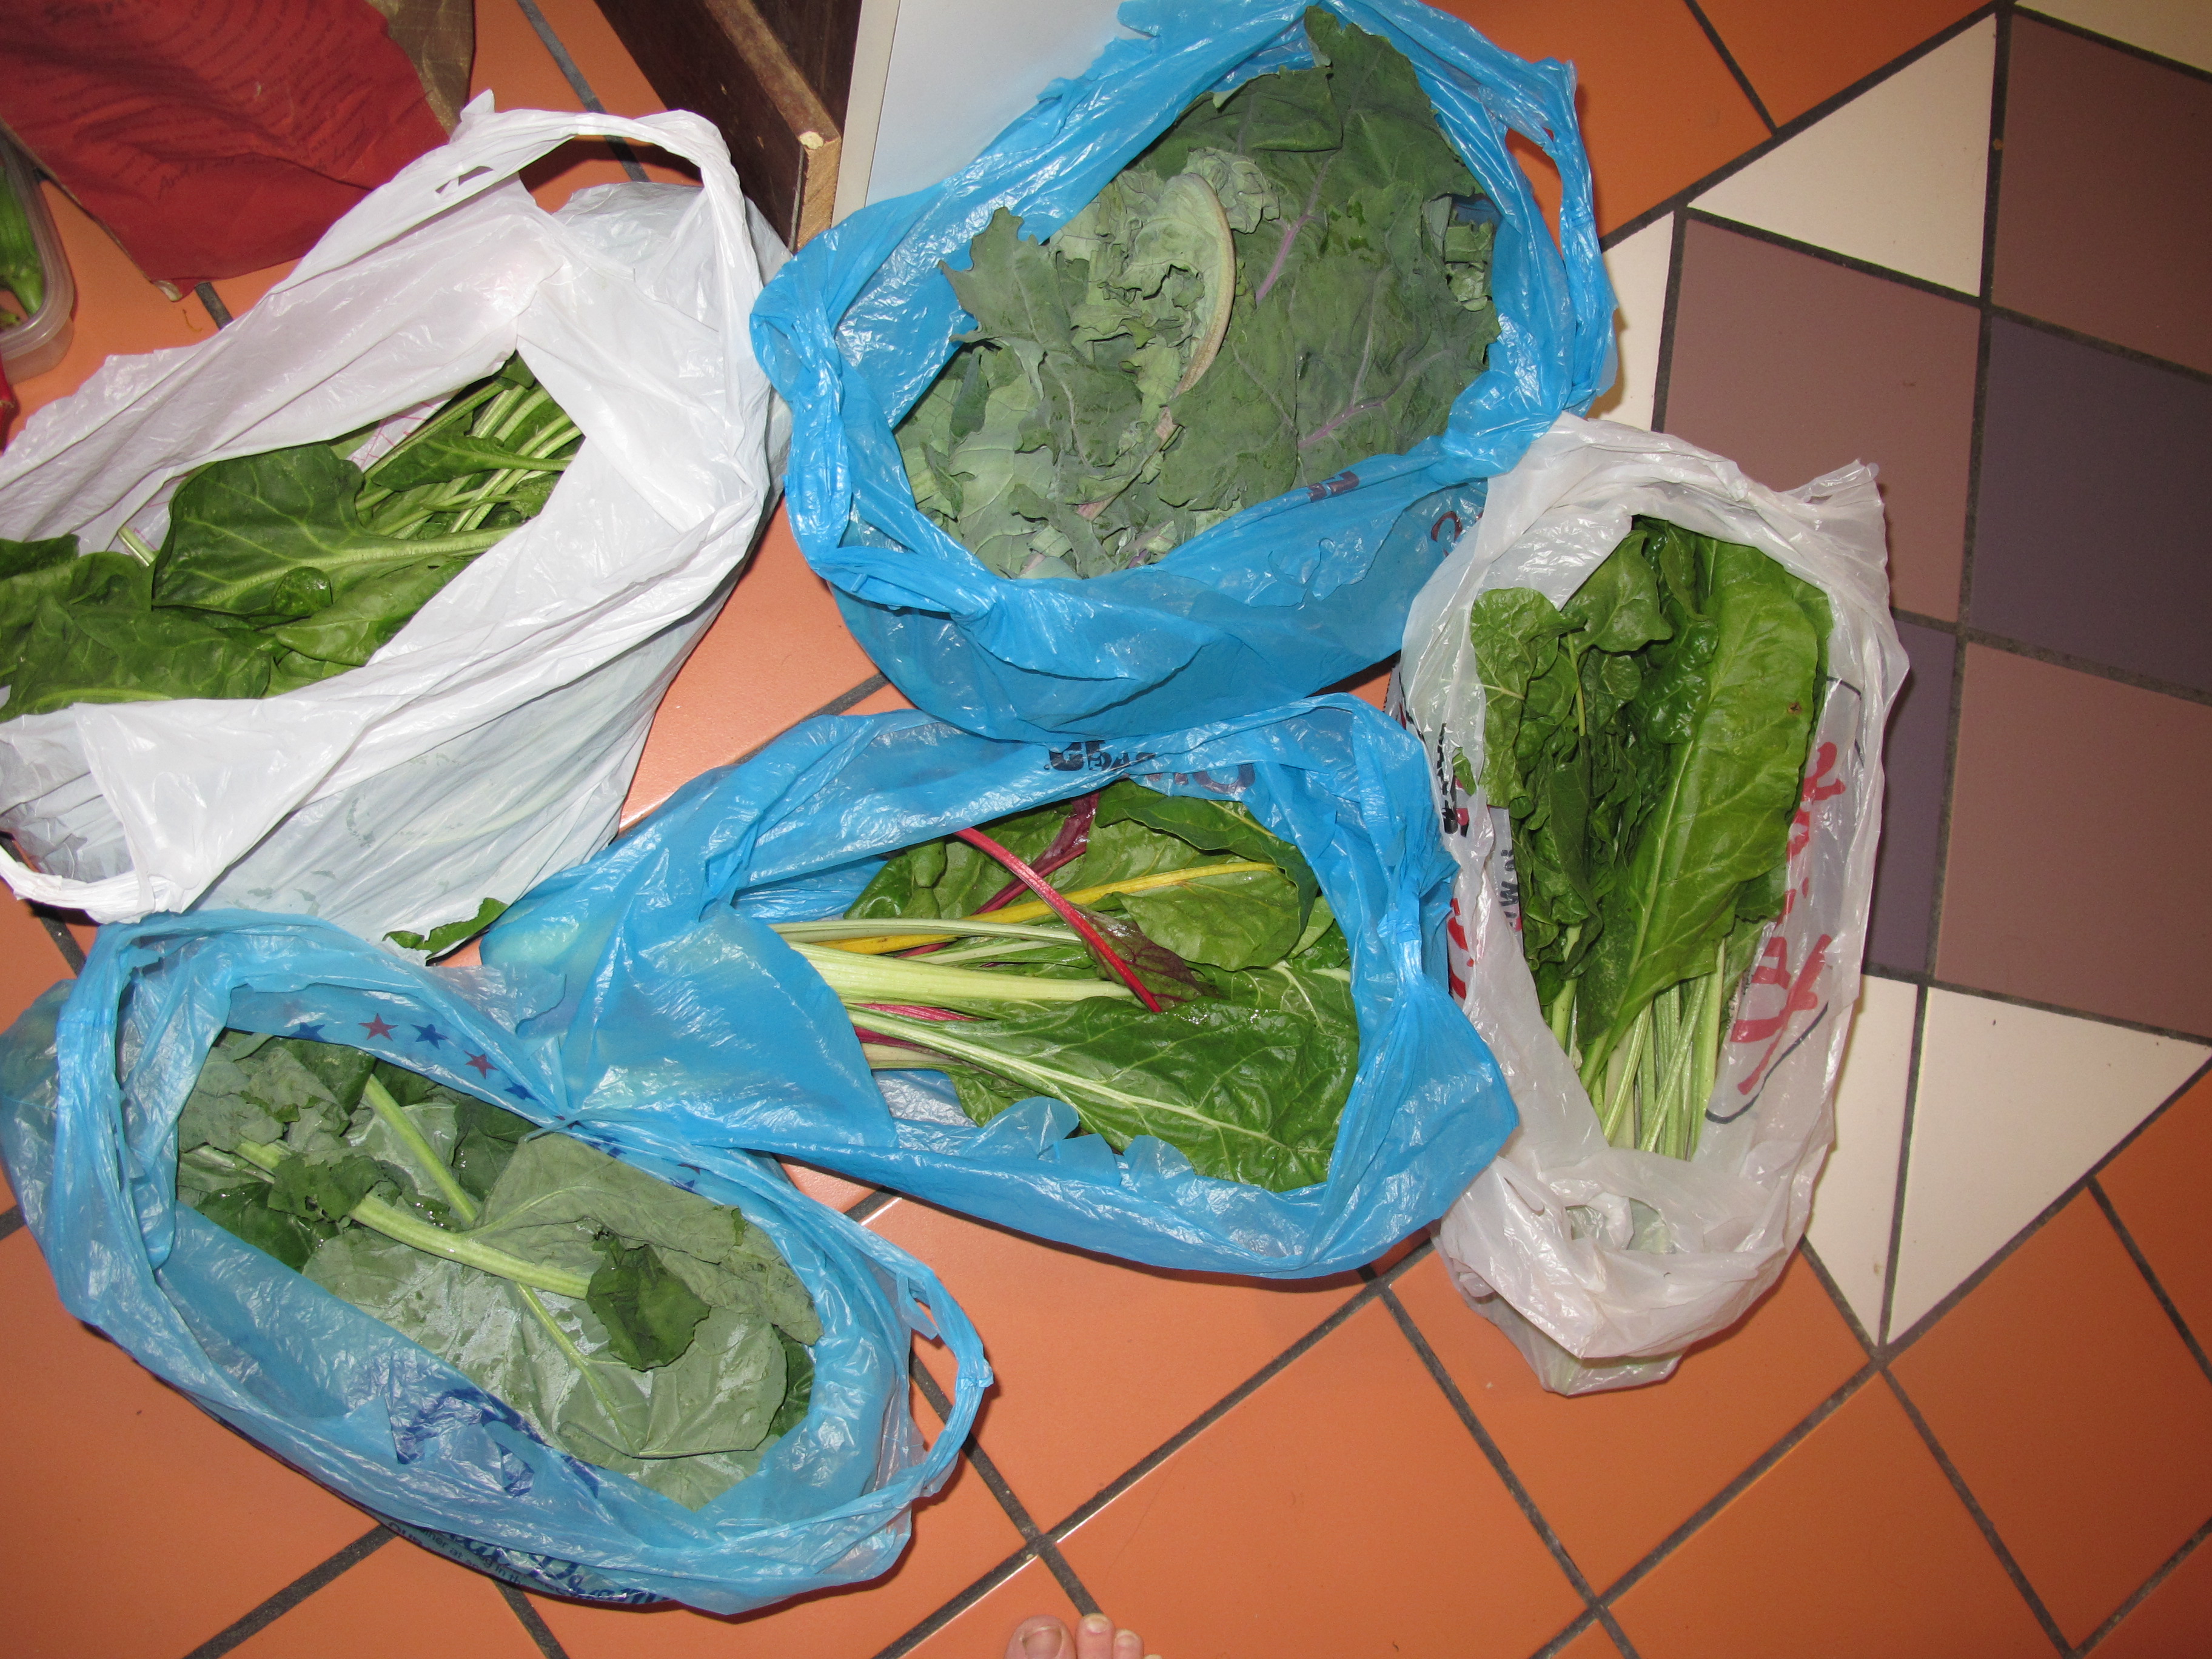
Matthew grew two types of grain corn this year, one for polenta and one for flour.  He harvested a number of lovely ears and removed the kernels, at which point we were stuck.

I attempted to “mill” some of the polenta corn in our food processor, which laughed at my efforts as the kernels spun around making quite a clatter, but coming no closer to becoming corn meal.  Next up was the coffee/spice grinder, which kind-of worked, albeit in very small batches and producing a grain with uneven texture (some almost as fine as flour, but other grains still very coarse).  Due to the presence of the very large grains in the final product, the polenta took over three hours to cook!

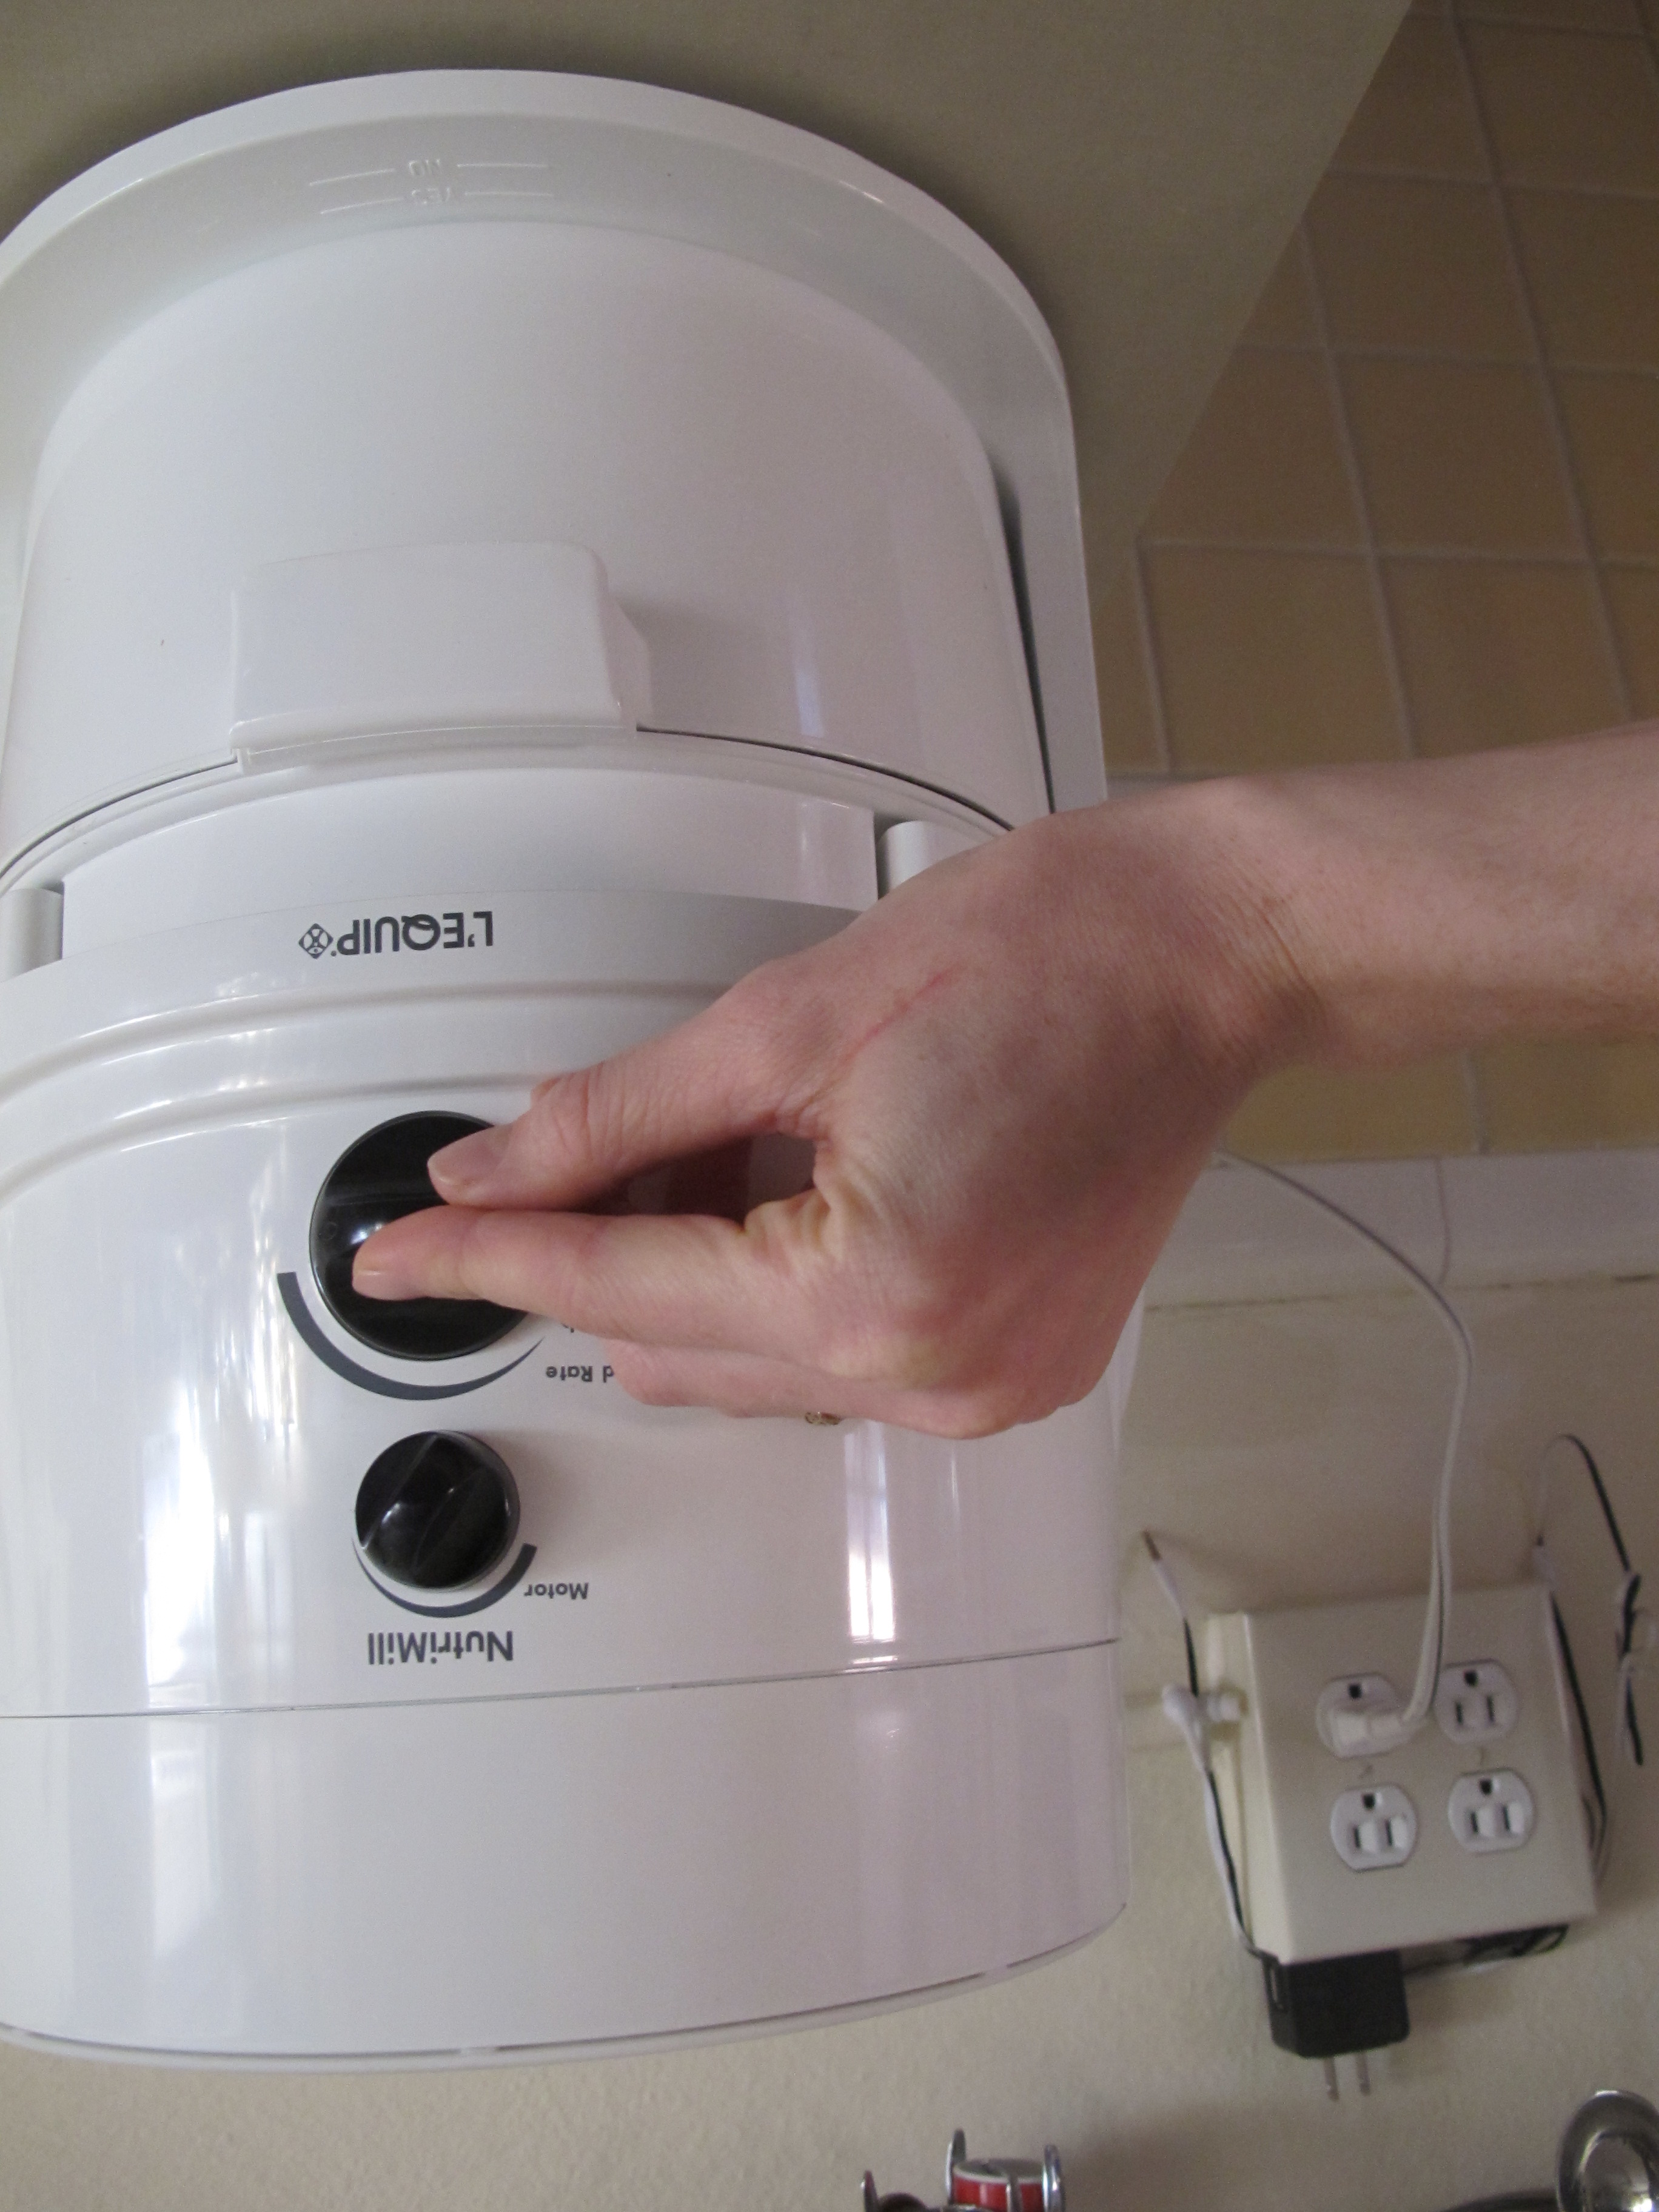
Fortunately, a friend has an electric grain mill, and she was willing to let me take it for a test run.  I wasted no time milling all of our corn before returning the mill.

???????????????????????????????

I originally planned to try other [gluten-free] grains after finishing with the corn, but that never happened . . .

IMG_3289

. . . because it literally took hours to get a relatively small amount of corn kernels through the mill.*  The corn kernels (bigger than popcorn kernels) were at about the upper limit as far as size of whole grains that would work in the mill.  I suspected that smaller grains (e.g., rice, quinoa, millet, etc.) would flow through much more quickly, and my friend confirmed this.

Despite the rather ridiculous time input, this was my best option by far for turning the corn kernels into a form we could eat, so I stuck with it.

Even on the coarsest grind and slowest motor setting (which is also supposed to contribute to a coarser grind), the milled “polenta” corn was really too fine for making polenta.  We’ll use it in cornbread and other baking where we would use “fine” corn meal instead.

Similarly, the milled “flour” corn came out much finer than I expected.  Even “fine” corn meal has some grit to it, but this was really more like flour.  Matthew later explained that this was due, in part, to the variety of corn — a type that was a low “flint” level, which is what makes corn meal gritty.

Other thoughts:

  • This grain mill is a beast — it takes up some serious kitchen counter real estate.  Granted, it’s the kind of thing that you would use every now and then and store elsewhere, but still.
  • On a related note, this would be an ideal appliance for some kind of neighborhood (or co-housing) appliance share.  It would be easy to share among a number of households, and that would also help lower the cost.
  • Along with beastly size, this machine roars like a beast.  The noise wouldn’t have been a big deal for short periods of time (<15 minutes or so), but the whole having to run it for hours thing got old fast.
  • The hopped did not really work for my big corn kernels.  I did a good bit of manually stirring the kernels in the hopper to help keep things moving.  I don’t think this would be necessary with smaller grains.
  • The lid on the compartment that holds the milled flour has a rubber seal.  While I understand the necessity of the compartment being well-sealed, this thing was ridiculously hard to remove!

While the idea of being able to turn any whole grain into flour is appealing, an electric grain mill is not on my purchase-soon list, especially with a price tag near $300.

Now that all this corny talk has whetted your appetite, here’s cornbread recipe that I’ve been meaning to share, based on this recipe at Kitchen Parade.  I discovered and adapted this recipe about a year ago, and it quickly became a favorite.

SKILLET CORNBREAD

  • 1-1/2 cups buttermilk (I used soymilk and vinegar)
  • 1/4 c. olive oil
  • 1/4 cup + 1 T. mix of sorghum and honey (or just honey)
  • 1-1/4 cups yellow cornmeal, preferably stoneground
  • 1/2 cup flour (I used half and half rye and rice flours to make a wheat-free, but NOT gluten-free, cornbread)
  • 1 teaspoon baking powder
  • 1 teaspoon baking soda
  • 1/2 teaspoon table salt
  • 1 egg

Preheat oven to 450°F.  Place a 9″-12″ cast iron skillet on the stove top over very low heat to warm gently.

Combine buttermilk, olive oil, honey, and egg.  In a separate bowl, combine corn meal, flour, baking powder, baking soda, and salt.  Mix wet ingredients into dry.

Melt butter in the cast iron skillet to coat, then pour in batter and bake for 15-20 minutes.  Time will vary based on size of skillet.

Note: I most recently made this recipe using our corn “flour” in place of the corn meal.  While the resulting product was quite delicious, the lack of grit in the corn created a product with a texture more like a muffin or cake than traditional corn bread.  In the future, I will use our home-grown corn meal/flour for the 1/2 cup of flour in the recipe, and stick with store-bought, fine corn meal for the 1 1/4 cups of corn meal.

*I was 100% on-board with keeping the mill gluten-free, since my friend’s husband has a gluten sensitivity, and being able to mill their own GF flour was a big reason they bought the mill.  However, this meant that I wasn’t able to try making my own whole wheat Cream of Wheat-esque cereal, something that my oatmeal-shunning hubby wants to try.

Foodie Friday

It’s been a bit light on the food posts around here lately, but rest assured that it’s not for a lack of garden produce to harvest, cook/process, and consume.

Apples
Like last year, we bought a bushel of organic apples from Blue Heron Orchard.  Unlike last year, we didn’t drive to northeast Missouri to get them.  Rather, we ordered ahead of time and picked up the boxes when Dan was at the Schlafly (AKA Maplewood) Farmers Market — super convenient.  So far, we’ve mostly been enjoying them fresh, but we’ve also dried two dehydrators-full for future enjoyment.

Last year, we experimented with dehydrating the apples with skins on and off and decided that we prefered the peeled version.  I prefer peeling apples with a knife rather than a vegetable peeler, but this leaves a decent amount of flesh on the peel, and I’m loathe to waste anything.

This year, I had the brilliant idea of cooking the apple peels, then putting them through the Foley food mill to make apple sauce.  Two whole apples (added to bulk up the quantity), plus who-knows-how-many apple peels yielded over a pint of very tasty applesauce.

I had good intentions of making and canning a big batch of apple sauce, but that hasn’t happened yet, and I’m not sure it will.  The remaining apples are in our “root cellar” by the front door, and Gabriel loves helping himself to a snack for the road.

Peppers
The early frost meant a sudden influx of peppers, most still green, that needed to be harvested before the frost.  It’s a bummer that more of these babies didn’t have a chance to fully ripen, but we’ll still enjoy them.

IMG_3250

I spent part of Saturday slicing and freezing two gallon-size bags of green peppers.   While [non-local] peppers are available in stores year-round, non-organic bell peppers are on the “dirty dozen” list, so it’s nice to have our own to add to chili and other dishes throughout the winter.

Tomatillos
After several attempts to use broiled (or grilled) chopped tomatillos in various dishes left me less-than-excited, I turned to the internet and discovered that most recipes call for pureeing them after cooking, and then using them as a sauce.

Inspired, I pureed and froze 8-10 cups of tomatillo sauce.  I saved a quart to use as enchilada sauce.  The dish turned out quite well, and I hope to share the recipe soon.

Curry leaves
I fell in love with curry leaves last summer when I swapped some of my garden produce for some of Nupur’s homemade Indian dishes.  She gave me a tiny cutting from her curry tree, but it failed to live through our Portland trip last fall.

I’ve had a hard time finding fresh curry leaves at the international grocers that are not too far out-of-the-way from my regular trips, so having our own potted tree would be ideal.  I finally scored some fresh leaves, and I’m attempting to root six little branches.

1018131718-00

I’ve managed to keep them alive for over two weeks now — grow, babies, grow!  If this works, maybe I’ll start a side business selling curry trees.

Greens
Finally, our greens consumption has dropped a bit, thanks to the good news that Matthew is no longer taking warfarin!  Not that I don’t enjoy kale and collards, but eating them every. single. day. did get a bit old.

Child labor

One of Matthew’s new crops this year was a bean that you grow for the dried bean.  Theoretically, you can grow almost any kind of green bean until the seeds/beans fully ripen and the pods dry, but certain varieties are grown with that in mind.

From time-t0-time, I read a lovely blog called A Life Sustained, where the author, Courtney, writes about creative, Montessori-learning-type activities with real-world objects for her toddler son.  I admire, and am inspired by, her efforts, but I’m not gonna lie, thinking up and carrying out projects like that is not really something to which I aspire.  And, yes, I feel at least a bit of mommy-guilt over this fact.

Last week, I soothed some of that guilt when I stumbled upon bean-shelling as an engaging, real- and natural-world toddler activity.  Perhaps it would be more fair to say that Gabriel discovered it, as it was his initial interest in the pile of dried beans left sitting on the floor.

IMG_2802

I grabbed the beans and pulled out a metal cake pan, and we plopped down on the floor and went to work.

It’s pretty amazing what toddlers can do.  At just over two-years-old, Sir has the dexterity to shell the beans, a decent bit of focus to stick with the activity, and the knowledge that the de-beaned pods go in the compost bucket.

He also knows, but sometimes needs to be reminded, that we have to make the dry beans hot (i.e., cook them) before they are good to eat.

Since decent dry beans are relatively easy and affordable to buy, Matthew is debating whether or not to grow this crop in future years.  The toddler-entertainment factor may make the case for keeping them in the rotation.

Eat your greens!

When we learned that Matthew was going to be on anticoagulant medication (Coumadin/warfarin) for awhile, one of our big questions was about eating foods that are high in vitamin K.

Vitamin K plays a major role in blood clotting, as it is needed by many of the proteins that help blood clot.  However, that means vitamin K works at cross-purposes with the warfarin:

Large quantities of dietary or supplemental vitamin K can overcome the anticoagulant effect of vitamin K antagonists [e.g., warfarin], so patients taking these drugs are cautioned against consuming very large or highly variable quantities of vitamin K in their diets.  Experts now advise a reasonably constant dietary intake of vitamin K that meets current dietary recommendations (90-120 mcg/day) for patients on vitamin K antagonists like warfarin (source).

Foods highest in vitamin K include kale (660 mcg per half-cup cooked) and collard greens (520 mcg per half-cup cooked).  While the majority of the American public is not in danger of consuming high doses of vitamin K, and some would rejoice rather than mourn upon being instructed to severely reduce or eliminate these foods, our regular diet is a bit different than the majority of the American public, to put it mildly.

Matthew started taking warfarin just as our garden-grown greens (kale, collards, and Swiss chard*) really hit their stride.  We’ve been harvesting huge grocery bags full every week, and that seems to barely make a dent in the supply.

IMG_2792

Clockwise from top: kale (one of two varieties we grow), perpetual spinach chard, rainbow chard, collards, and some other kind of chard.

I prefer to be the one doing the harvesting, as Matthew’s idea of how many greens we can consume in a week (not to mention how much we can stuff into our poor refrigerator!) is a bit more optimistic than mine.

Fortunately, Matthew’s hematologist gave him the green light for continuing to eat a full serving of greens every day, with the caveat that he keep intake consistent.  Thus, while he previously wouldn’t have eaten a half-cup of cooked kale or collards every day, doing so is now part of his “medical” regimen.**

IMG_2797

The garden continues to produce in abundance, so supply is not a problem, though it was a bit tricky when we separated from the garden for our trip to Wisconsin.  We kept up the intake with lots of frozen grocery store spinach (560 mcg per half-cup cooked) — those little frozen boxes were convenient, but not near as tasty.

One thing I’ve discovered is that summer kale and chard do not at all resemble the tender leaves that I cook in spring, when I toss the still-damp, cut, rinsed leaves in our biggest cast iron skillet, cover to steam for a couple of minutes, and then finish uncovered, sauteing with a bit of oil, salt, and garlic.

Summer kale is a different beast entirely, with tougher, chewier leaves not suited for light cooking (or raw kale salads).  It will just laugh at those preparation methods as you sit trying to chew a mouthful of tough greens.

Much as I cringe at boiling those beautiful, nutrient-packed leaves, a girl’s gotta do what a girl’s gotta do.  Fortunately, there’s a happy medium between gross, boiled-to-death, pile of mush and too-tough-to-chew.

cooking hot-weather greens

Wash and chop the greens.  Bring a large pan of salted water to a boil.  Add your prepped greens to the boiling water.  Return to low boil and cook for 10-15 minutes.  Drain.

Now the greens are ready to be sauteed with onion and garlic or tossed into some kale-quinoa quiche.

IMG_2798

A recent dinner: stuffed zucchini with a side of garlicky sauteed collards.

If greens are half the “superfood” that some people claim, Matthew is well on his way to becoming Clark Kent!

—————————-

*Chard is lower in Vitamin K, with about 360 mcg per half-cup cooked, which means eating about two servings  a day.

** This post is not intended as medical advice.  If you are on anticoagulant/blood thinner medication, consult your physician before increasing your intake of vitamin K-rich foods.

Garden veggie slaw and potluck hosting

So, as I mentioned last week, we hosted our vegetarian potluck group on Friday night.  With the apartment looking the best it ever has, I set out to make our contribution to the meal.

I discovered that potluck style meals are awesome to host, because instead of going crazy trying to make (and clean up after) multiple dishes/courses, there’s just the one dish you’re responsible for making.

A couple of weeks ago, I made some kohlrabi-turnip slaw based on this recipe.  So, while I wasn’t strictly working from a recipe when I made my dish for the potluck, this was floating around in my head.

We also planned to make a second, simple dish of sliced garden tomatoes with olive oil and balsamic, but the cooler weather we’ve had (yay!) means slow-ripening tomatoes.  Good thing we didn’t put all our eggs in that basket!

Once I finished the slaw, I completed some final kitchen clean-up, then set out cloth napkins and real (i.e., non-disposable) plates, cups, and utensils (very thankful for the dishwasher post-party).

Fifteen of our friends joined us, bringing their own lovely, local-food themed offerings, for a fun evening of dining and chatting.

I received several requests for the slaw recipe, so, without further ado, my garden veggie slaw.

IMG_2750

GARDEN VEGGIE SLAW

Recipe by Melissa
Serves 12-15

Ingredients
Dressing
3 T peanut butter
2 T miso paste
1 t sweet mirin rice wine
2 T seasoned rice vinegar
1 t lime juice
1 T toasted sesame oil
1 T peanut oil
3 T sugar
6 cloves garlic, minced
Cilantro*
———–
Veggies**
3 c purple cabbage, shredded or cut very finely
1 large kohlrabi, shredded
3  hakurei turnips, shredded
1 small onion, thinly sliced

1 c toasted sunflower seeds

Directions
Combine all dressing ingredients to make a rich, thick dressing.

Prep your veggies.  I cut the cabbage by hand and used a box grated for the kohlrabi and turnips.

In a large bowl, toss shredded vegetables with the dressing.  Let sit for at least two hours for flavors to meld.

Serve topped with toasted sunflower seeds.

*I didn’t have fresh cilantro, so I used some cilantro “pesto” that I made and froze earlier in the summer.  It was a minor flavor note, so could be omitted.
**You can mix and match the veggies here, depending on what you have available.  Green cabbage would certainly work, while the purple adds a nice color pop.  Shredded carrots would also work nicely.